Pavers are a great way to improve the look of an area, but if they have sunken or broken, it can do quite the opposite, not only that they can become a safety issue, so it’s important to fix them as soon as you start to notice an issue. The great news is that virtually anyone can tackle this task with ease. Here we’ll explain how to get your pavers looking brand new again.
You’ll need a few things before you attempt to level and repair your pavers:
A stiff broom
Bedding sand
Screeding board
Crushed aggregate (subbase layer)
A level
Pry bar or thin screwdriver
A rubber mallet
Placer rake
Extra pavers (if any are broken)
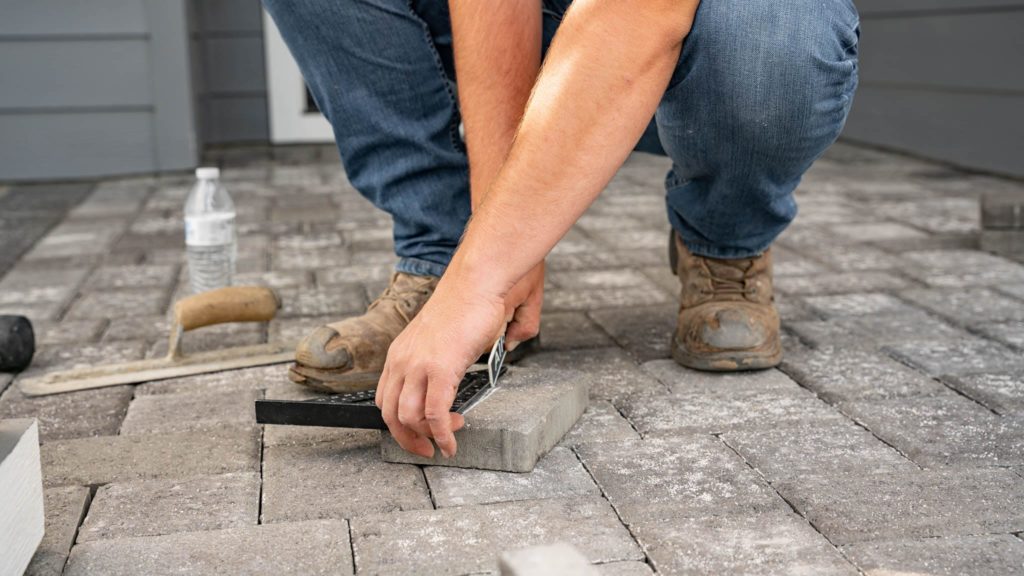
Step 1: Take photos to use as a reference
If you are lifting a larger area of paving or your paving has a pattern or design in its layout, it’s always a good idea to take photos to use as a reference for relaying them. This can save a lot of time and ensures you get a quality finish from placing the pavers exactly where they are meant to be.
Step 2: Lift the pavers
You may just have one area that has sunken, and the remainder is level, if this is the case, you will only need to remove the affected area. You can do this by placing your screwdriver or pry bar between the pavers to lift them. If the first paver is proving to be difficult to shift, you can make it easier by gently tapping the rubber mallet on the surrounding pavers to loosen them.
Step 3: Clean your pavers
Over time pavers accumulate all sorts of gunk, from organic matter to stains and dirt. This is the perfect opportunity to give them a good clean. It makes them easier to relay, and they’ll look better too. The easiest way to do this is with a pressure cleaner. Make sure you don’t have the pressure on too powerful as it may damage your pavers. If you have washed them down with a pressure cleaner and they still aren’t as clean as you like them, you may need to give them a wash using other products. We’ve explained how you can do this here in our Helpful guidelines to follow when it comes to cleaning your pavers article.
Step 4: Prepare the ground
Place your sub-base on the ground and even out using your placer rake. Once it is spread out evenly, level the ground as flat as you can using your screeding board. The purpose of doing this is to get rid of sunken or elevated areas. Don’t worry if it’s not perfect, you’ll be able to get the ground level using the sand. The sub-base will then need to be dampened down and compacted. You may be able to do this by walking on it if the area is small or if it’s a bigger area, you may need a mechanical operator.

Step 5: Add sand
Distribute your sand across the ground and level out with the screeding board. It pays to use a screeding board that is the same thickness as your pavers as this will give you a precise indication of how much sub-base and sand you’ll need.
Step 6: Make sure your sand is level
Using your level, check to see if your sand is even. If there are any discrepancies, you can adjust them accordingly.
Step 7: Replace your pavers
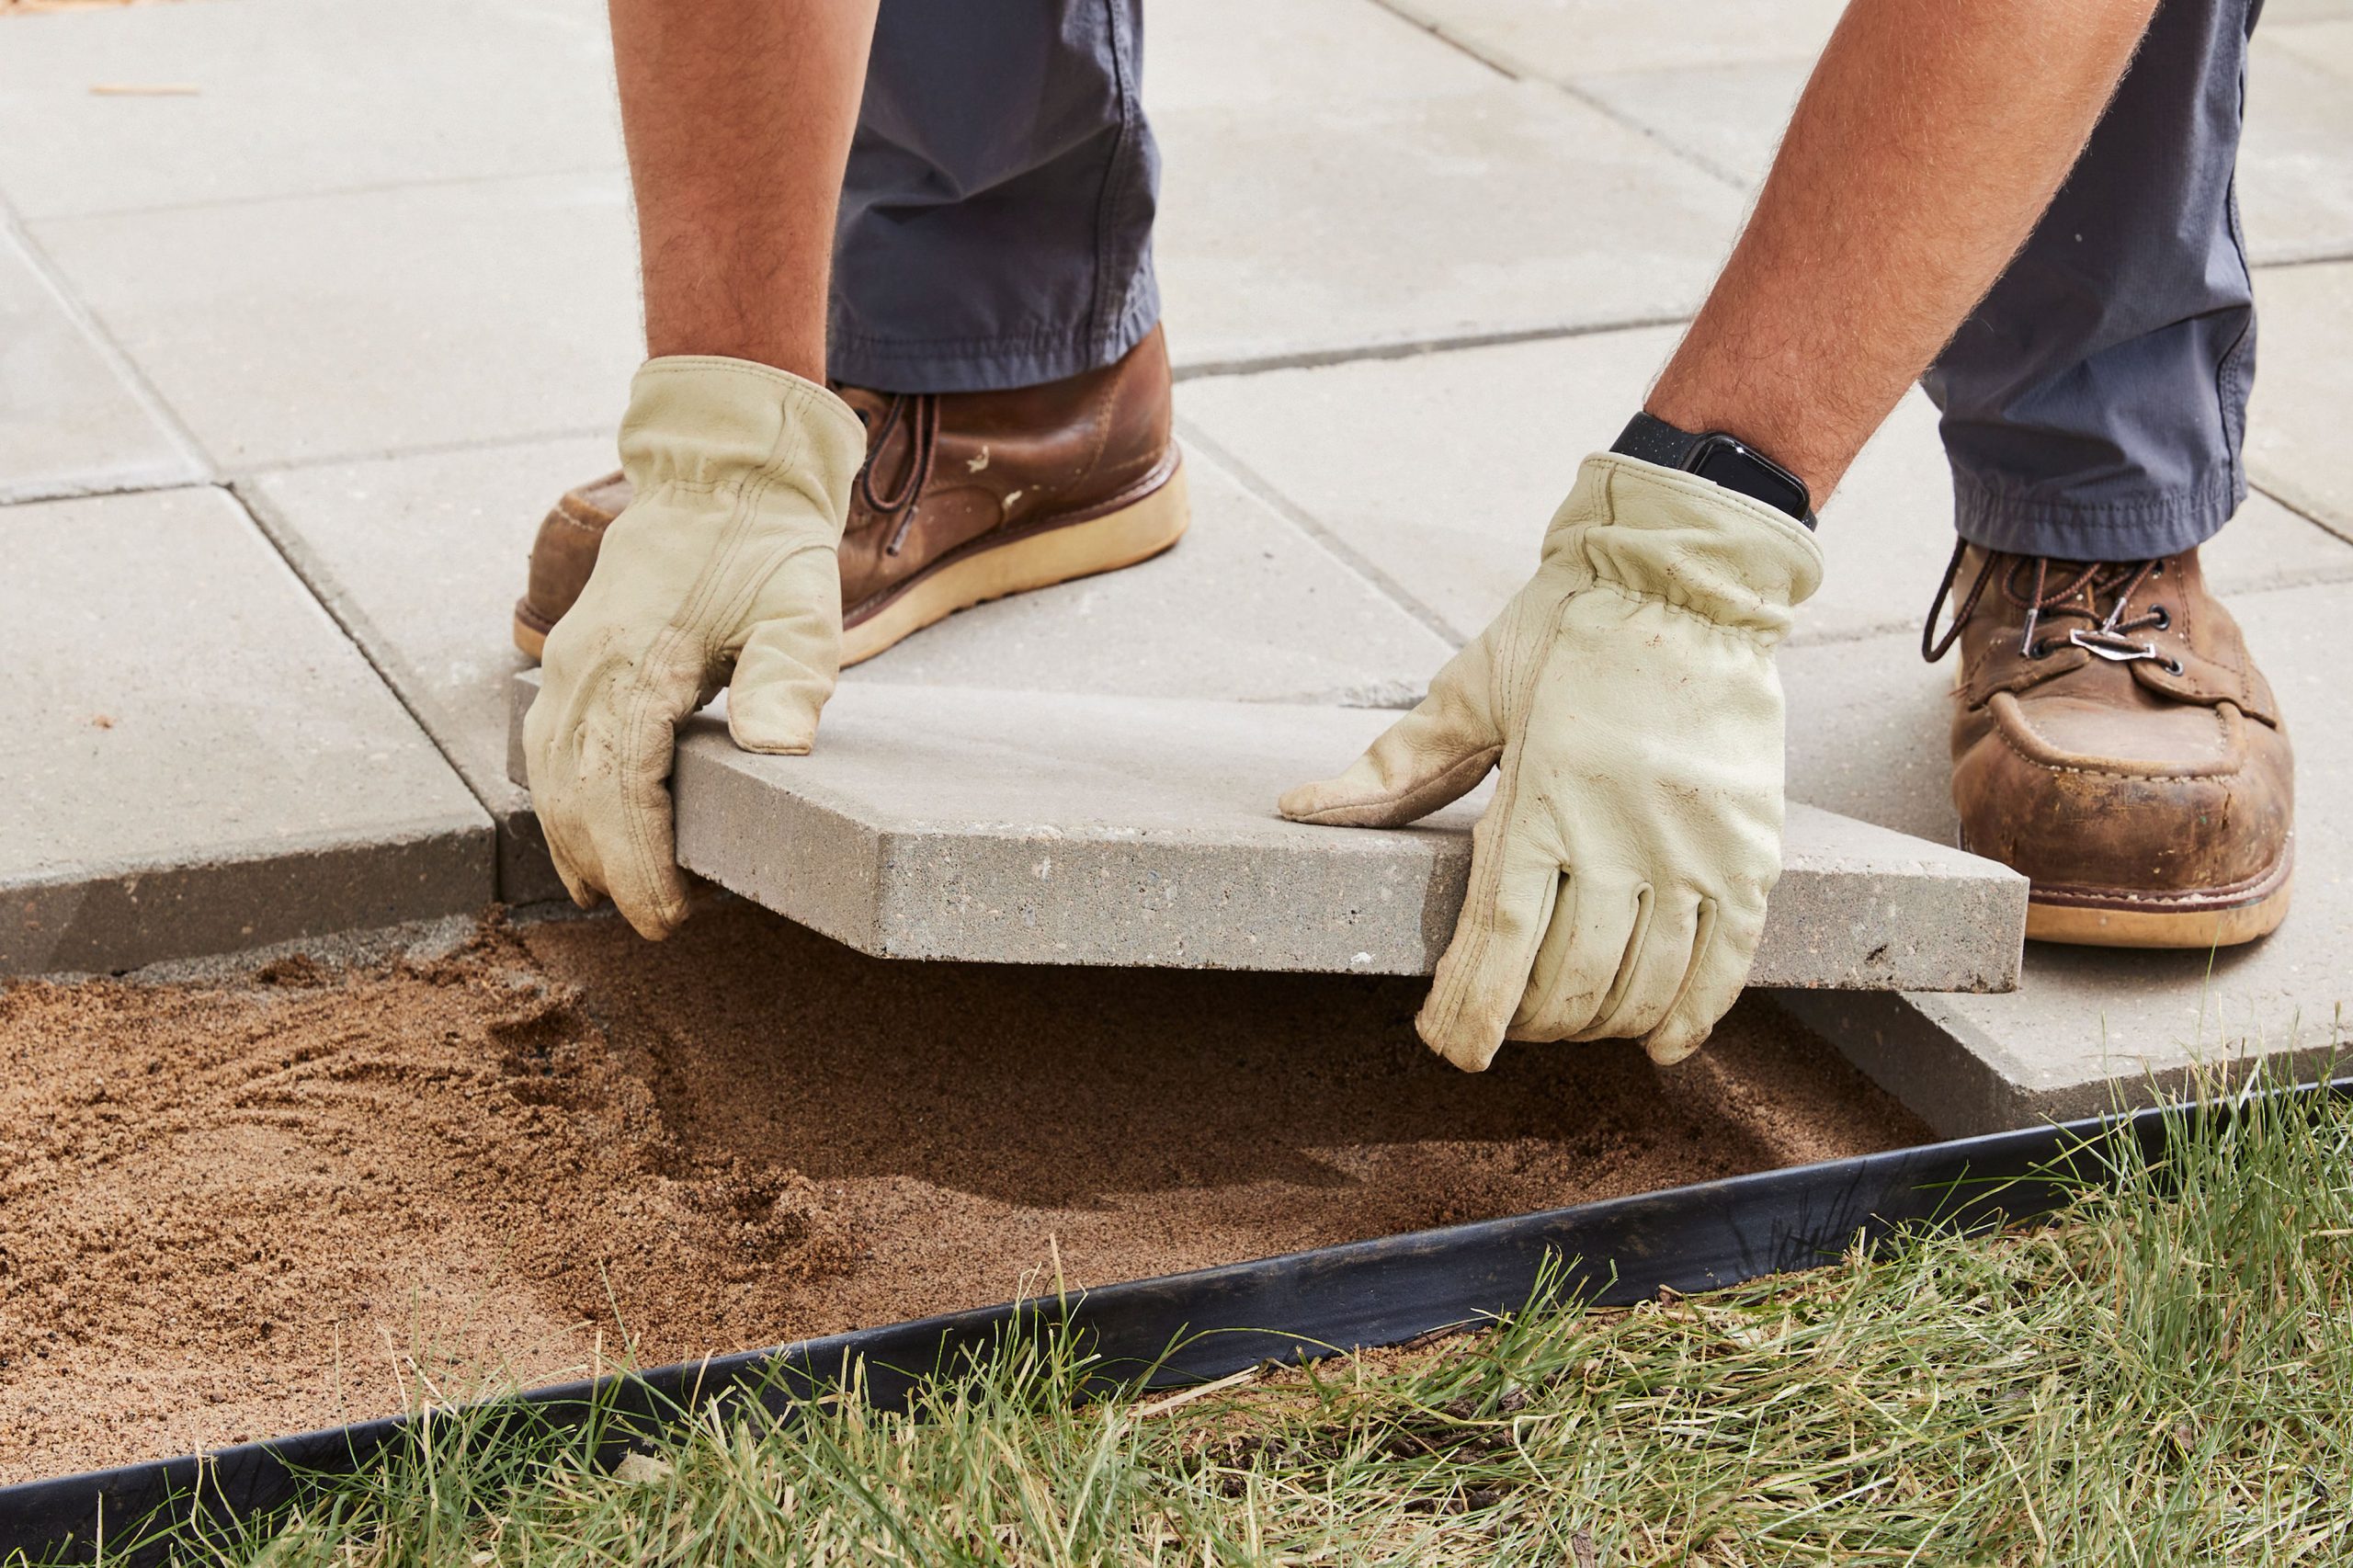
Once your sand is level, you can start relaying the pavers. Lightly tap each paver with a rubber mallet to secure them. If they are large and heavy, you may need someone to help you lift them into place.
Step 8: Brush over sand
After you’ve laid your pavers and you’re happy with their positioning, you can then place your sand on top of the pavers and brush it over with the broom to fill in the gaps. Ensure sand is in between each paver.
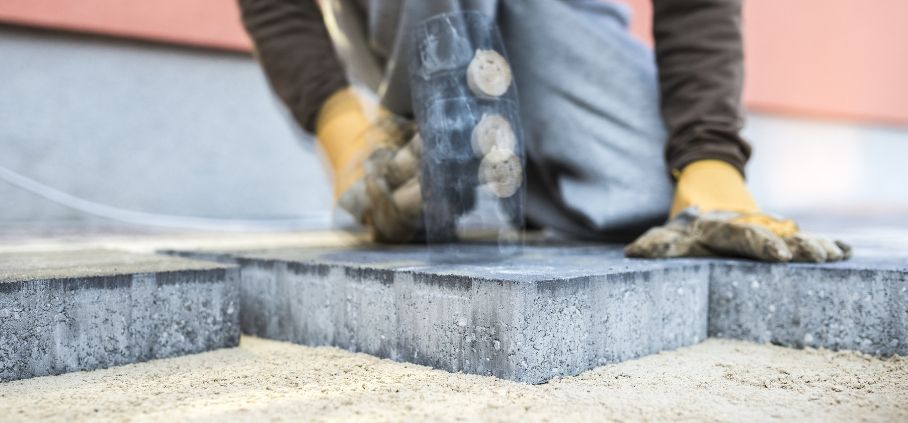
Your job is now complete
Now you’re done! You can sit back and admire your handy work! So, how do you prevent your pavers from sinking again? Sometimes movement is inevitable due to heavy rain and earth changes, however, the key to reducing the chances of your pavers from sinking or shifting prematurely is by laying them using the correct products and technique from the get-go. To ensure they are secure, you should use compacted gravel or coarse sand that is suitable for paving. If your home has shifted as well as your pavers, you may have a bigger issue and it’s recommended you have a building inspection done. They can advise you of the structural stability of your home and the surrounding areas.
We hope this post has given you the confidence to fix up unsightly areas of your paving. If your pavers are old and outdated and they’ve seen better days, it may be time to replace them altogether.
DISCLAIMER: This is a basic guide only and depending on the area you are levelling or repairing the technique may differ. If in doubt, speak with a professional. Additionally, you should speak to your local council before undertaking any home improvement work.








نظرات ۰