Keen on stone pavers for your new walkway or patio? Choosing the right paver is more than picking the prettiest one. When you need to choose pavers, one key aspect is getting the thickness just right so your pavers stand up to the wear and tear of daily life.
Need stone pavers for a quiet garden path? Or perhaps a bustling driveway? Getting it right the first time saves future hassles later.
So, just how thick should stone pavers be? Let’s break down how to choose paver thickness wisely and pave the way to a solid, stylish ground underfoot.

Picking the right thickness for your pavers
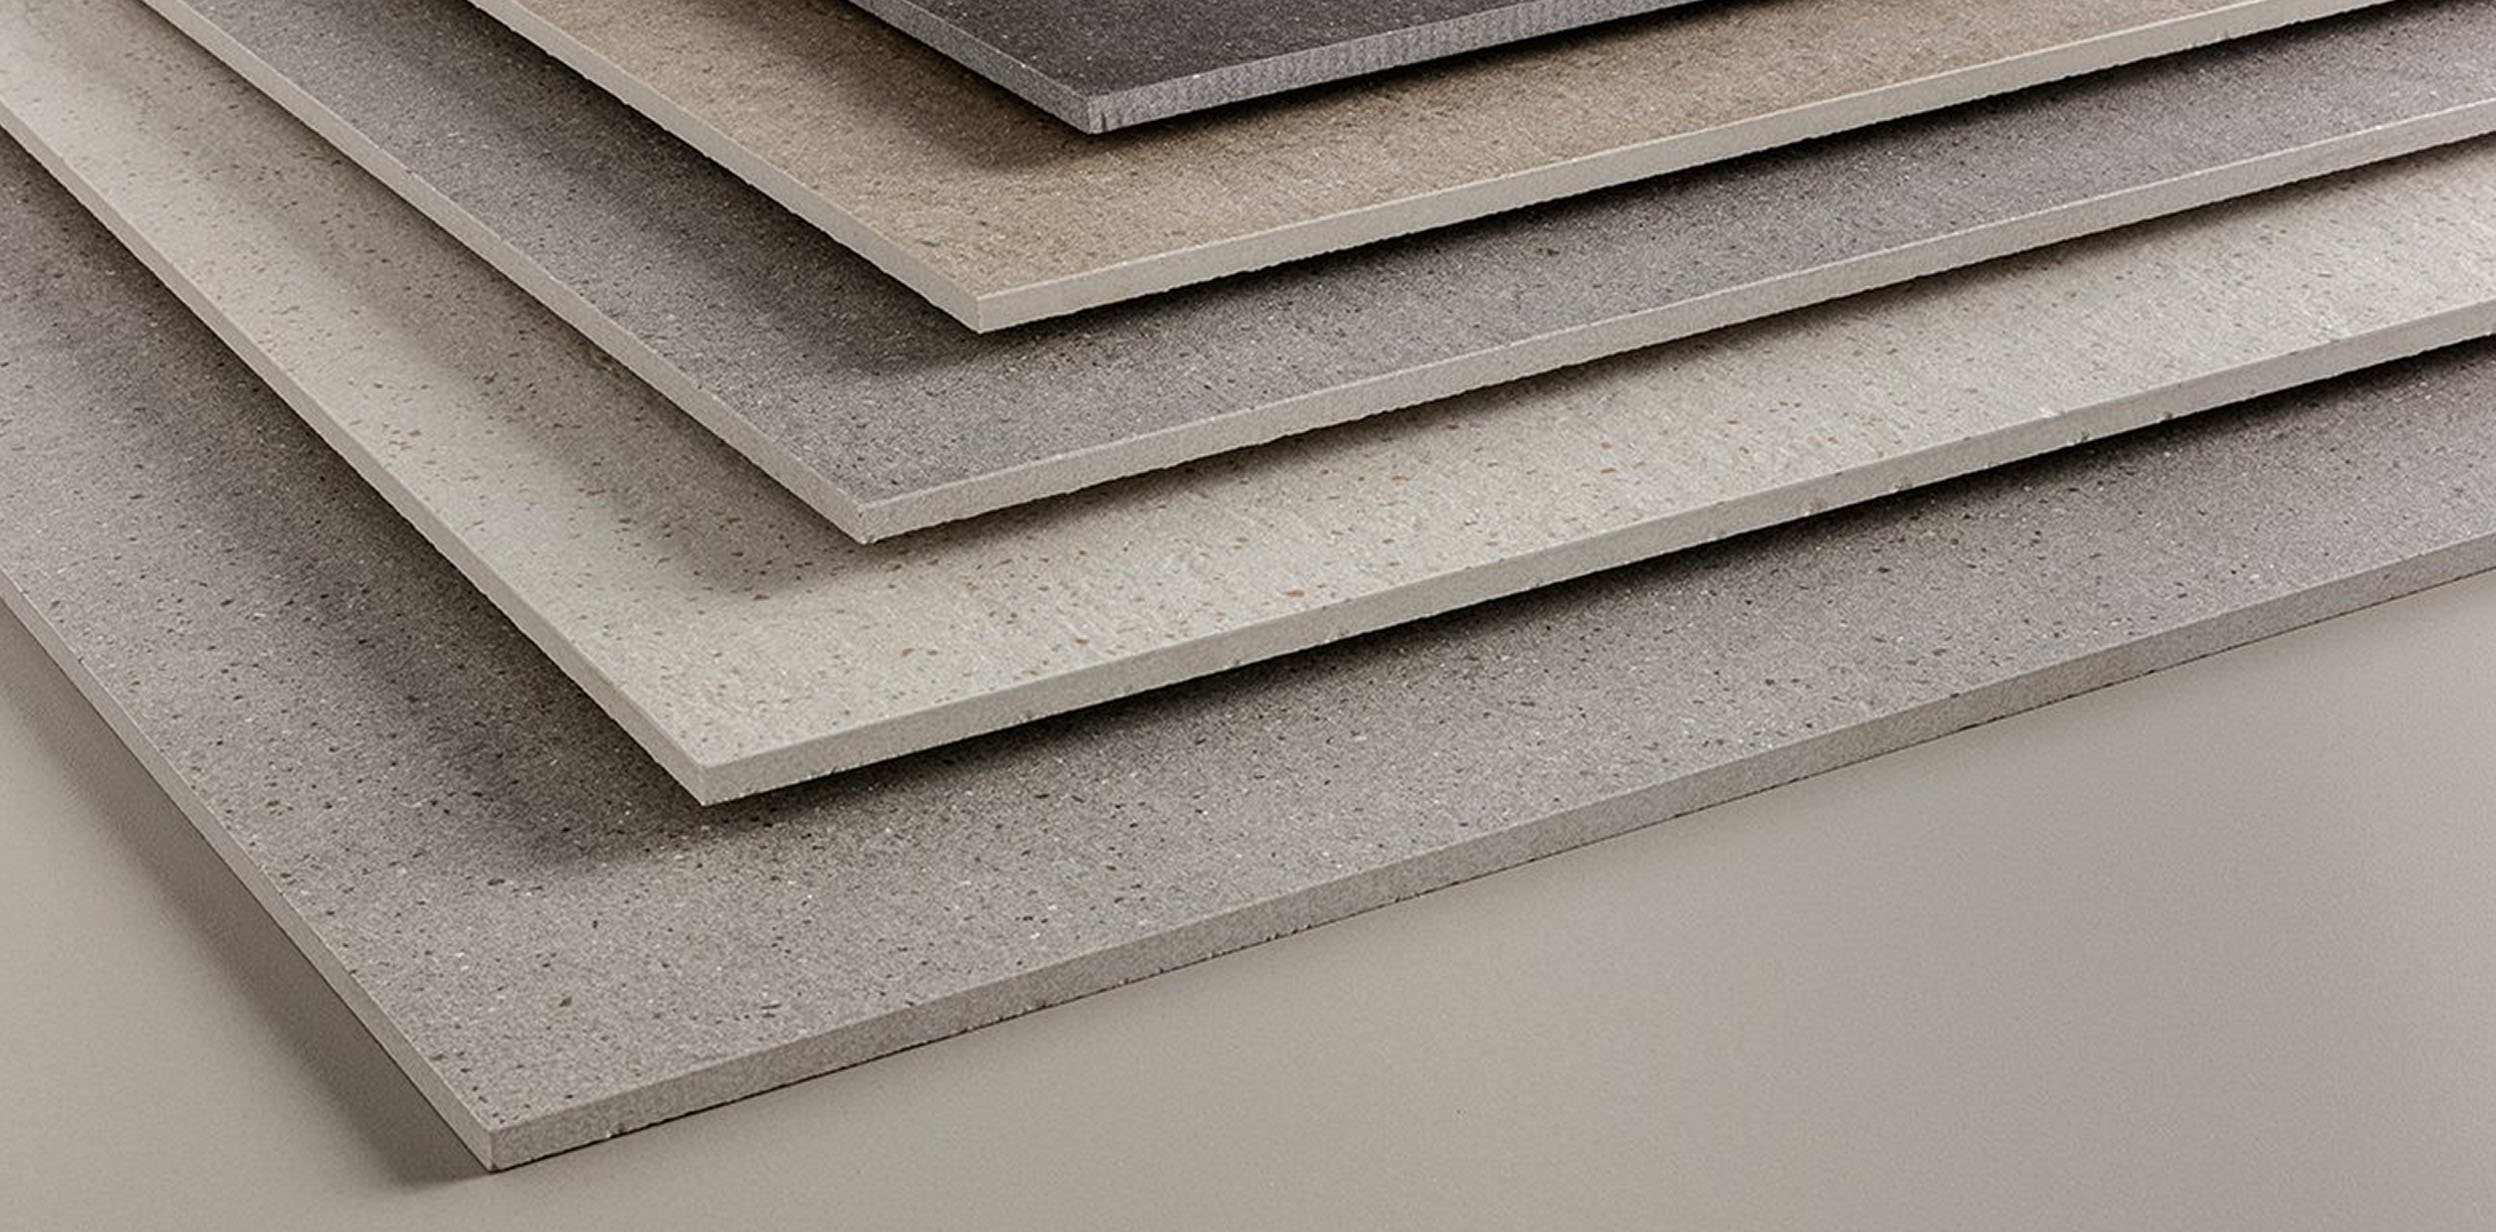
Choosing the proper thickness for your pavers is paramount, whether they’re dressing up a quaint backyard or reinforcing a busy entrance. For light foot traffic areas, pavers around 20mm might do the trick of course if you have concrete slab under, but for your driveway? That’s a different story—you’ll want something beefier, around 30-40mm or more, to handle the load.
Match the paver to the purpose: thinner pavers are less expensive and easier to handle, but thicker ones last longer under stress. If you’re stuck on what’s best, talk to one of our pros – they can help tailor your choice to your specific needs.
Types of stone pavers and their ideal thickness
Navigating the world of natural stone pavers can be a bit perplexing with all the choices out there—granite, limestone, sandstone, and more. Each type has its perks and ideal uses. For instance, granite offers outstanding durability and is recommended for high-traffic areas due to its density, meaning you can go a bit thinner without sacrificing strength.
Limestone, with its more porous nature, generally requires a thicker cut to withstand the same use. Porcelain pavers are a strong contender too, especially for those seeking a sleek look without the weight of natural stone. Unlike natural stone, you don’t need to seal porcelain pool tiles. And they show extraordinary resistance to chlorine, salt, and slip hazards. So, they’re a win-win for use around pools. Consider the appearance and the material’s properties when picking your pavers’ thickness.
Importance of a solid foundation
Getting your foundation right is key, no beating around the bush. Without a solid concrete base, those pavers could start shifting or cracking. And who really wants a wonky path or patio that causes trip-ups?
For paths, aim for a concrete base about 100mm thick. Driveways need a bit more muscle—about 125mm—to handle cars and whatnot without breaking a sweat. Remember, rushing the cure time is a no-go.
It takes a couple of weeks for the base to set properly. Just hang tight, because a good, solid start means your pavers will stay flat, look sharp, and last longer. It’ll be well worth the wait. If you want to learn more about how to lay natural stone pavers, check out our blog post.
Sand bed or mortar bed?
Choosing between a sand bed and a mortar bed for laying your pavers isn’t just eeny, meeny, miny, moe. Actually, it depends on what you’re after.
Want something a bit forgiving and easy to alter? A sand bed might be your go-to. It’s excellent for areas that don’t see heavy loads, like garden paths or patios. But, if you’re paving a driveway or any area that gets a lot of footfall or vehicles, then a mortar bed’s the better bet. It locks those pavers down tight. No wiggle, no wobble.
Think about where and how you’ll use the space. Stability or flexibility? What’s your priority?
Thickness considerations for different types of stone pavers
Don’t just pick what looks good when you select the thickness of your stone pavers. Pick what lasts. Have granite, limestone, or porcelain in mind? Each one plays by its own rules when it comes to the ideal thickness.
Starting with granite — the tough nut of the paver world. Granite is naturally strong and hard-wearing. So, you can get away with a bit thinner pavers (ours start from 12mm), even in high-traffic areas. Around 20-30mm thick granite pavers are usually spot on for most projects, including driveways.
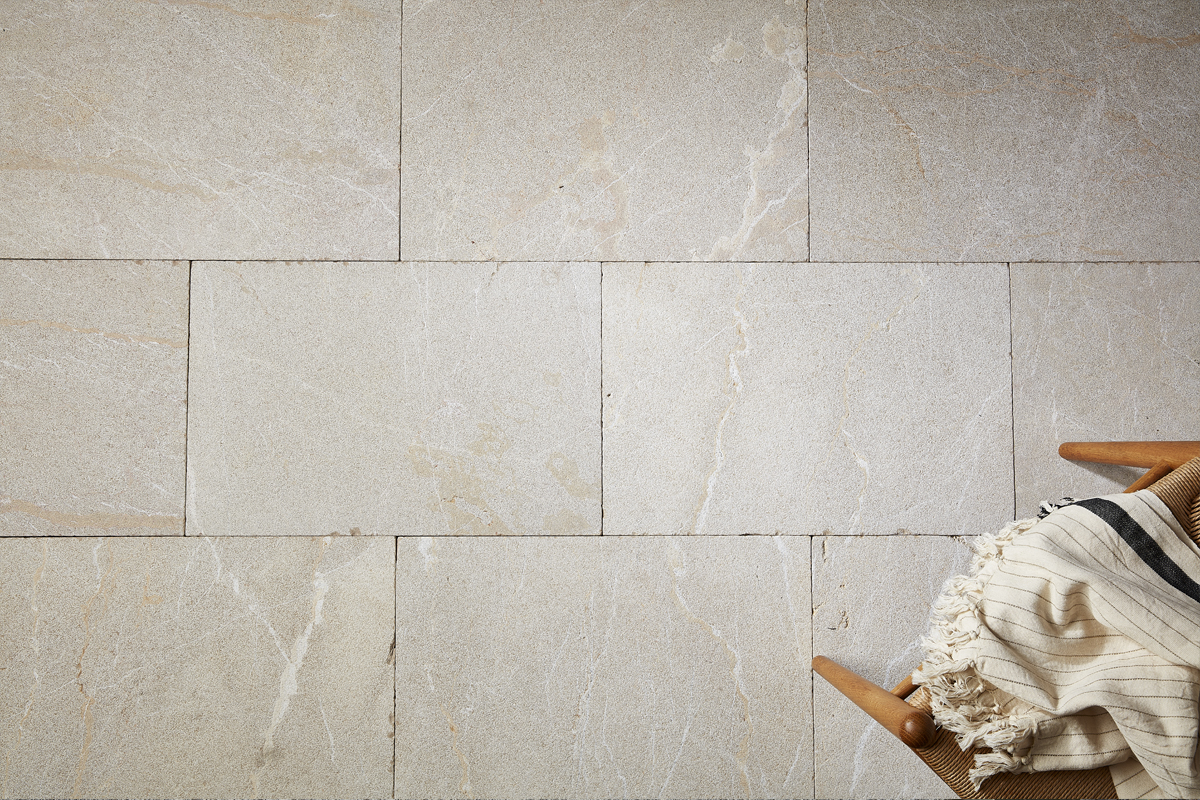
Then there’s limestone, a bit more genteel than granite but still a solid choice. Because it’s slightly softer, going for a thickness of at least 30-40mm helps prevent cracking and wear over time, especially if it’s in a place that sees a lot of footfall or heavy garden furniture.
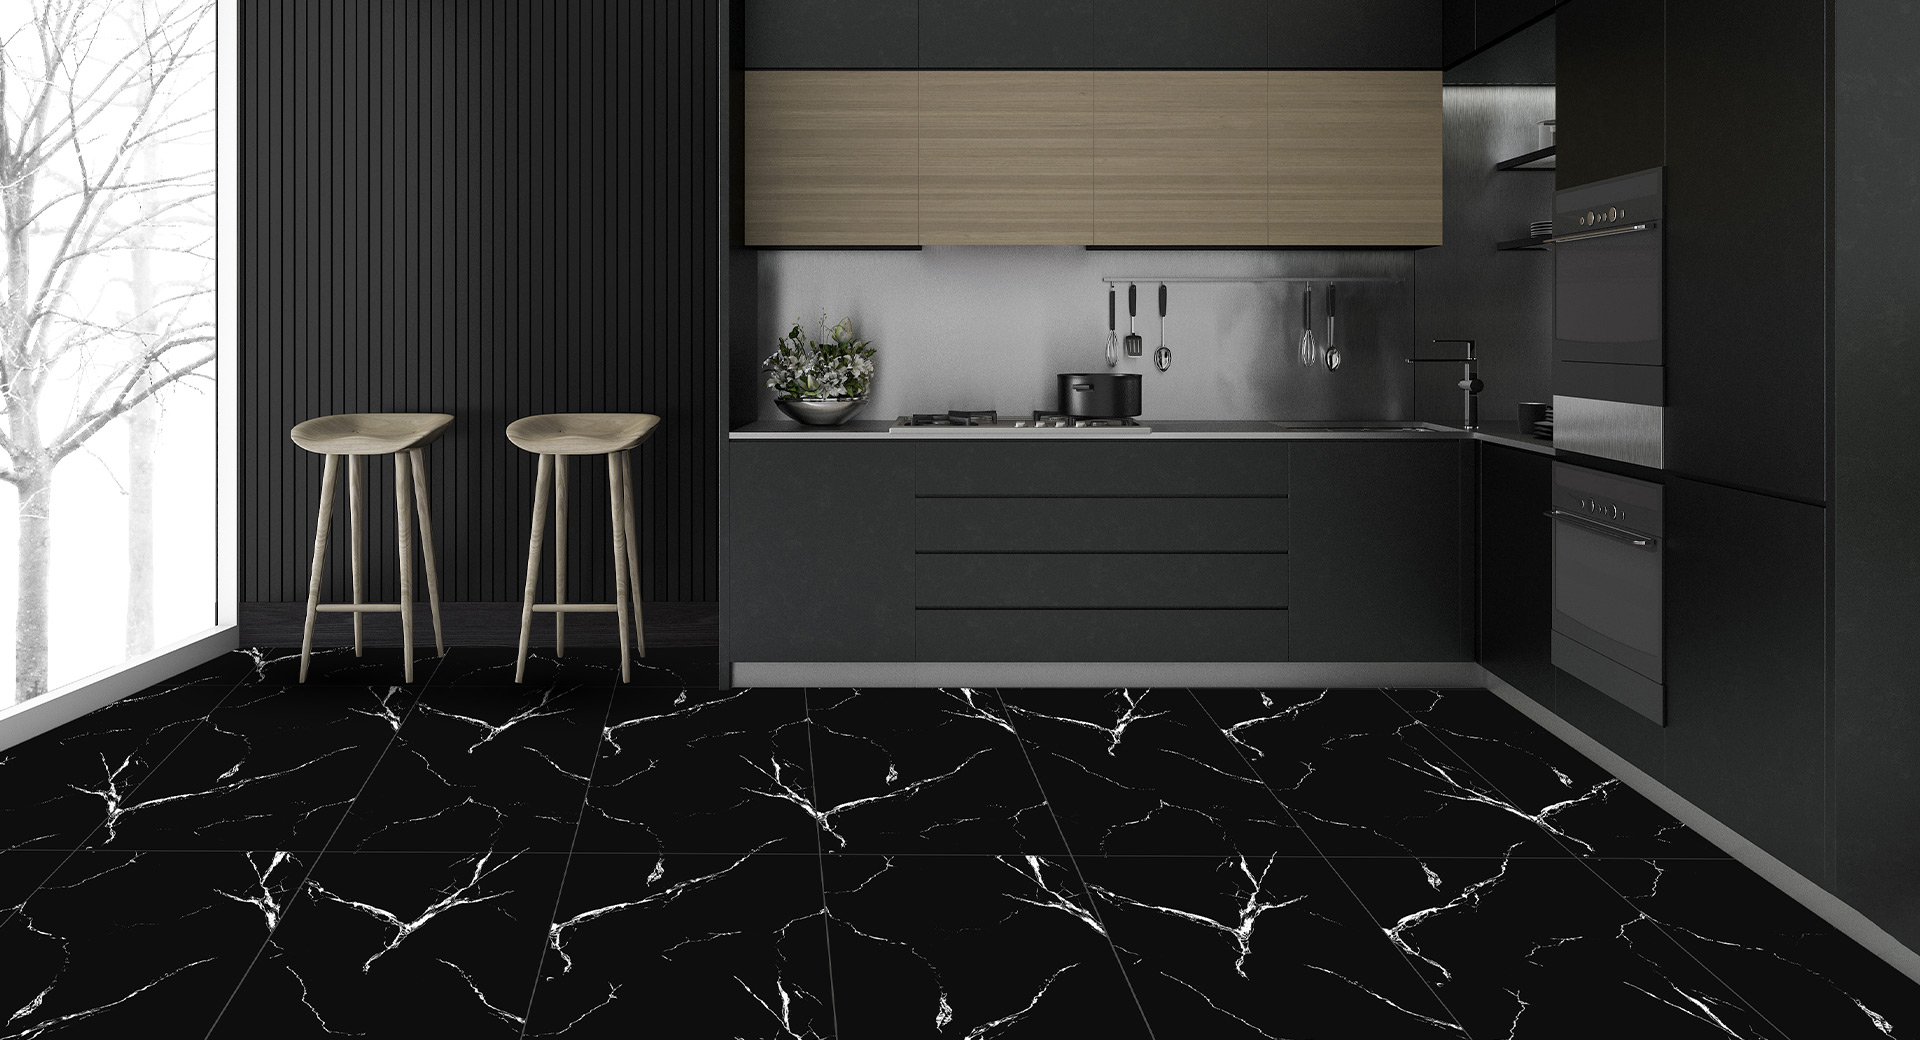
Marble pavers are show-stoppers. They’re durable, heat-resistant, and stay cool even under the Aussie sun. So they’re perfect for places like salt water pools or sunny patios. Typically, you’d look at marble pavers around 30-40mm thick to handle the wear and tear of outdoor life. They last and also add serious value to your place. Fancy a bit of timeless luxury? Marble might just be your best bet.
Long-term maintenance tips based on thickness
Preserving your pavers isn’t just a one-off. Depending on their thickness, your approach might vary. Thinner pavers need gentle care—regular sweeping and sealing pavers occasionally to keep them looking fresh. Also, we recommend cleaning your pavers with a pH-neutral cleaner that’s specifically developed for natural stone pavers.
Thicker pavers? They’re tougher but still love a good clean and perhaps more frequent sealing to combat their exposure to heavier loads. Also, check for any movement or settling issues now and then, especially after extreme weather. Keeping up? Great! Regular upkeep based on paver thickness keeps them in top shape for years.
Cost considerations – comparing thin and thick pavers
Thinking about costs? Thinner pavers might seem cheaper upfront, but consider the long game. Sure, they’re lighter and easier to handle, which can cut down on initial labour costs. But will they stand up to heavy use without cracking under pressure?
That’s where thicker pavers come in. Pricier, yes, but they’re a solid investment for high-traffic areas, reducing future repair or replacement costs. So, what’s your budget saying? Weigh up the initial spend against long-term durability to make a choice that won’t leave your wallet empty down the track.
Preparing the bedding material
Getting your bedding material right is crucial for a smooth, level surface when you lay pavers. Typically, washed sand is the go-to choice. Why? Because it provides a stable yet flexible base that allows for minor adjustments and helps keep everything in place.
Spread the sand evenly, and make sure it’s level before you start laying the pavers. This might seem like a small step, but it makes a big difference in your paved area’s final look and durability.
Step-by-step installation guide based on thickness
Starting a paver project? Your paver’s thickness dictates a few key steps. For thinner pavers, a gentle touch and a forgiving sand base might just do the trick. Our ‘flexible paving’ method works best. But thick pavers for high-traffic areas? You’ll need a robust mortar base for that extra hold. Follow the steps mentioned in our Rigid Paving method here.
Thinner stone pavers (flexible paving method):
Great for garden paths or decorative areas with minimal foot traffic.
Uses a layer of compacted road base topped with 20-30mm of river or paving sand, allowing for natural settling and movement.
Pavers can be moved easily during installation, so it’s excellent for DIY projects.
Uses fewer materials and labour than more intensive methods.
Handles temperature changes well, flexing with expansion and contraction.
You might need to top up the sand and keep an eye on weeds popping through the joints.
Thicker stone pavers (rigid paving method)
Best for driveways and commercial pathways needing tough love.
Involves laying pavers on a mortar bed over a substantial concrete slab, providing a firm and permanent base.
Using specific mortars and grouts along with pre-sealing helps dodge those pesky salt and mineral marks.
Designed to handle heavier loads without shifting or cracking.
Less prone to damage from harsh conditions due to the solidity of the installation.
Requires more materials and labour upfront but reduces long-term maintenance and repair needs.
How thickness affects drainage and slope requirements
Think thickness doesn’t impact drainage? It does. Thicker pavers need a bit more slope to guide water away—nobody wants a puddle party on their new patio, right?
Typically, thicker stones mean adjusting your slope to ensure proper drainage, preventing water from pooling and seeping under the slabs.
It’s a small tweak that can save you big problems down the line. So, when planning your outdoor space, the thicker your pavers, the more attention you need to pay to that slope.
Want a smooth, dry surface? Get that angle just right.
Troubleshooting common issues by paver thickness
Paver problems? Sometimes, it’s all down to thickness. Thin pavers cracking under the strain? Might be time to consider a switch to something sturdier for those high-traffic zones. Finding dips and bumps? Your base might not be bulky enough to support your pavers’ heft.
To fix this, double-check that your foundation depth matches your paver thickness—more robust pavers need a more substantial base to stay smooth and steady. And remember, whether it’s settling issues or wear and tear, the right thickness and proper installation can solve a lot of headaches. So, how’s your base holding up?
Essential tips for safe and long-lasting paver installation
Safety considerations
When you’re laying pavers, safety comes first. Make sure you’re kitted out with ear protection and all the right safety gear. Cutting stone and lifting heavy stuff isn’t a joke, so take it seriously to keep yourself safe and sound.
Regular maintenance and cleaning
Keeping your paved area looking elegant isn’t hard if you stay on top of it. Regular cleaning is key. Use fresh water and pH-neutral cleaners (as mentioned earlier) to wash off dirt and grime. If you’ve spotted an issue, fix it pronto to keep your pavers in tip-top shape.
Dealing with poor drainage
Waterlogging is a big no-no for your pavers. Make sure there’s enough slope to let water run off. If things still get soggy, think about installing a proper drainage system. No one likes a drenched patio.
Creating expansion joints
Don’t forget about expansion joints. They’re crucial in paved areas to handle temperature changes and stop cracks. Place them strategically and fill them with flexible material. Your pavers will thank you for it.
Special care for natural stone pavers
Natural stone pavers need a bit more TLC. Ensure they’re fully supported to prevent cracking. And if you want to play it safe, go for non-slip finishes. Better safe than sorry, especially when it’s wet.
Dealing with excess mortar
During installation, it’s common to have excess mortar seeping through the joints. Don’t leave it there—it’s easier to clean off while still wet. Use a damp sponge to wipe away the excess before it dries and becomes a stubborn stain.
Pool coping and salt water pools
Have a salt water pool? You’ll need to plump for pavers that resist ‘salt attack’. Salt can be tough on some materials, so pick something durable. And don’t forget about pool coping. Proper coping is essential to prevent water from seeping underneath and causing damage.
Make sure the pavers and coping are well-sealed and properly installed. This small step can save you a lot of trouble later on. Thinking about a poolside revamp? Get those salt-resistant pavers and solid coping sorted first.
The takeaway
If you’re considering a stone pavers makeover, you want to be sure they’ll last a long time. So, plump for a thickness that can handle anything you throw at it.
Whether it’s a garden path with light foot traffic where 20mm might do, or an active driveway needing sturdier 40mm pavers, getting the thickness right from the start saves you future aggro.
Different stones like granite, limestone, or marble, each have their ideal thicknesses tailored to their durability and your use case. Plus, a solid foundation matching this thickness ensures your pavers don’t shift or crack, and proper drainage keeps them looking great. So, think it through, pick wisely and pave the way to a long-lasting, stylish outdoor space.





نظرات ۰