The following are provided for general guidance only. AHF Products recommends that all industry standards, guidelines, and best practices for installation are followed, including but not limited to the TCNA Handbook and the ANSI A108/118/137 series.
Jobsite Conditions
Structural Concrete Substrate Cure:
A minimum 28 day cure at 70° F / 21° C.
Temperature:
No ice or standing water present on structural slab or substrate. Water gauged Portland cement (and modified epoxy) mortars and grouts require installation surface temperature above 50°F / 10°C. Latex fortified Portland cement (and accelerated epoxy) mortars and grouts require installation surface temperatures above 50°F / 10°C.
Surface Conditions:
Concrete Surface saturated dry, free of standing water, curing compounds, sealers, form release materials, paint, dirt, oil or grease, dust, etc. Non-structural shrinkage cracks should be pretreated with a crack suppression membrane (to prevent telegraphing of cracks through tile installation).
Substrate Plane:
Surface variation should be no greater than 1/4” in 10’ and 1/16” in 1 foot, for tiles 15” or smaller. For tiles 15” or larger substrate flatness should be no greater than 1/8” in 10’ with no more than 1/16” variation in 24” when measured from the high points in the surface. See TCNA Handbook (most current revision).
Structural Details:
Expansion and control joints must be carried through to surface of tile. Joint size and layout calculated by architect / engineer. Review Tile Council of North America (TCNA) Detail EJ171-YY “Movement Joints”. Joints in substrate must not be bridged with tile or stone.
Preparations For Waterproofing Membranes – (ANSI A118.10):
Substrate surface must be sound, smooth, steel troweled and fine broom finished surface – slope to drain at a minimum 1/4” per foot (6 mm per 300 mm).
Materials
Backing Material (Substrate):
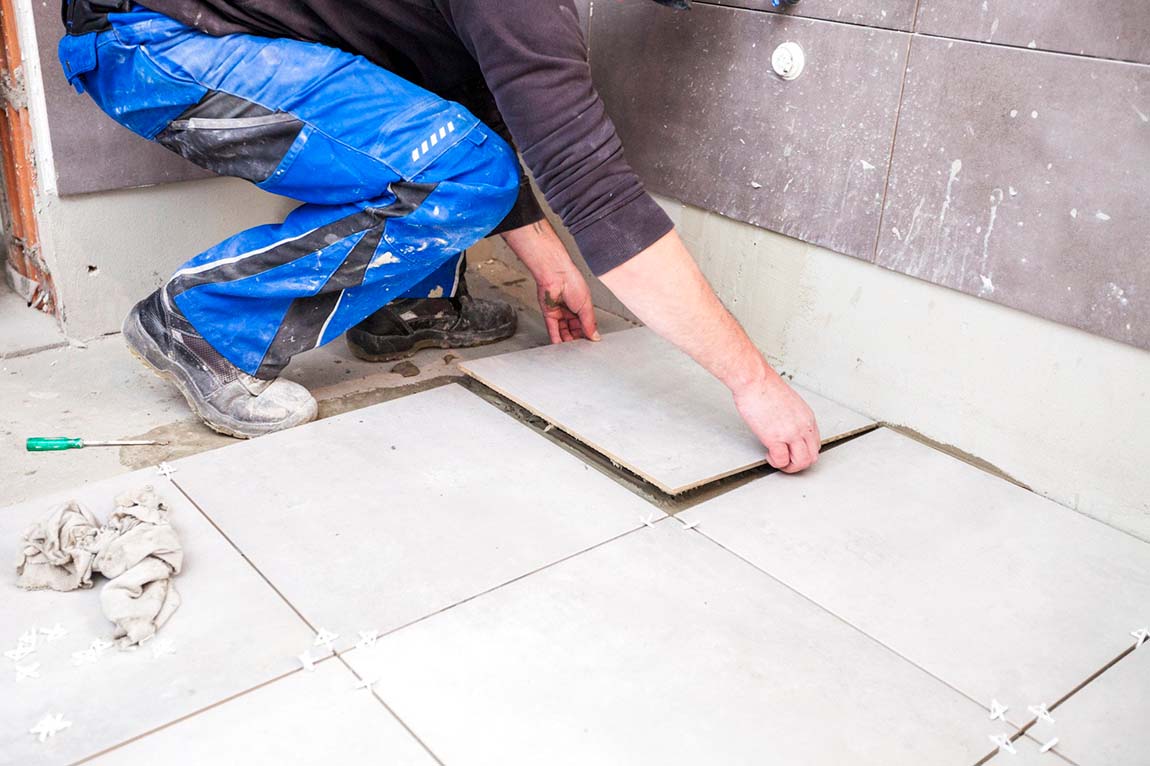
The surface to be tiled must be clean, dry, flat and structurally sound (does not flex when weight is applied), secure, and free from any type of contamination that can act as a bond breaker or bond inhibitor. If there is any substance present that could inhibit the bond of the mortars used, it must be completely removed.
Suitable substrates include, but are not limited to, exterior grade plywood, cement backer board, concrete, mortar beds, cement plaster, and existing ceramic tile/stone. Refer to industry information for a complete list of approved substrates. When using the double plywood or plywood/cement backerboard scheme, check to ensure that the proper types and thickness of plywood are used.
Mortar: Depending on the application and conditions present, the use of a modified cement mortar, improved modified cement mortar, LHT mortar, or epoxy mortar is recommended for the installation of Porcelain Stone® tile. It can also be installed on a mortar bed (i.e.thick bed) applications. Consult the installation materials manufacturer for additional information and installation instructions. Ensure that adequate coverage of mortar is present under the tiles
to provide proper bedding coverage and problem-free performance.
Grout: A modified cement grout (sanded or unsanded), or epoxy grout should be used with porcelain stone tiles. While grout-staining problems are extremely rare, a small test patch is recommended when using a dark grout over a light-colored tile, or vice versa. The test patch will also verify cleanability of the grout with heavily textured tile surfaces.
Procedures
Tile:
Jobsite Blending: blend tiles before installing to produce an even range and distribution of color and finish.
Layout and Lighting:
Review layout. Adequate lighting (equal to finished project lighting level) is necessary. Use of wall-washer and cove-type lighting, where the lights are located either at the wall/ceiling interface, or mounted directly to the wall prompts the light to strike the tile finish at a straight down angle creating un-wanted shadows from the grout lines which in turn gives the tile layout an irregular/textured appearance. Installing the overhead lighting 18” to 24” out from the wall at a “true wall wash” angle will provide more balanced lighting across both the tile and the intervening grout joints and ensure a smoother more homogenous appearance to the
finished tile work.
For tiles greater than 15” nominal square/rectangular tile set in a running bond/ brick joint pattern utilizing tiles with any side greater than 15”, the offset will be maximum of 1/3 of the tiles longest edge length. Tiles will be installed with a minimum 1/8”grout joint for rectified material and a 3/16” grout joint for calibrated (non-rectified) material. See ANSI 108.02 (4.3.7 and 4.3.8).
Setting Tile:
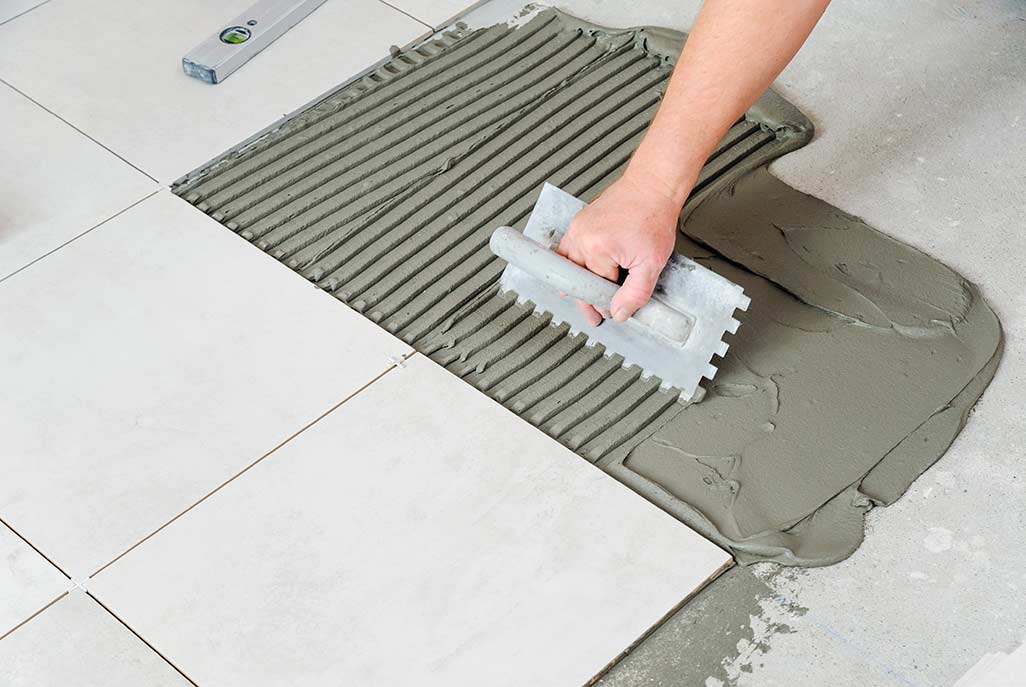
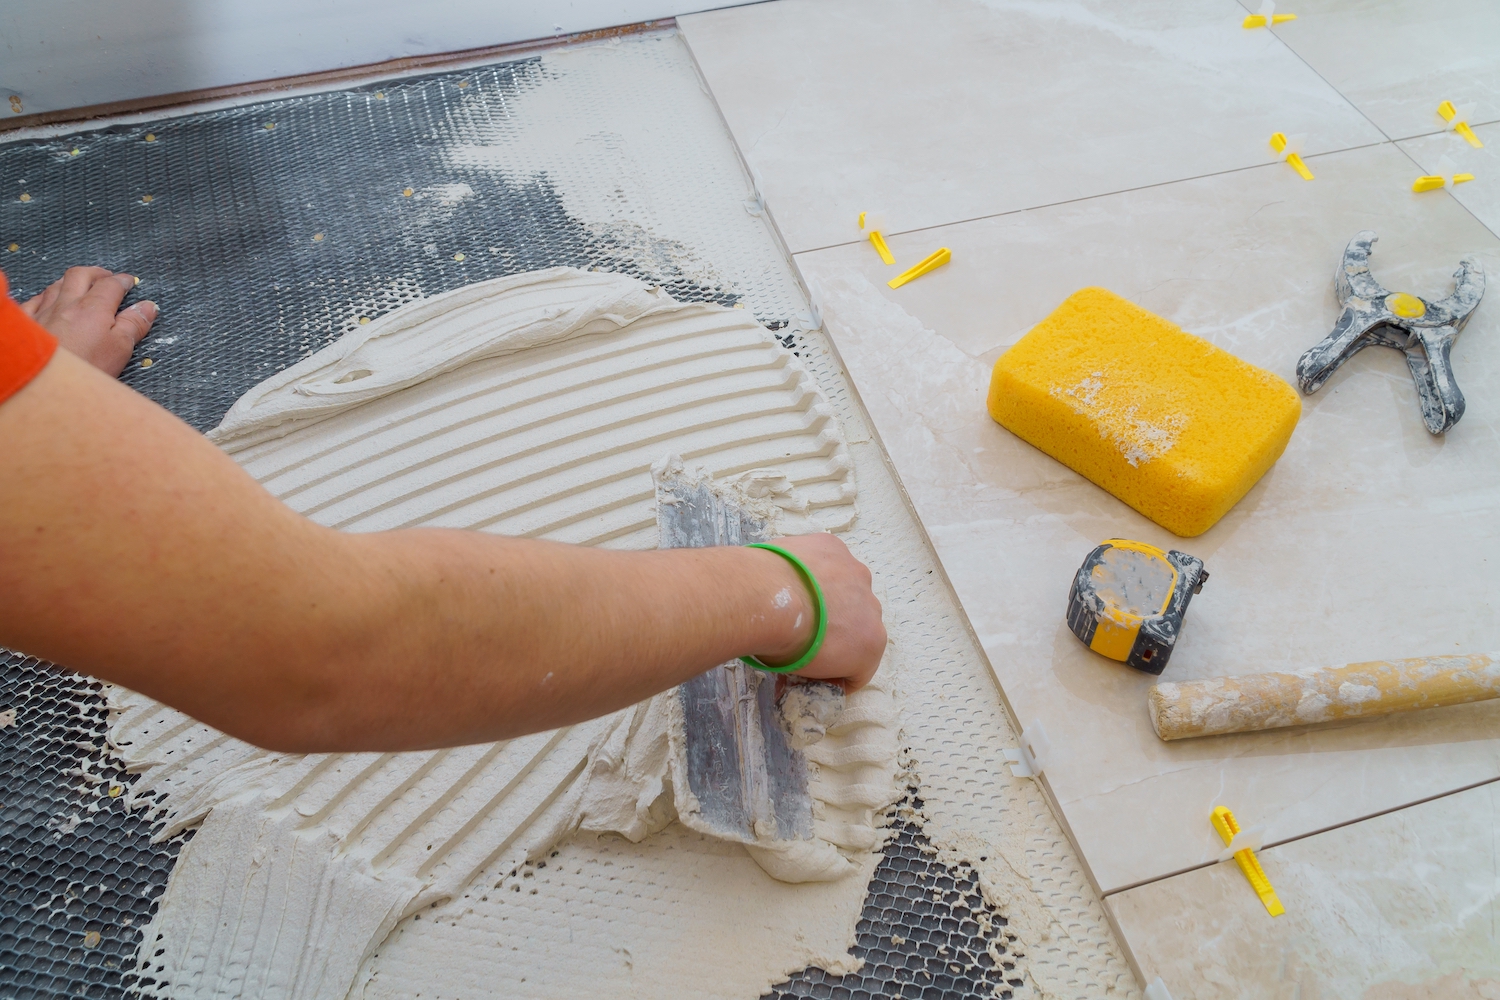
Continuous 3/32” to 3/16” (after embedding) layer of thin set mortar continually supports tile or stone.
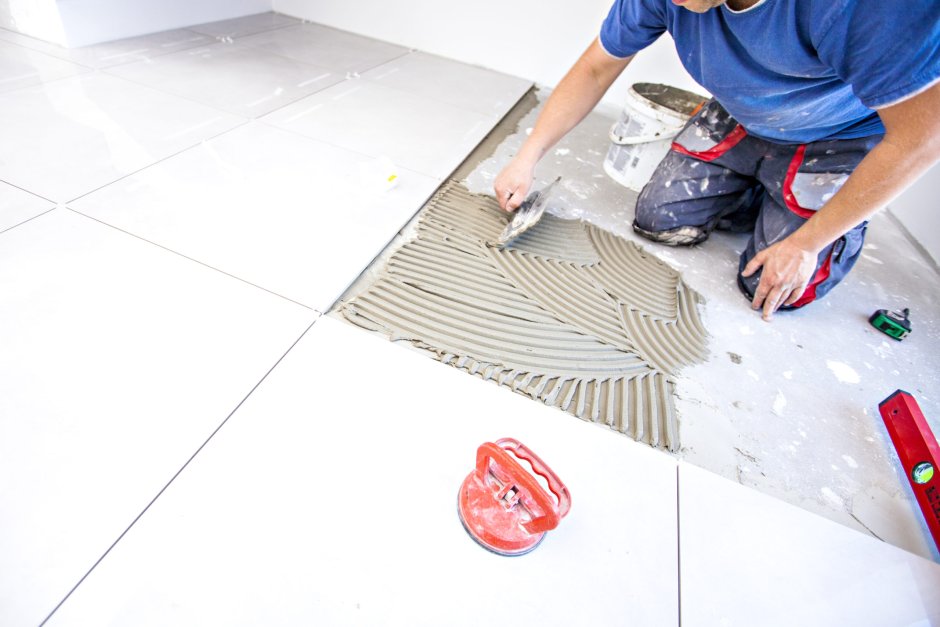
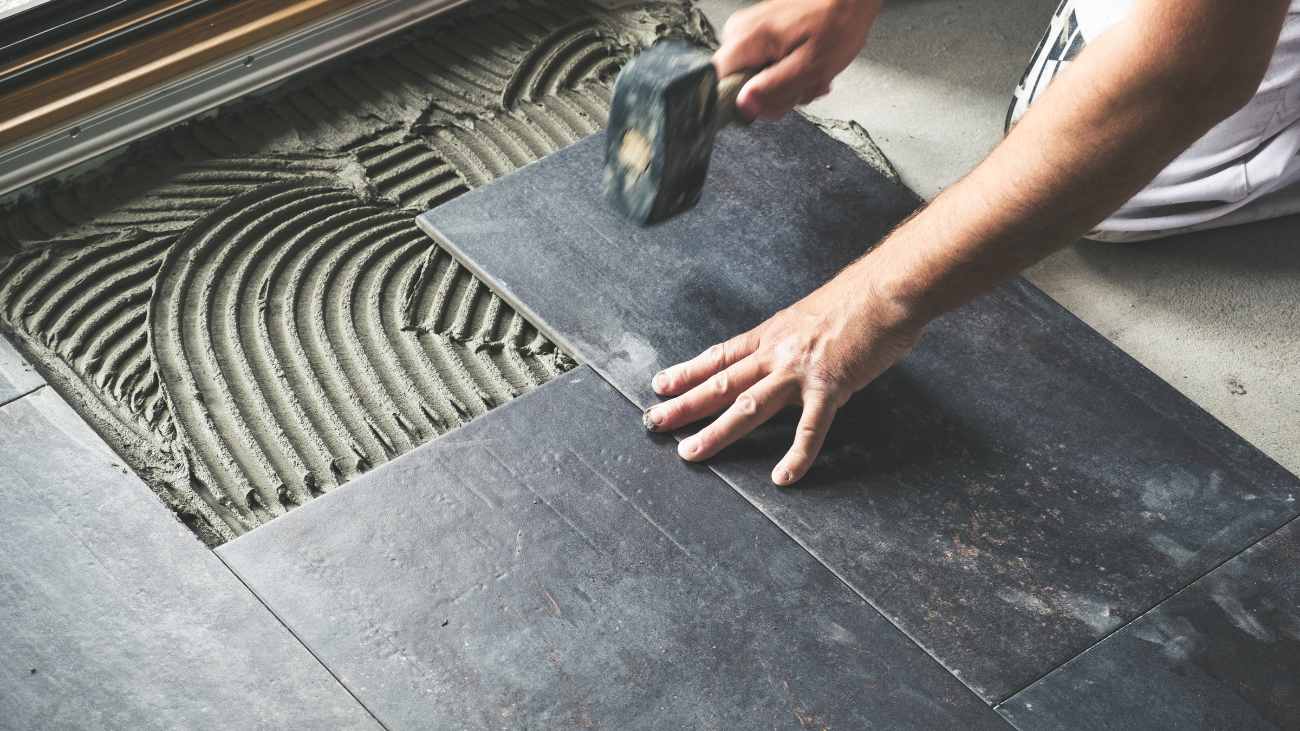
For tiles greater than 15” nominal a medium-bed setting mortar is useful to provide a deeper non-shrinking bed of mortar and proper support to the tile. Proper notched trowel size is used to achieve maximum mortar coverage. Back-buttering of the tile can also aid in facilitating maximum coverage. Key the mortar onto the substrate with the flat side of the trowel. Comb the mortar with the notched side of the trowel in ONE DIRECTION. Firmly press the tiles into the mortar and move them back and forth ACROSS the mortar ridges. This will flatten the mortar and fill in the gaps between the mortar ridges. This recommended method will produce maximum coverage, with the corners and edges properly supported. Periodically remove and check an individual tile to assure proper coverage. ANSI A108 requires an average contact area of 80% for dry applications and 95% for wet applications (shower or exterior).
The use of “glass handling” suction cups is recommended for flat-setting, heavy large format tile/stone into fresh mortar. These “glass handlers/suction cups” effectively assist in working large format tiles into the mortar for maximum coverage.
CAUTION: glass handles/suction cups are effective with smooth unpolished, glazed or polished tile surfaces only.
If tiles, particularly large format tile (>15”) are installed in a condition where one edge of the tile is higher than adjacent tile, giving the finished surface an uneven appearance known as lippage, the use of a high speed orbital sander (Remove all abrasive/sanding paper before applying vibrating pressure to the tile) applied along the edge of the elevated tile can be effective in vibrating excess mortar out for removal, and lowering the tile into alignment with the adjoining tiles.
Flexible Joints:
Flexible joints at: restraining surfaces, over cold joints, and at regular intervals as described in the Tile Council of North America Handbook (TCNA) Detail EJ-171 Movement Joints-Vertical and Horizontal Guidelines.
Mixing of Mortar and Grouts:
Portland cement based and epoxy materials mechanically mixed at low speed < 150 r.p.m. (or per manufacturer’s directions).
Portland cement based materials typically require 5-10 minute slake time before remixing and application.
Grout Releases and Sealers:
Polished or abrasive tiles benefit from a one time application of grout release or penetrating sealer prior to grout application. This application prevents grout haze or pigment staining from building up in the micro-pores and clefts of the tile surface.
Grouting:
Review the grout type, color and installation procedure before installation.
Grout Film Clean-up:
Cement based haze or film removed with nylon scrub pad, clean hot water and damp towels.
Protection and Final Clean-up:
Protect finished floors by covering with heavy, breathable paper.
Final clean-up should employ a neutral cleaner. For removal of dirty detergent/grout slurry, the use of a wet vacuum is recommended.



نظرات ۰