


Ceramic floor underlayment is a critical component of any tile installation, providing a stable, level, and durable foundation for ceramic tiles. The underlayment ensures that the tiles remain intact, free from cracks, and resistant to moisture and movement. This article explores various practical methods of ceramic floor underlayment, their benefits, and their applications, helping you choose the best approach for your project.
Importance of Ceramic Floor Underlayment
Underlayment serves as the intermediary layer between the subfloor and the ceramic tiles. Its primary functions include:
- Stabilizing the Subfloor: Prevents flexing and movement that can lead to cracked tiles or grout.
- Leveling the Surface: Creates a flat and even base for tile installation, reducing lippage (height differences between tiles).
- Moisture Protection: Acts as a barrier against water infiltration, especially in wet areas like bathrooms and kitchens.
- Sound Insulation: Reduces noise transmission between floors.
- Crack Isolation: Prevents cracks in the subfloor from transferring to the tiles above.
Types of Ceramic Floor Underlayment Methods
- Cement-Based Backer Board
– Description: Cement backer board is a rigid panel made of cement, fiberglass, and sometimes crushed glass particles. It is widely regarded as the industry standard for ceramic tile underlayment.
– Installation: The board is installed over a layer of thinset mortar and secured with screws. Joints are sealed with fiberglass mesh tape and thinset.
– Applications: Suitable for both wet and dry areas, including bathrooms, kitchens, and floors.
– Pros: Durable, moisture-resistant, and easy to install.
– Cons: Heavy and generates silica dust when cut.
- Uncoupling Membranes
– Description: Uncoupling membranes, such as Schluter Ditra, are flexible polyethylene sheets that allow the substrate and tiles to move independently, preventing cracks.
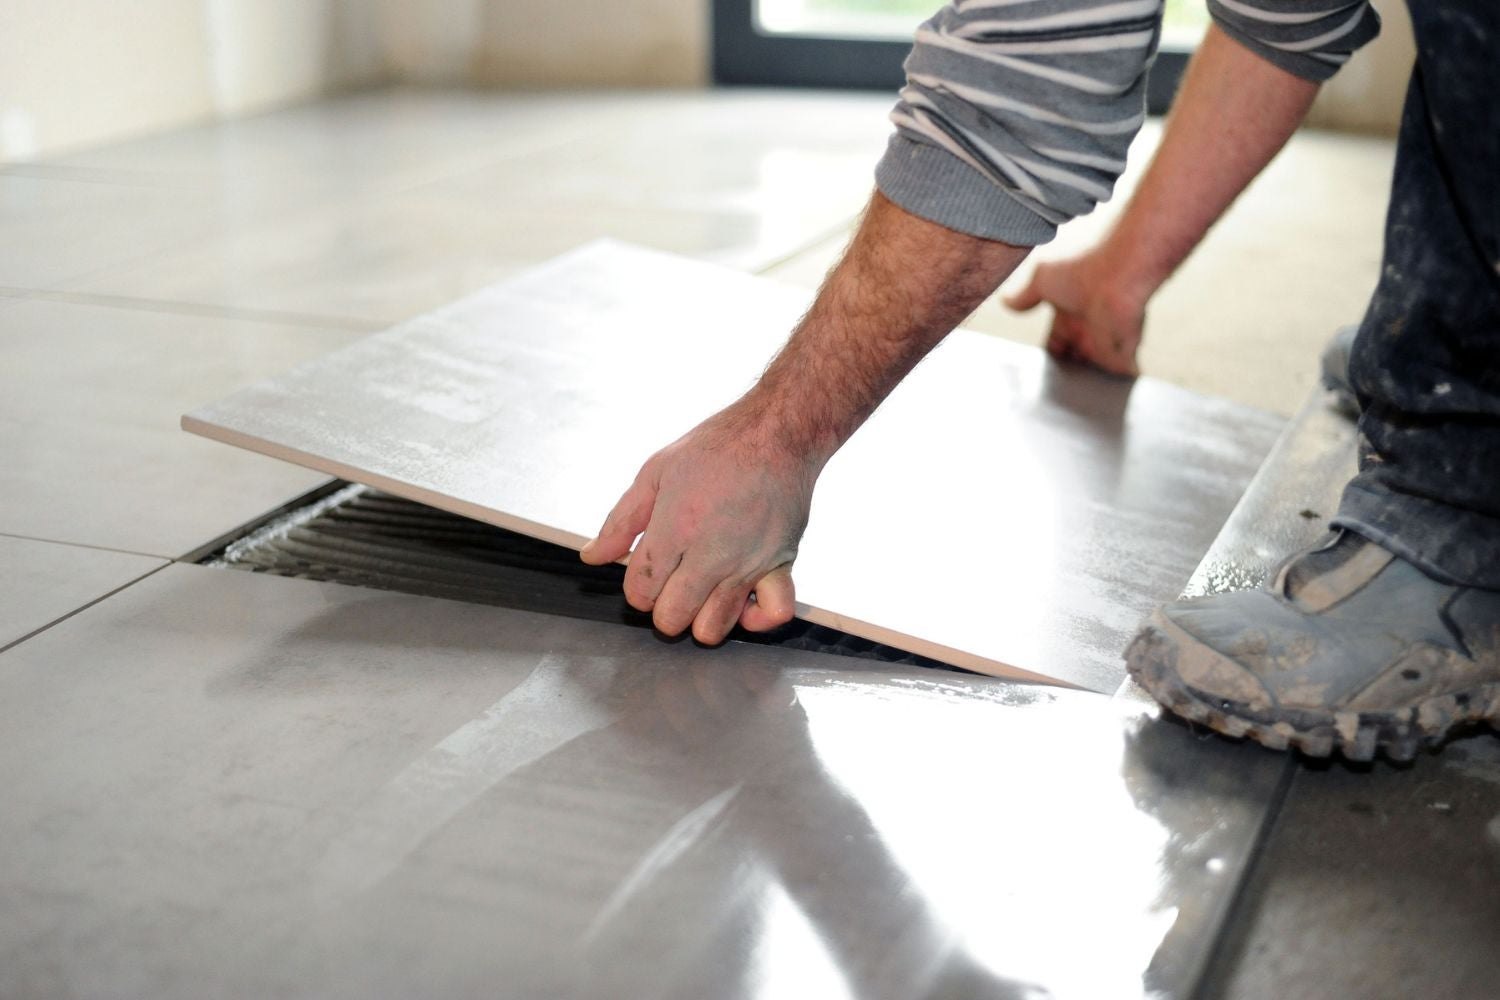
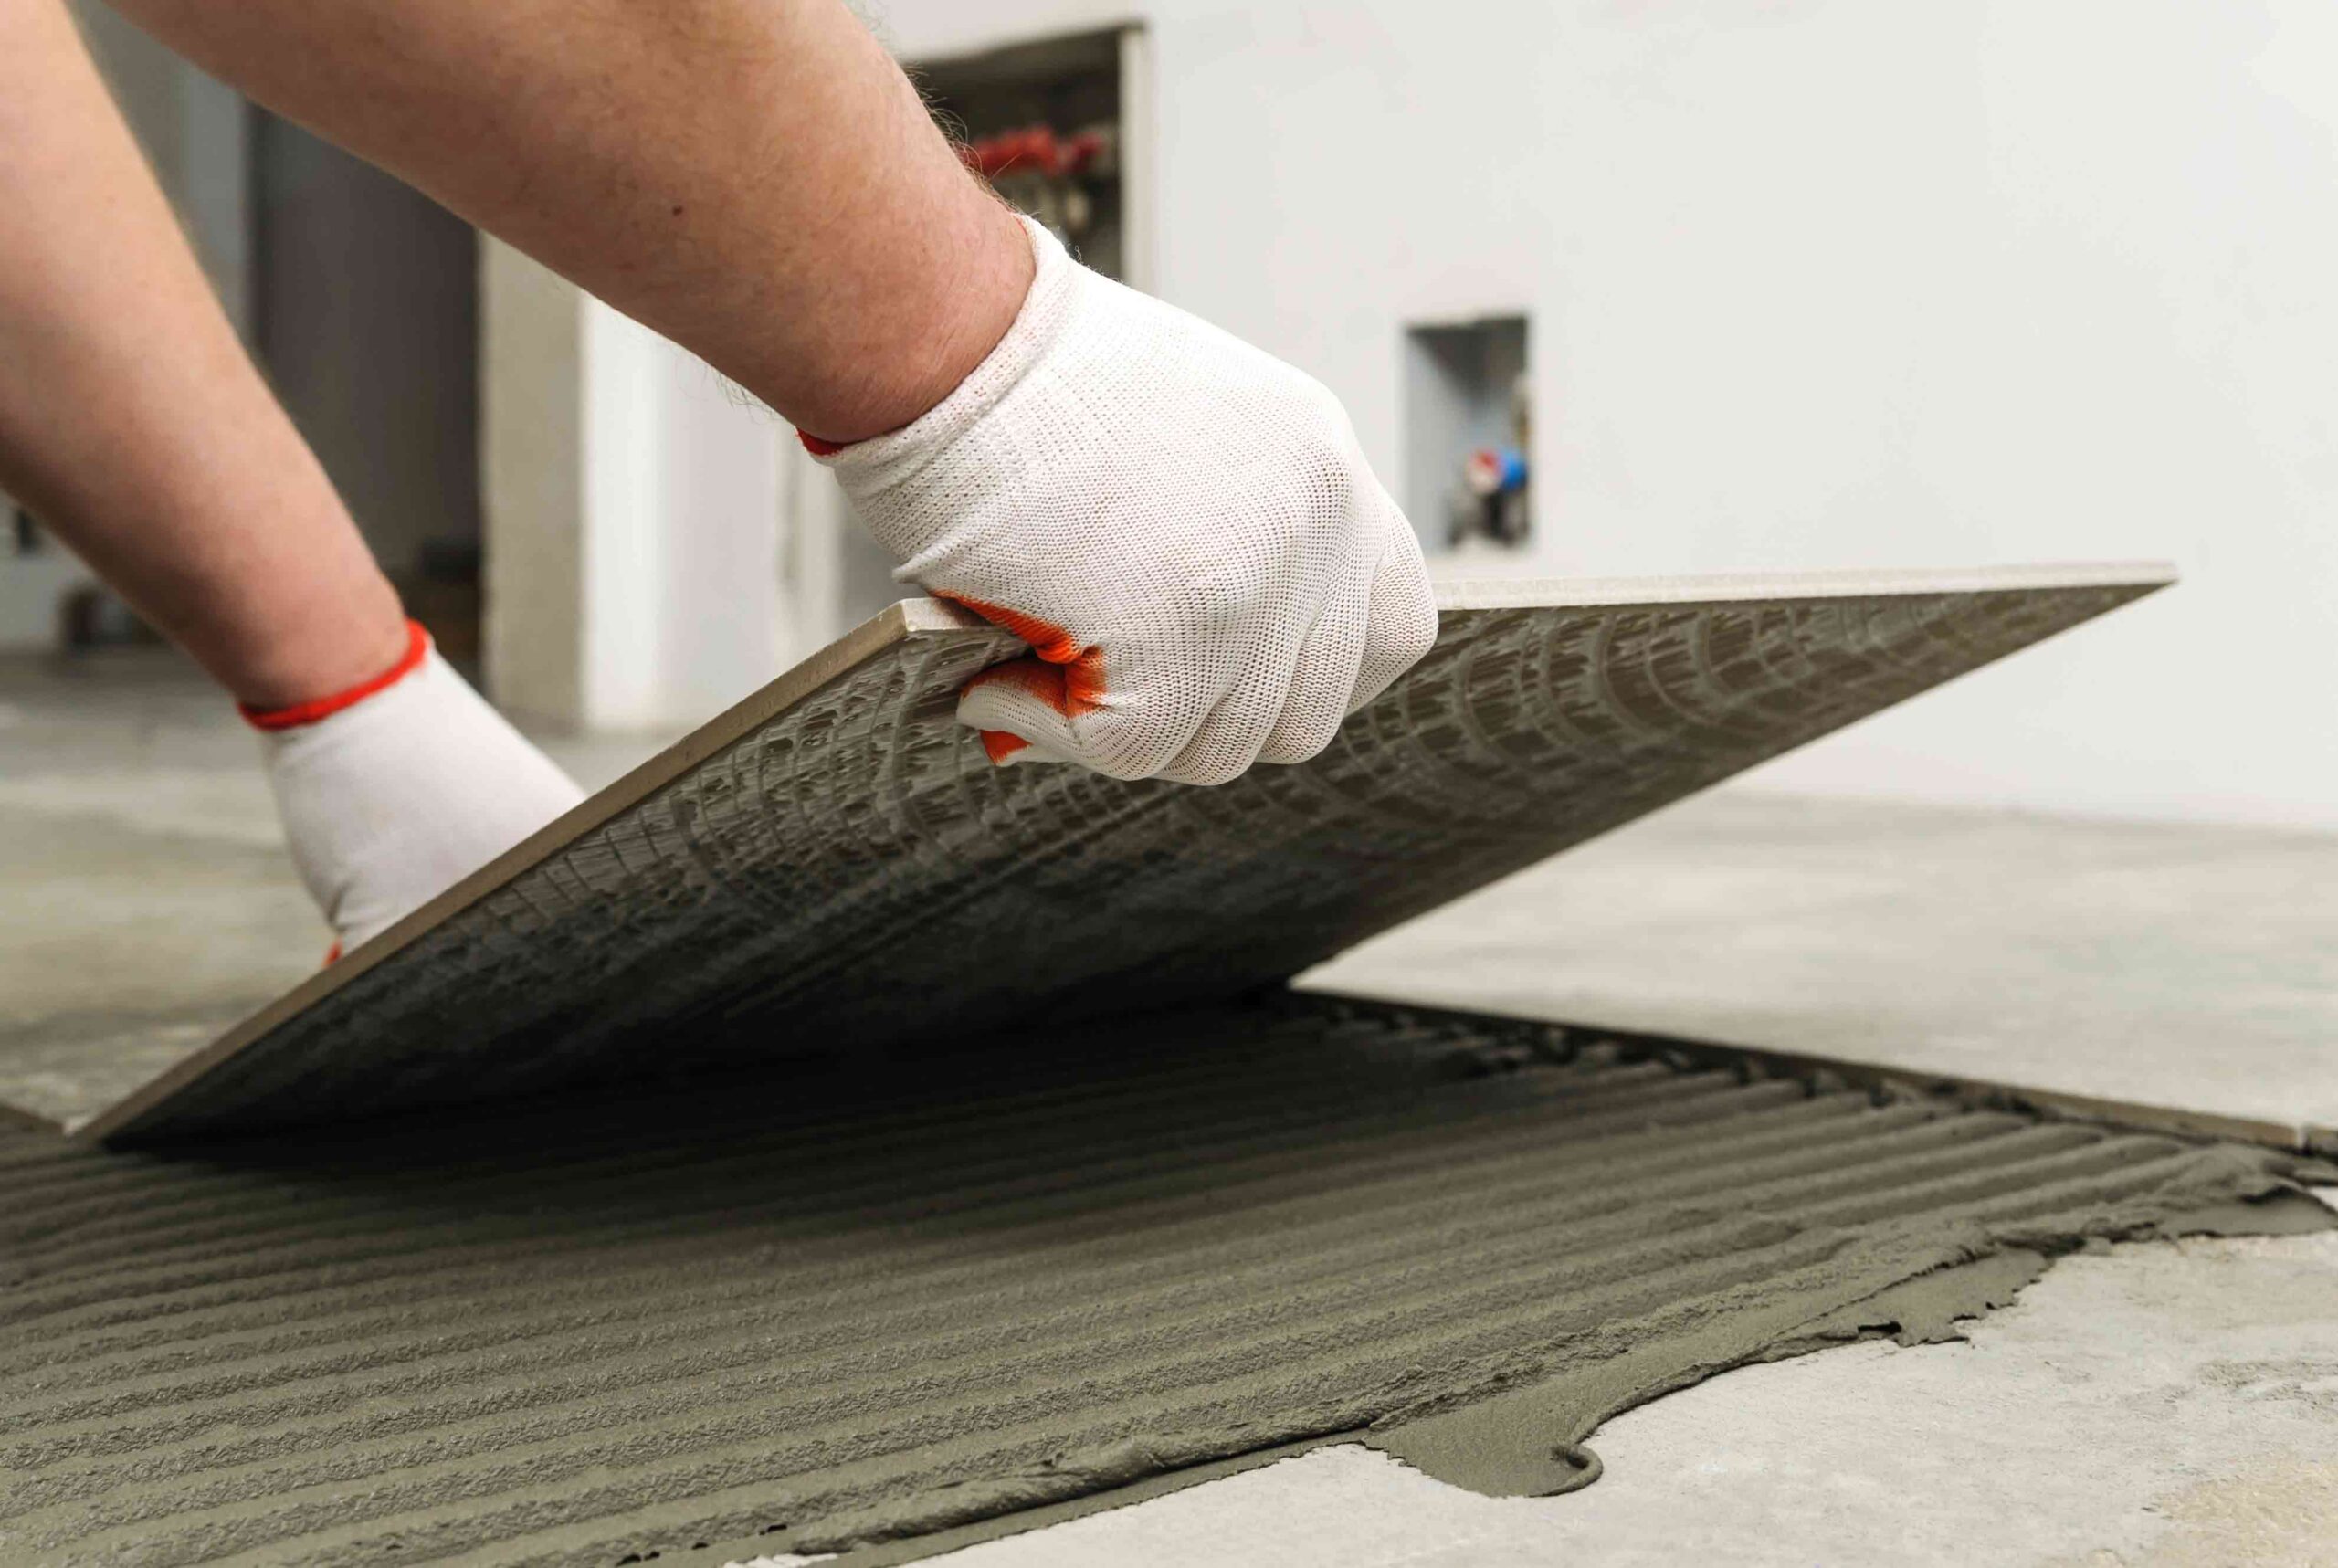
– Installation: The membrane is embedded in thinset mortar and covered with another layer of thinset before tile installation.
– Applications: Ideal for areas prone to movement, such as wood subfloors or concrete slabs with cracks.
– Pros: Lightweight, waterproof, and easy to install.
– Cons: Does not add rigidity to the floor.
- Mortar Beds
– Description: A traditional method involving a thick layer of cement mortar (1-2 inches) poured over the subfloor.
– Installation: Requires skilled labor to mix and apply the mortar evenly. Wire mesh reinforcement is often embedded for added strength.
– Applications: Commonly used in showers and areas requiring precise leveling.
– Pros: Highly durable and customizable for uneven surfaces.
– Cons: Labor-intensive, time-consuming, and adds significant weight to the floor.
- Self-Leveling Underlayment (SLU)
– Description: A liquid compound that levels itself when poured over the subfloor, creating a perfectly flat surface.
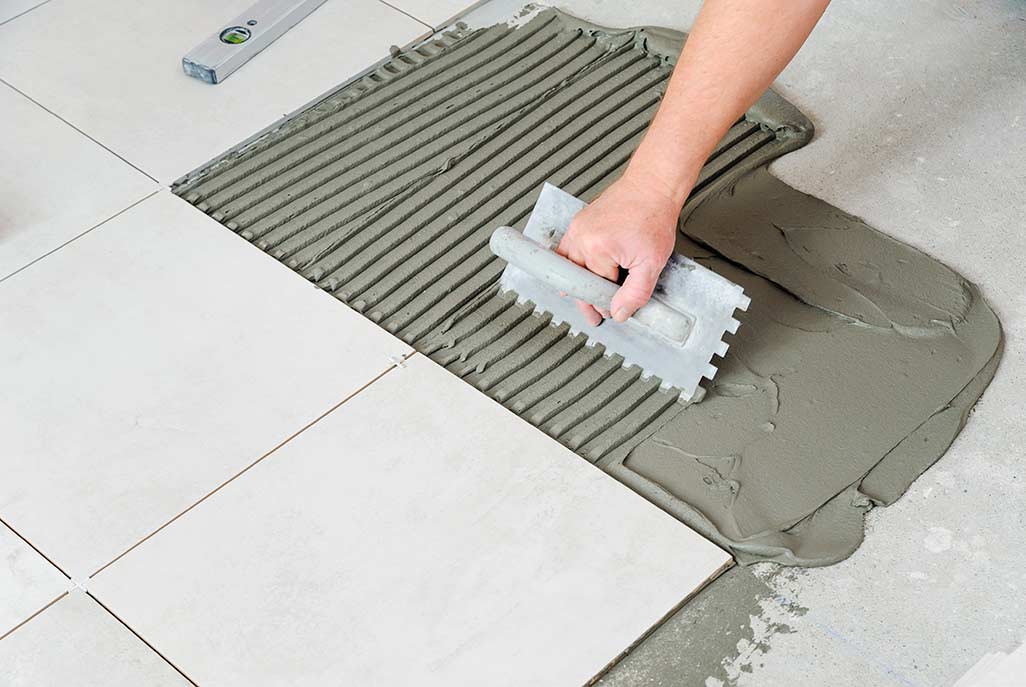
– Installation: The compound is mixed with water, poured, and spread evenly with a gauge rake. It dries within 24 hours.
– Applications: Ideal for uneven concrete or wood subfloors.
– Pros: Fast-drying, easy to use, and provides a smooth surface.
– Cons: Requires precise mixing and application.
- Crack Isolation Membranes
– Description: These membranes, available in sheet or liquid form, prevent cracks in the subfloor from transferring to the tiles.
– Installation: Sheets are adhered with thinset, while liquid membranes are applied with a roller or brush.
– Applications: Suitable for concrete slabs with existing cracks.
– Pros: Effective crack prevention and waterproofing.
– Cons: Adds cost and complexity to the project.
- Exterior-Grade Plywood
– Description: A layer of waterproof plywood installed over the subfloor to provide a stable base for tiles.
– Installation: Plywood sheets are screwed to the subfloor, with seams staggered to avoid overlapping.
– Applications: Used in dry areas where moisture resistance is not critical.
– Pros: Cost-effective and easy to handle.
– Cons: Not suitable for wet areas and prone to movement.
Choosing the Right Underlayment Method
When selecting an underlayment method, consider the following factors:
- Subfloor Type: Concrete slabs, wood subfloors, or existing tiles require different underlayment solutions.
- Moisture Levels: Wet areas like bathrooms need moisture-resistant underlayment, such as cement backer board or uncoupling membranes.
- Floor Height: Adding multiple layers can affect door clearances and transitions between rooms.
- Project Budget: Some methods, like mortar beds, are more expensive and labor-intensive than others.
- Tile Type: Natural stone tiles require stiffer underlayment compared to ceramic tiles.
Installation Tips for Ceramic Floor Underlayment
- Prepare the Subfloor: Clean and level the subfloor, addressing any cracks or irregularities.
- Use Proper Adhesives: Ensure compatibility between the underlayment and thinset mortar.
- Follow Manufacturer Guidelines: Adhere to installation instructions for each underlayment type.
- Seal Joints and Seams: Use fiberglass mesh tape and thinset to seal joints in cement backer board.
- Allow Adequate Drying Time: Ensure self-leveling compounds and thinset mortar are fully cured before tile installation.
Conclusion
Ceramic floor underlayment is essential for a successful tile installation, providing stability, leveling, and protection against moisture and cracks. By understanding the various methods—cement backer board, uncoupling membranes, mortar beds, self-leveling compounds, crack isolation membranes, and plywood—you can choose the best solution for your project. Proper preparation and installation are key to ensuring a durable and visually appealing ceramic tile floor.
For further details, refer to the cited sources and consult with professionals for specific project requirements.


نظرات ۰