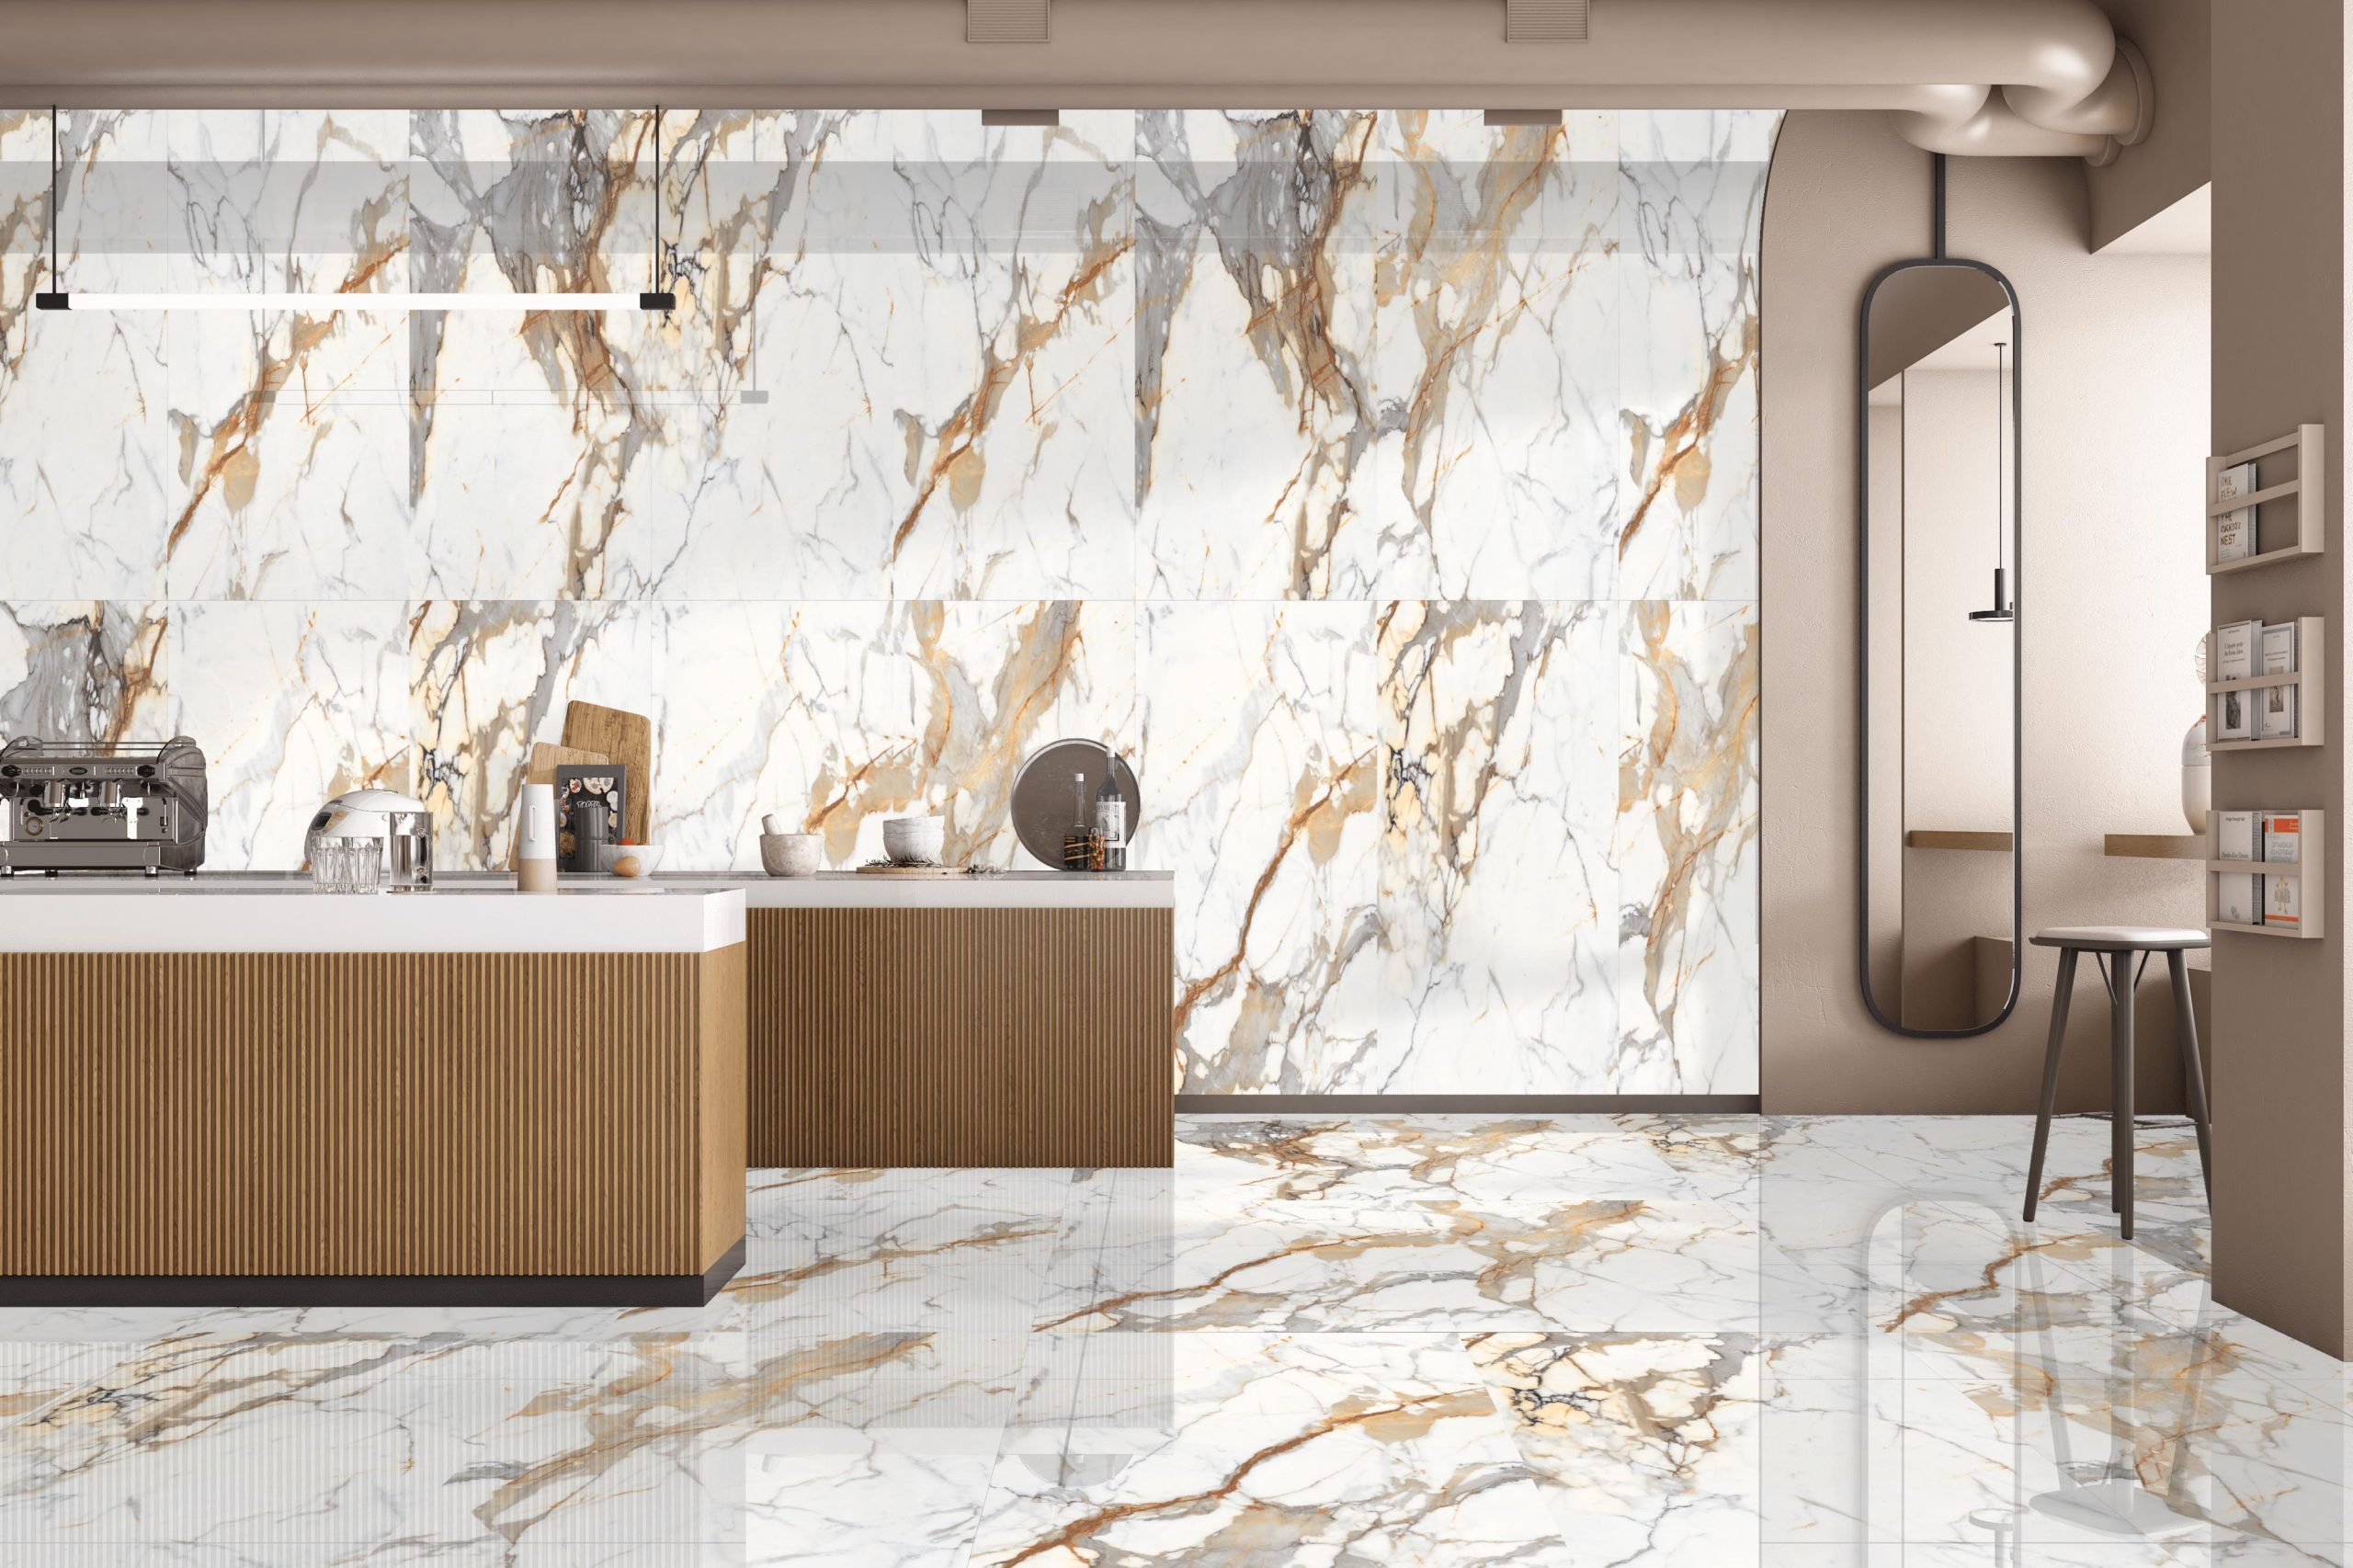
The 60×120 cm ceramic tile has become a cornerstone of modern design, offering a sleek, expansive aesthetic that minimizes grout lines and maximizes visual continuity. Ideal for creating the illusion of space, these tiles are increasingly used in kitchens, bathrooms, living areas, and commercial environments. However, their successful application hinges on informed material selection, meticulous installation, and tailored maintenance. This guide provides actionable insights for optimizing 60×120 cm ceramics across different spaces.
Part 1: Benefits of 60×120 cm Ceramics
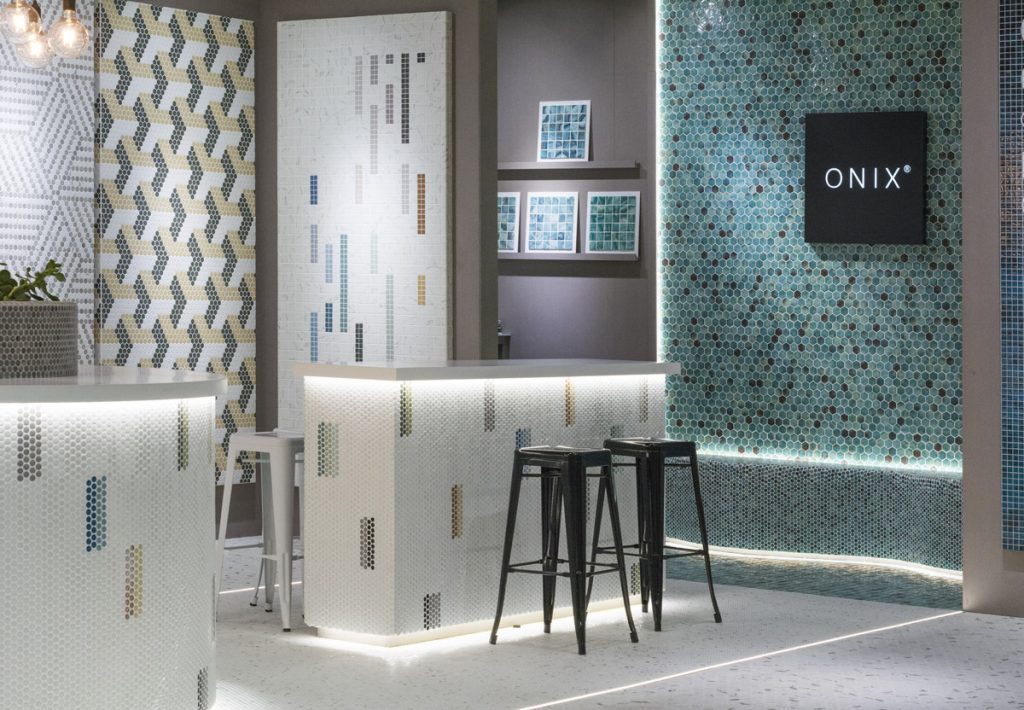
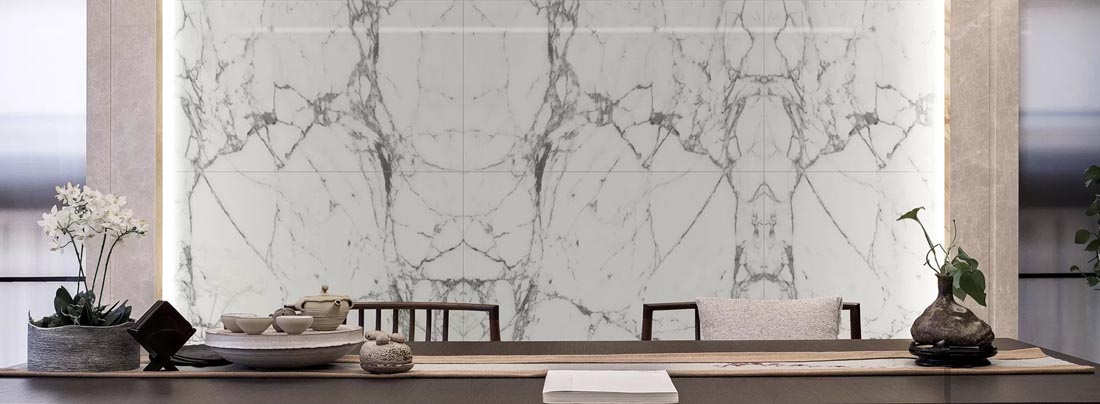
- Enhanced Aesthetics:
– Creates a seamless, modern look with minimal grout lines.
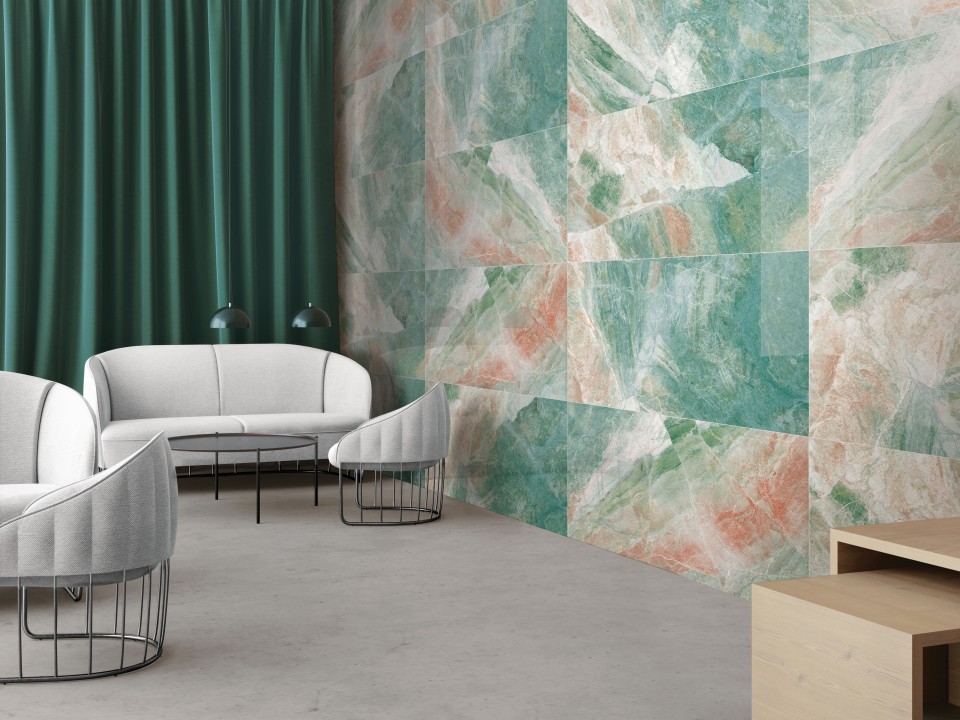
– Mimics natural materials (e.g., marble, wood) for luxurious finishes.
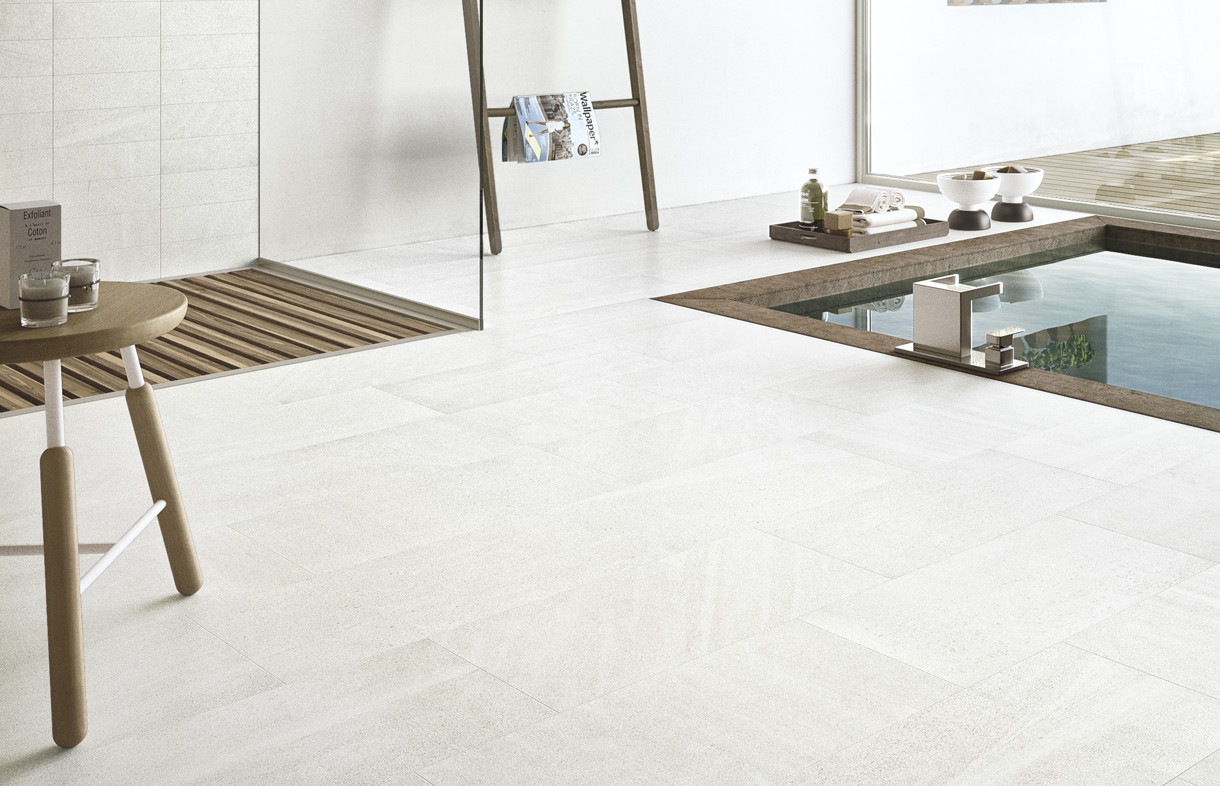
– Vertical or horizontal installation can manipulate spatial perception (e.g., elongating narrow hallways).
- Functional Advantages:
– Durability: Resists scratches, stains, and moisture, ideal for high-traffic areas.
– Easy Maintenance: Non-porous surfaces simplify cleaning.
– Versatility: Suitable for floors, walls, countertops, and backsplashes.
- Cost Efficiency:
– Fewer grout lines reduce long-term maintenance costs.
– Faster installation compared to smaller tiles when executed correctly.
Part 2: Selection Criteria by Space
A. Kitchens
– Material: Opt for porcelain for countertops and floors due to heat and abrasion resistance.
– Finish:
– Matte or Satin: Prevents slipping in wet areas (e.g., near sinks).
– Textured Surfaces: Avoid glossy finishes for floors to reduce slip hazards.
– Color: Light tones (e.g., white, beige) brighten small kitchens; darker shades hide stains in high-use zones.
– Thickness: 9–۱۲ mm for floors; 6–۹ mm for backsplashes.
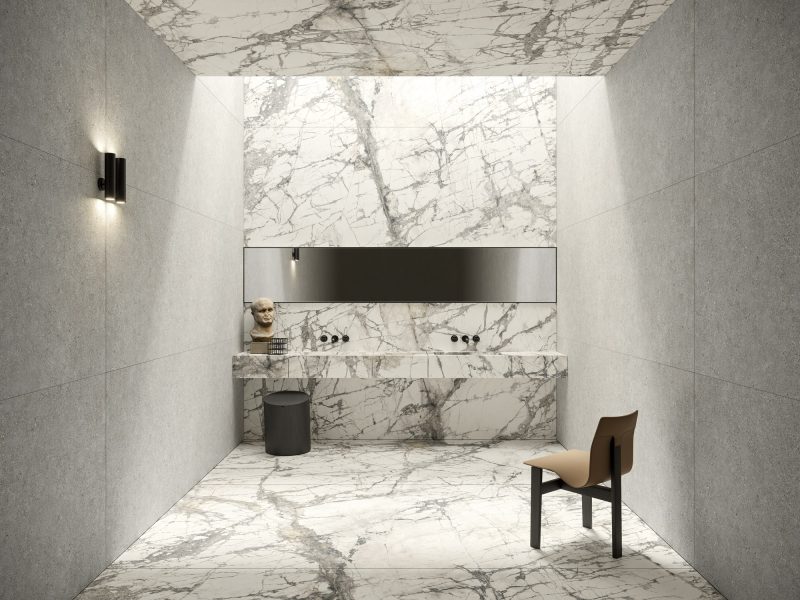
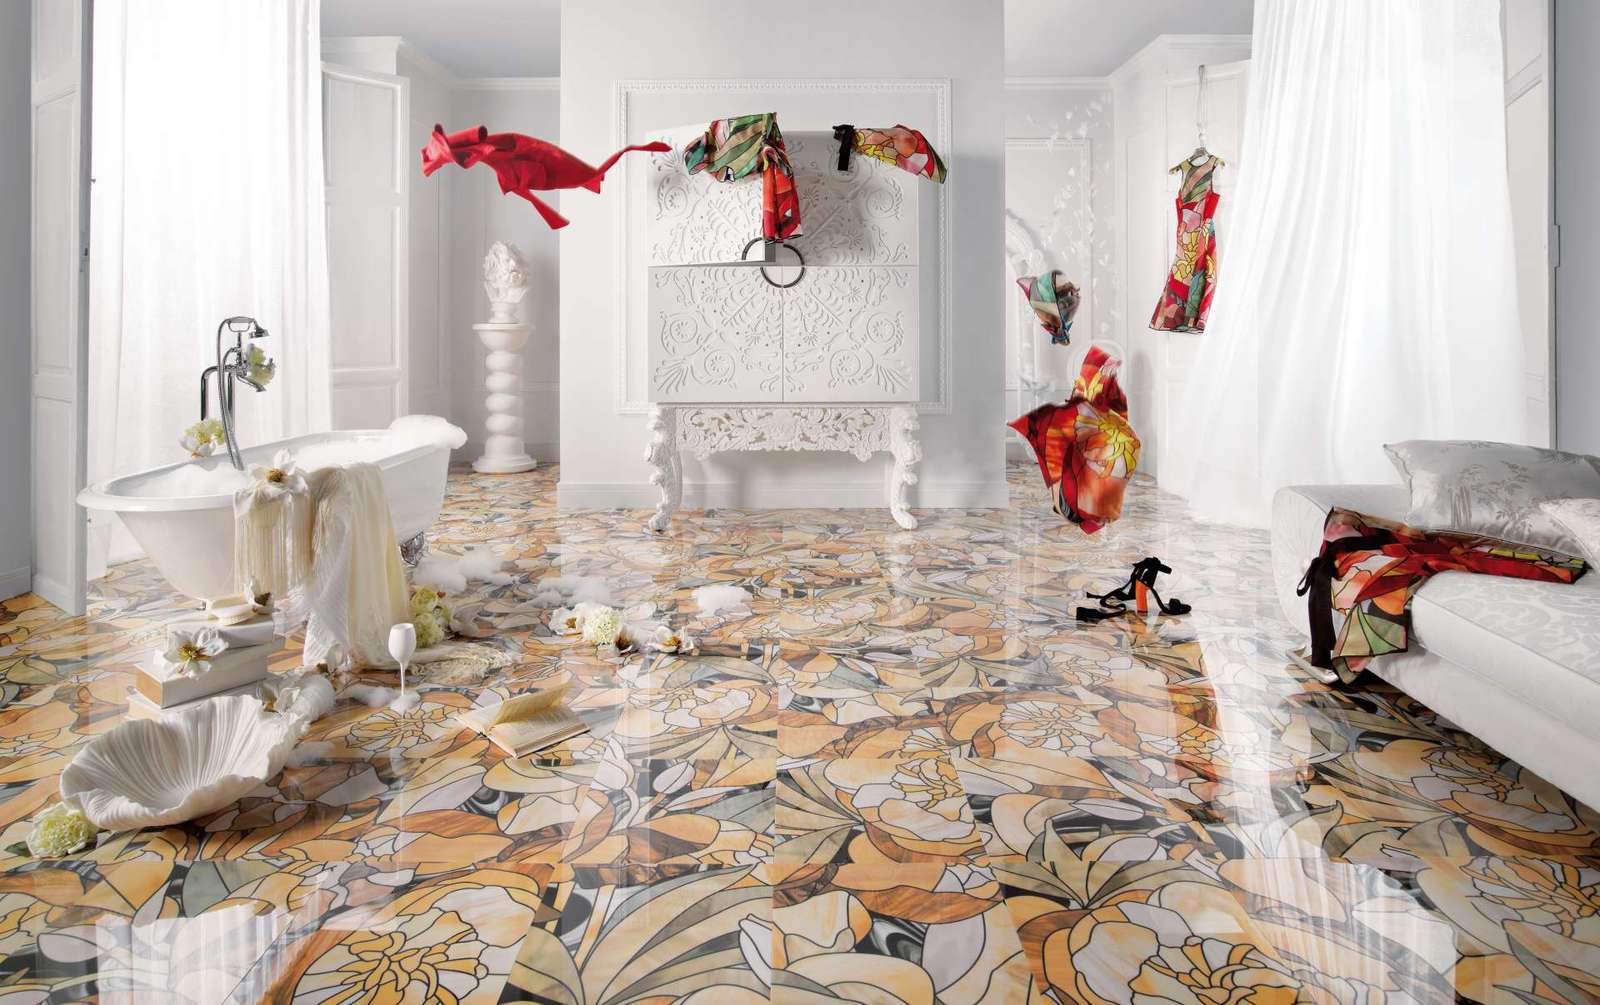
B. Bathrooms
– Material: Choose rectified porcelain for precise edges and water resistance.
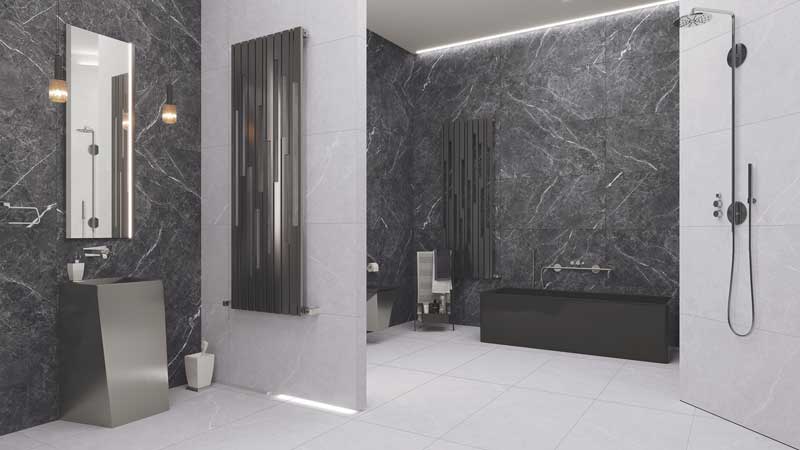
– Finish:
– Textured or Anti-Slip R10/R11-rated tiles for wet floors.
– Glossy walls to enhance light reflection.
– Design: Large-format tiles on shower walls eliminate grout joints, reducing mold risk.
– Color: Soft neutrals for a spa-like ambiance; bold patterns for accent walls.
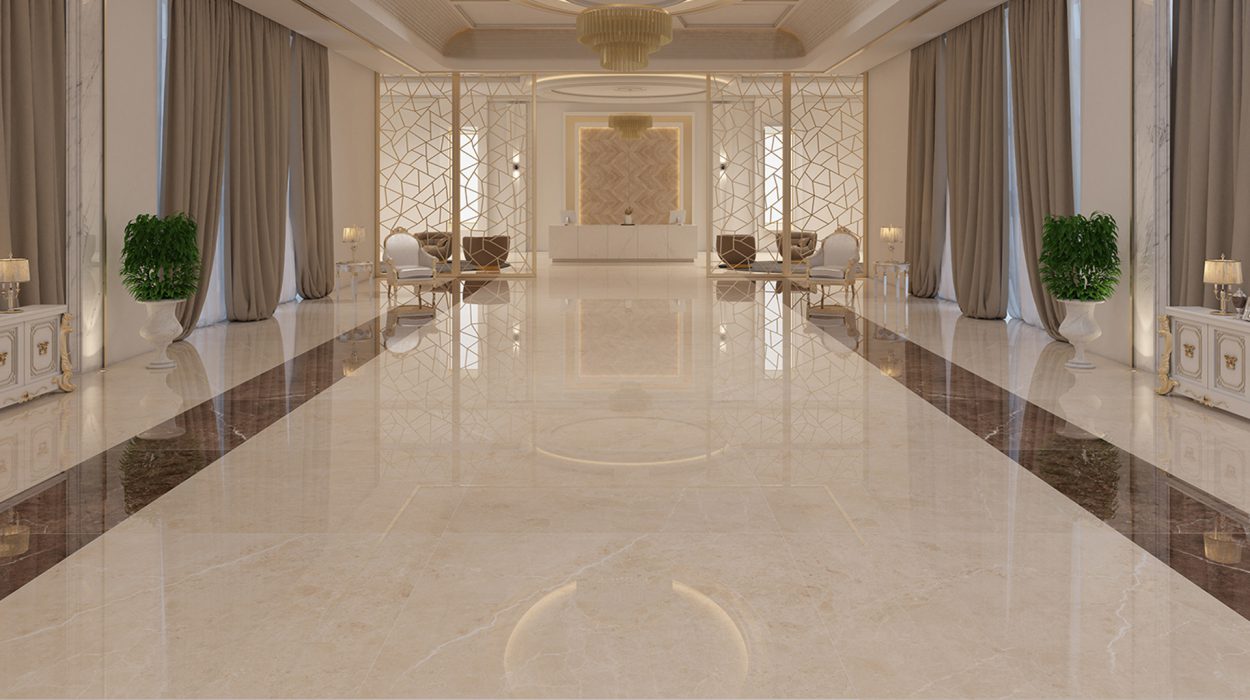
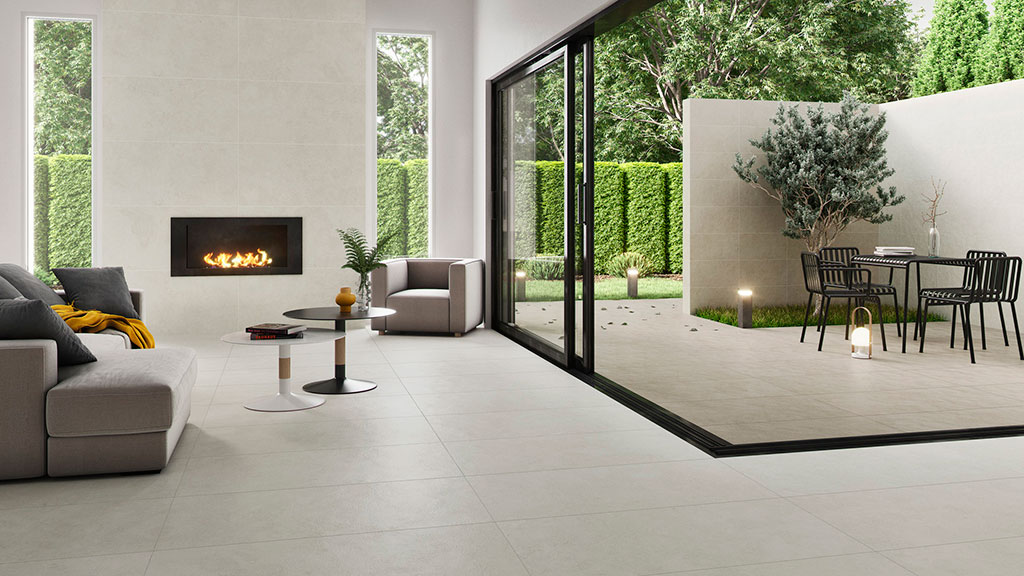
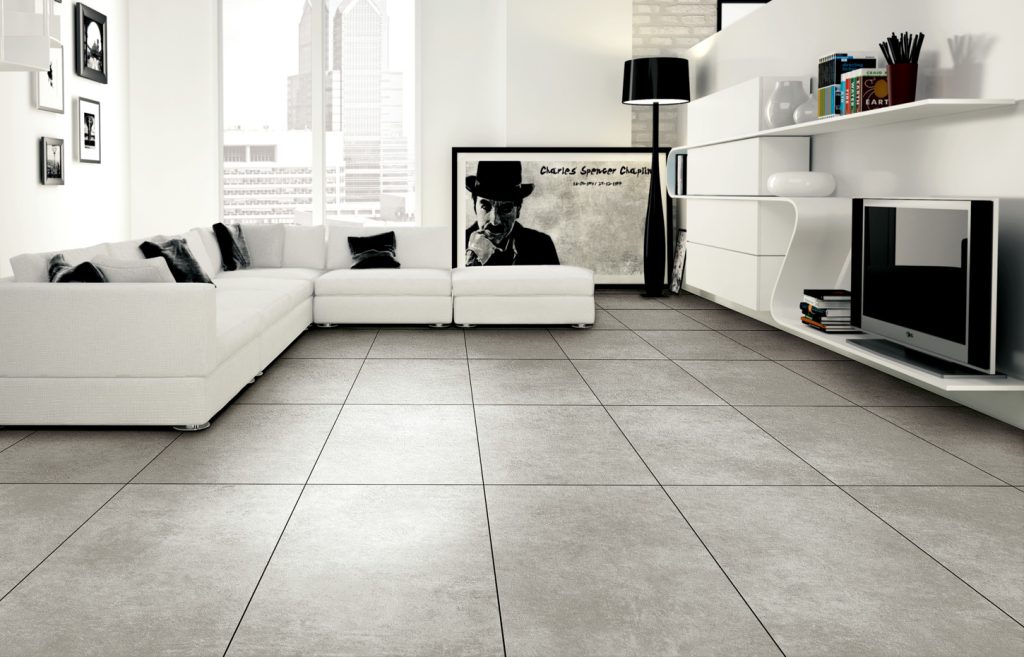
C. Living Areas & Commercial Spaces
– Material: High-density porcelain for durability in high-traffic zones.
– Finish: Polished surfaces for luxury; matte for commercial spaces prone to scuffing.
– Design: Use tile orientation to amplify space (e.g., horizontal layout in wide corridors).

Part 3: Installation Guide
- Substrate Preparation
– Ensure a flat, rigid base (deviations < 2 mm/m²). Use self-leveling compounds for uneven floors.
– Reinforce walls with cement boards in wet areas (e.g., showers).
- Tools & Materials
– Adhesive: Polymer-modified, C2-classified mortar for heavy tiles.
– Grout: Epoxy-based for bathrooms/kitchens; wide joints (3–۵ mm) for floors.
– Tools: Laser levels, suction cup lifters, diamond wet saws, and rubber floats.
- Installation Steps
– Layout Planning: Dry-fit tiles to check alignment and minimize cuts.
– Adhesive Application: Use a 12-mm notched trowel for full coverage.
– Tile Placement: Press firmly and use spacers to maintain even gaps.
– Curing Time: Allow 24–۴۸ hours before grouting; avoid foot traffic for 72 hours.
Space-Specific Tips:
– Kitchens: Install backsplash tiles after countertops to avoid damage.
– Bathrooms: Slope shower floors toward drains; use waterproof membranes.
– Large Areas: Incorporate expansion joints every 8–۱۰ meters to accommodate thermal movement.
Part 4: Maintenance & Repair
– Daily Care:
– Sweep/vacuum to prevent abrasive debris.
– Wipe spills immediately with a damp cloth.
– Deep Cleaning:
– Use pH-neutral cleaners; avoid acidic solutions (e.g., vinegar) on polished surfaces.
– Steam cleaners for grout lines (avoid on unsealed grout).
– Grout Maintenance: Reapply sealant annually in bathrooms/kitchens.
– Repairs:
– Replace cracked tiles using color-matched grout and epoxy adhesives.
– Consult professionals for structural issues (e.g., substrate cracks).
Part 5: Common Mistakes to Avoid
- Skipping Substrate Checks: Uneven bases lead to lippage and breakage.
- Incorrect Adhesive: Thin-set mortars may fail under tile weight.
- Ignoring Expansion Gaps: Causes buckling in temperature-fluctuating areas.
- Poor Storage: Stacking tiles horizontally risks chipping; store vertically.
Conclusion
The 60×120 cm ceramic tile is a transformative choice for modern spaces, blending elegance with practicality. By tailoring selections to each environment, investing in proper installation techniques, and adhering to maintenance schedules, homeowners and designers can unlock the full potential of these tiles. Whether creating a minimalist kitchen or a spa-inspired bathroom, attention to detail ensures longevity and aesthetic harmony.
Final Recommendations:
– Purchase 10–۱۵% extra tiles for replacements.
– Collaborate with certified installers for complex projects.
– Prioritize rectified edges for seamless wall installations.
With careful planning, 60×120 cm ceramics can elevate any space into a cohesive, durable, and visually stunning environment.

نظرات ۰