

Calculating the tile and ceramic coverage area is a critical step in construction and interior design projects. Accurate calculations ensure cost efficiency, waste reduction, and seamless project execution. This article provides a comprehensive guide to understanding and performing these calculations, covering manual and digital methods, key considerations, and practical examples.
Importance of Accurate Tile and Ceramic Coverage Calculation
Accurate calculations are essential for several reasons:
- Cost Management: Prevents overspending by ensuring the right amount of materials is purchased .
- Waste Reduction: Minimizes leftover materials, contributing to sustainability .
- Design Coordination: Ensures complex patterns and layouts are executed flawlessly .
- Project Scheduling: Avoids delays by ensuring materials are available when needed .
- Environmental Impact: Reduces resource consumption and environmental footprint .
Methods for Calculating Tile and Ceramic Coverage Area
Manual Method
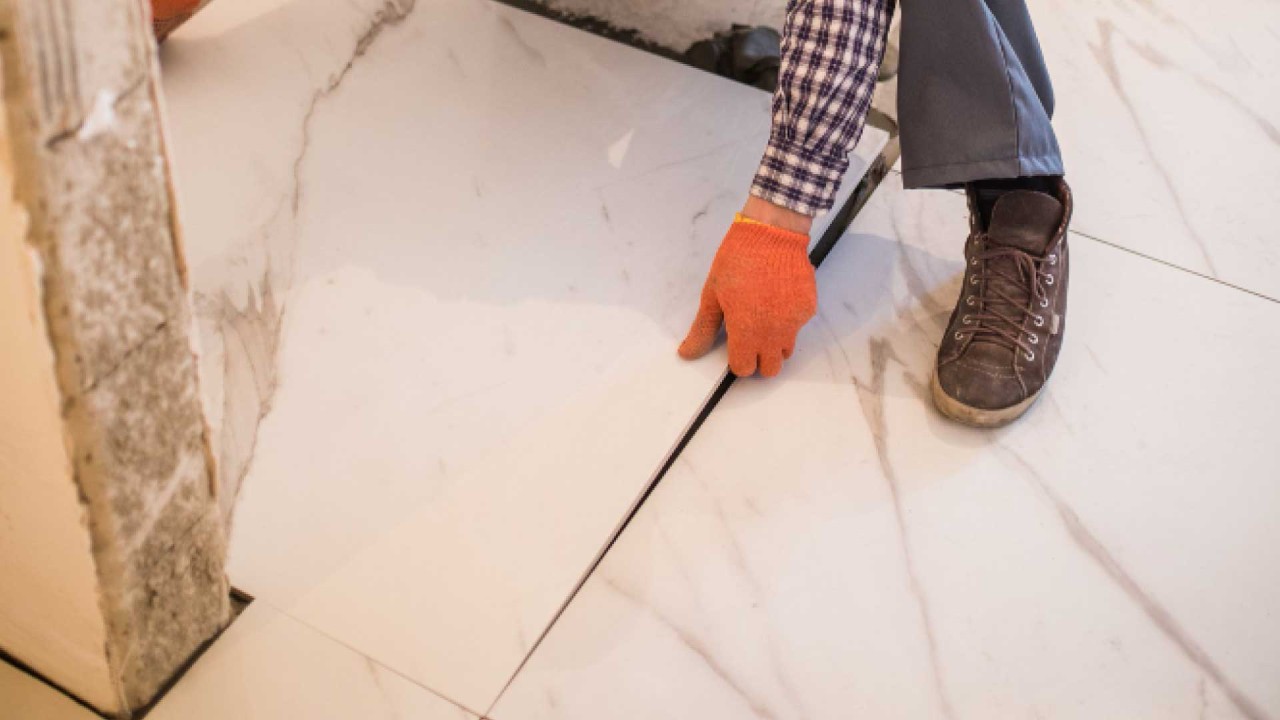
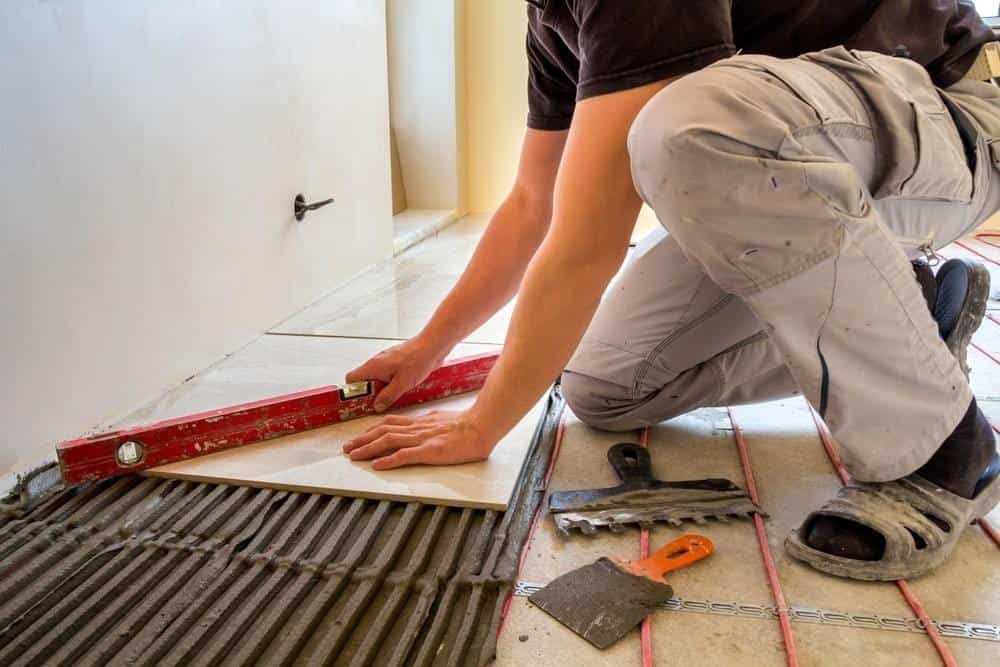
- Measure the Area: Measure the length and width of the surface to be tiled. For irregular shapes, divide the area into simpler shapes and sum their areas .
- Calculate Total Area: Multiply the length by the width to get the total area. For example, a 4m x 3m wall has an area of 12m² .
- Adjust for Empty Spaces: Subtract areas not requiring tiles, such as doors and windows .
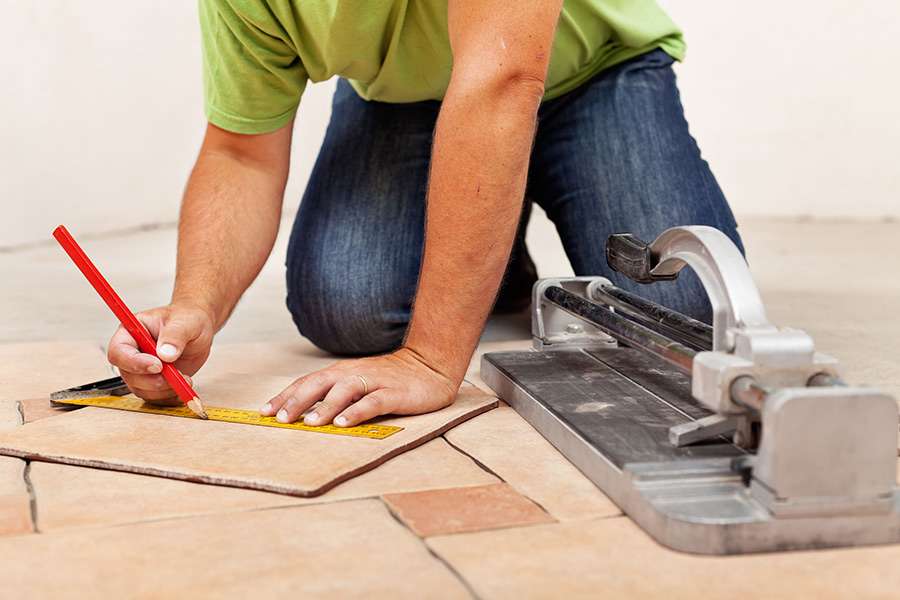
- Calculate Tile Area: Measure the dimensions of a single tile and multiply its length by its width. For example, a 30cm x 30cm tile covers 0.09m² .
- Determine Tile Quantity: Divide the total area by the area of one tile. For a 10m² area, 111 tiles are needed (10 ÷ ۰.۰۹) .
- Account for Waste: Add 5-10% extra tiles to account for cuts and breakage .
Digital Method
Digital tools like SketchUp or tile calculator apps simplify the process by providing accurate measurements and visualizations. These tools are particularly useful for complex layouts and large projects .
Key Considerations in Tile and Ceramic Coverage Calculation
Tile Size and Shape
– Larger tiles cover more area but may result in more waste during cutting .
– Rectangular and square tiles are easier to install, while irregular shapes require more precise calculations .
Tile Grading and Material
– Lower-grade tiles may have imperfections, increasing waste .
– Materials like porcelain and ceramic have different weight and handling requirements, affecting installation costs .
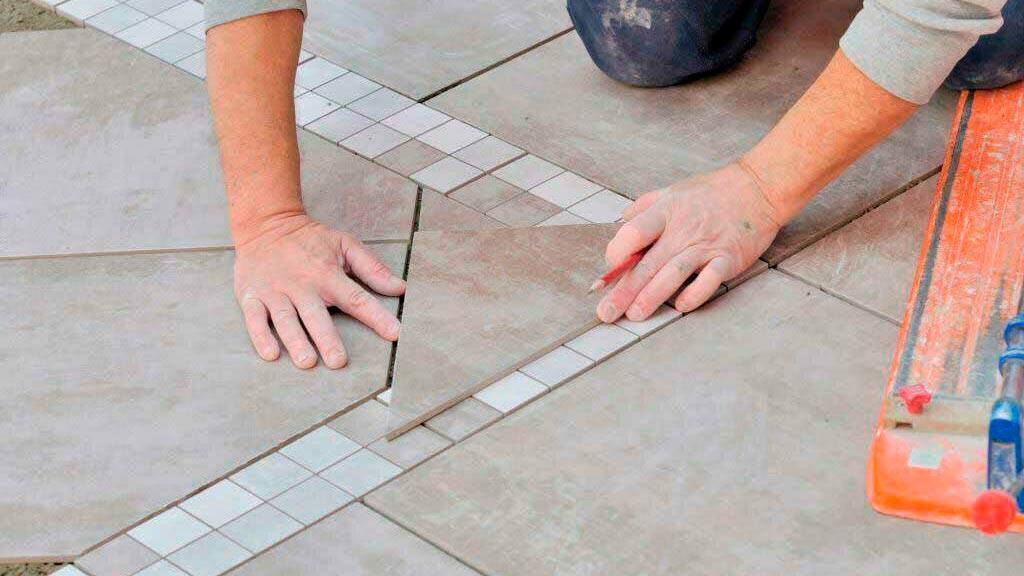
Layout Patterns
– Linear patterns are the most efficient, while herringbone or diagonal layouts may increase waste by 10% or more .
Grout and Adhesive Requirements
– Grout lines typically range from 1/16 inch to 1/2 inch, depending on tile type and design .
– Adhesive costs vary based on tile material and surface type .
Practical Examples
Example 1: Floor Tiling
– Room Dimensions: 5m x 4m (20m²).
– Tile Size: 30cm x 30cm (0.09m² per tile).
– Calculation: 20 ÷ ۰.۰۹ = ۲۲۲ tiles. Add 10% for waste: 244 tiles .
Example 2: Wall Tiling
– Wall Dimensions: 3m x 2.5m (7.5m²).
– Tile Size: 20cm x 20cm (0.04m² per tile).
– Calculation: 7.5 ÷ ۰.۰۴ = ۱۸۸ tiles. Add 5% for waste: 197 tiles .
Tools and Resources for Tile Calculation
– Tile Calculators: Online tools like those on Calculator.net or MadeCalculators.com simplify calculations by allowing users to input dimensions and waste percentages .
– ۳D Design Software: Tools like SketchUp provide visualizations and accurate measurements for complex projects .
Conclusion
Accurate tile and ceramic coverage calculations are essential for successful construction and design projects. By following the outlined methods and considerations, you can ensure cost efficiency, minimize waste, and achieve a high-quality finish. Whether using manual or digital methods, precise planning is the key to a seamless tiling project.

نظرات ۰