Have you been wanting to revamp your patio, garden, or home but always postpone the idea because of the installation process? Well, when it comes to laying the porcelain outdoor floor tiles, you should know exactly how to and what to do.
However, it’s not tricky to lay them yourself if you know the right steps and the proper technique. So, to make it easy for you, we are sharing 6 simple steps to place the porcelain Outdoor tiles like a pro.
And, if you’re looking for more inspirational designs, don’t forget to check out our porcelain paving tile collection for gardens and homes.
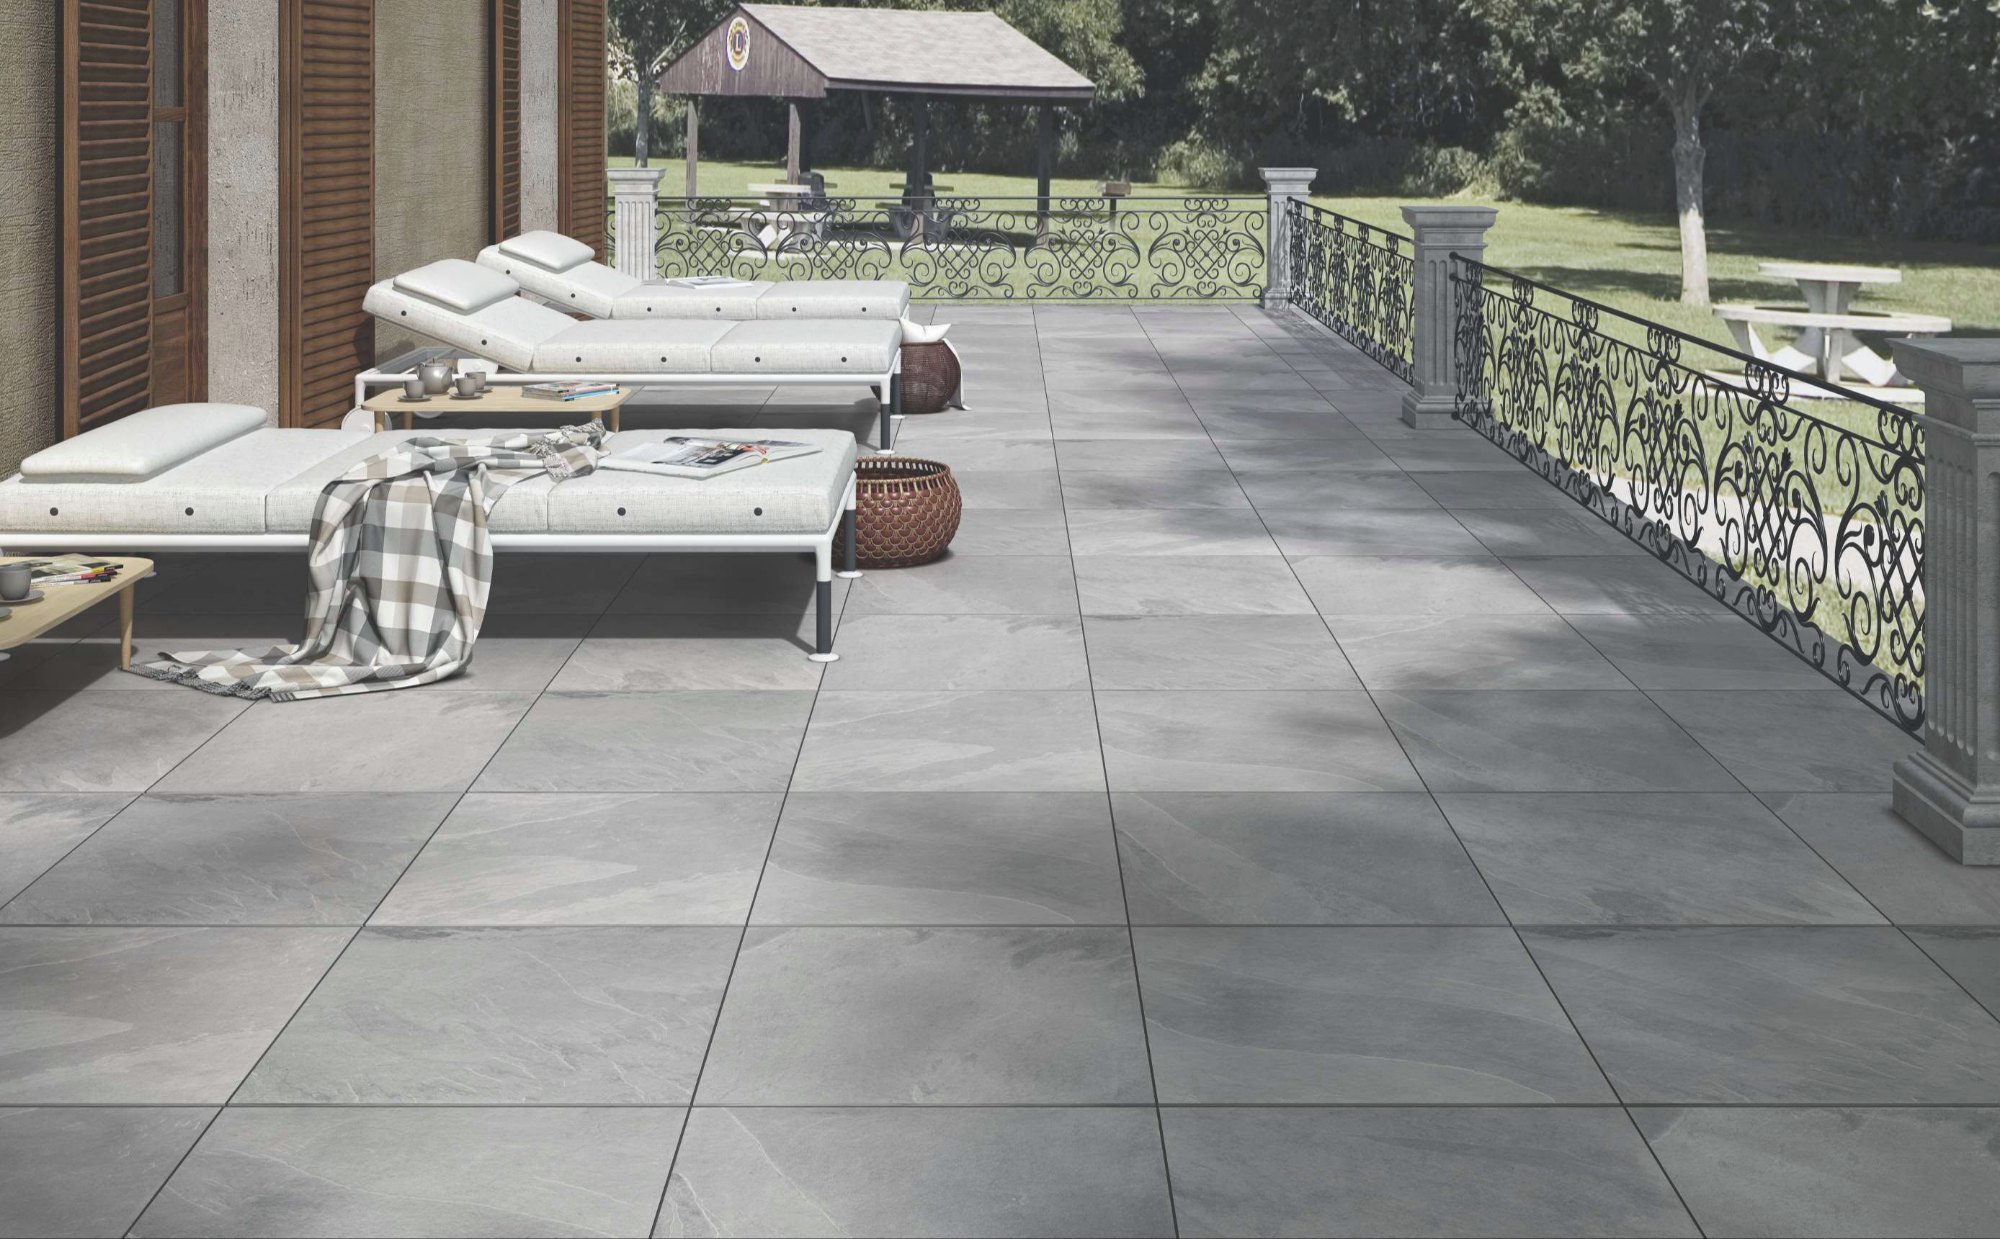
Materials And Cost Of A Porcelain Patio
Having the right materials is an essential prerequisite when working with outdoor porcelain tiles. In addition, to ensure that the tiles don’t chip or break, you must handle the tiles carefully.
Here are some materials that you should keep handy before placing the porcelain paving tiles into place.
- ۲۰mm porcelain garden tiles
- Bulk bags of sharp sand
- Bulk bag MOT type 1
- General purpose cement
- Tile spacers
- Porcelain tile primer
- Porcelain tile grout
Steps In Laying Porcelain Tiles
Make The Base By Marking
Mark the area where you want your tiles or slabs with posts and strings. Next, start by measuring the length and width of your area and calculate the square meterage by multiplying these values together.
After calculating the total square meterage, multiply the number by 1.1 to add 10% to allow cuts and wastage.
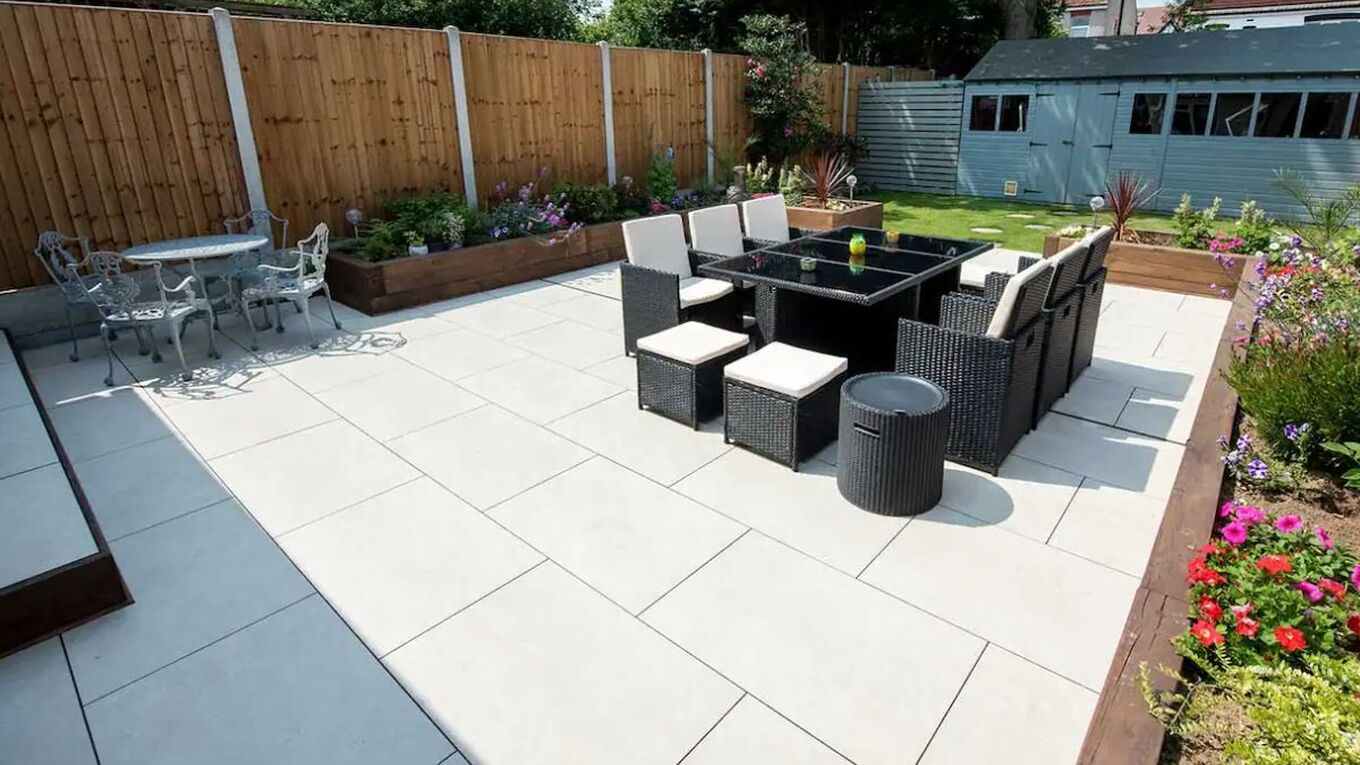
Prepare The Tiles
Coat the ۲۰mm porcelain tiles before placing them with a tile protector to make the installation process easier. Then, apply the coat to the tile’s surface with a foam roller. Avoid coating the edges as it may prevent the tile from bonding.
Make Space For Tiles
Prepare the ground by digging to a depth of around 150-200mm before laying the tiles. You can use the garden spades for the same. Additionally, while digging, you should give a slight slope to the ground to allow drainage.
Fill the space with hardcore
After digging out the ground, fill the dugout area with gravel and crushed hard rock (hardcore) to a depth of 100-150mm and compress it. Ensure that the ground still has a slight slope to maintain the gradient.
Apply Mortar And Primer
Once the hardcore is placed, add a layer of mortar on top of it. The most recommended formula is mixing four parts sand to one part cement. Next, put seven litres of clean water in a suitable container and add the slurry powder slowly. Mix it for five minutes to create a smooth consistency and coat the underside of the tile with this priming slurry.
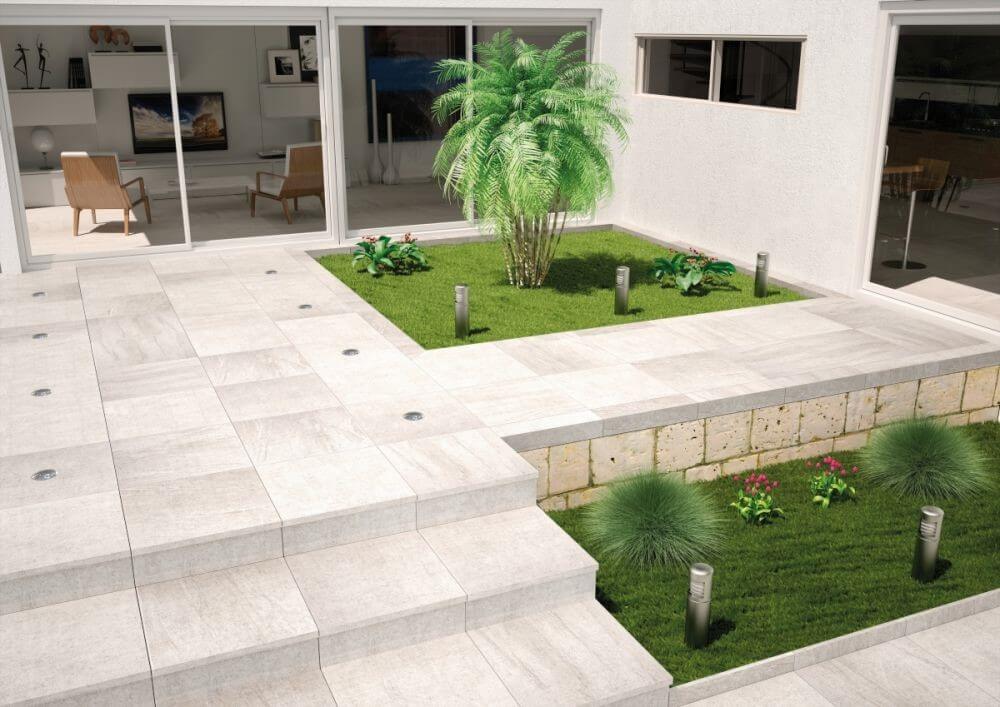
Place The Tiles
Now the tiles are ready to be set into position. Using a corner as a starting point, start placing the tiles. Press the tile into place and use a rubber mallet and spirit level to adjust the level.
Take-Home Message
Now that you have completed the installation process, do not forget to admire the good work you’ve done. Remember, using suitable materials and the correct technique can give you flawless results.
You may also want to amp up your home with some porcelain paving tiles from Royale Stones. Check out our premium collection of tiles and slabs and start revamping your entire home.
FAQ (Frequently Asked Questions)
Q-1 Can porcelain outdoor floor tiles be installed over existing concrete or stone surfaces, and if so, what preparation steps are required?
Ans- Yes, porcelain outdoor floor tiles can be installed over existing concrete or stone surfaces. The preparation steps typically involve cleaning the existing surface thoroughly to remove any debris, dirt, or grease. It’s essential to ensure the surface is level and free of any cracks or irregularities. Additionally, applying a bonding agent or primer can enhance adhesion between the existing surface and the porcelain tiles.
Q-2 Are there specific maintenance guidelines for ensuring the longevity and appearance of porcelain outdoor floor tiles in various weather conditions?
Ans- To maintain the longevity and appearance of porcelain outdoor floor tiles, regular cleaning with mild detergent and warm water is recommended. Additionally, it’s essential to promptly clean any spills to prevent stains. In harsh weather conditions, such as extreme heat or cold, using a sealant can provide extra protection against damage.
Q-3 How do I ensure proper drainage underneath the porcelain outdoor floor tiles to prevent water pooling or damage to the tiles over time?
Ans- Proper drainage can be ensured by preparing a slight slope in the substrate underneath the porcelain tiles to direct water away from the surface. This slope allows water to flow freely, preventing pooling and potential damage to the tiles over time. Additionally, installing a drainage system, such as perforated pipes or gravel beds, can help facilitate water drainage.
Q- 4 Are there any special considerations or preparations needed for specific types of soil or ground conditions in the garden before laying porcelain tiles?
Ans- Before laying porcelain tiles in the garden, it’s essential to assess the soil and ground conditions. For areas with clay soil, proper drainage solutions may be necessary to prevent water retention. In sandy soil, ensuring adequate compaction and stability of the substrate is crucial to prevent shifting or settling of the tiles over time.
Q- 5 How can one ensure proper drainage beneath the porcelain tiles to prevent water accumulation and potential damage over time?
Ans- Proper drainage beneath porcelain tiles can be ensured by incorporating drainage channels or gravel beds into the substrate. These features allow water to flow away from the surface, preventing accumulation and potential damage to the tiles. Additionally, maintaining a slight slope in the substrate ensures efficient water runoff and reduces the risk of water pooling.
Q-6 Are porcelain tiles good for gardens?
Ans- Porcelain tiles are an excellent choice for gardens due to their durability, resistance to moisture, and low maintenance requirements. They can withstand various weather conditions, including rain, frost, and heat, making them suitable for outdoor use. Additionally, porcelain tiles offer versatility in design, allowing for customization to match the aesthetic of your garden.







نظرات ۰