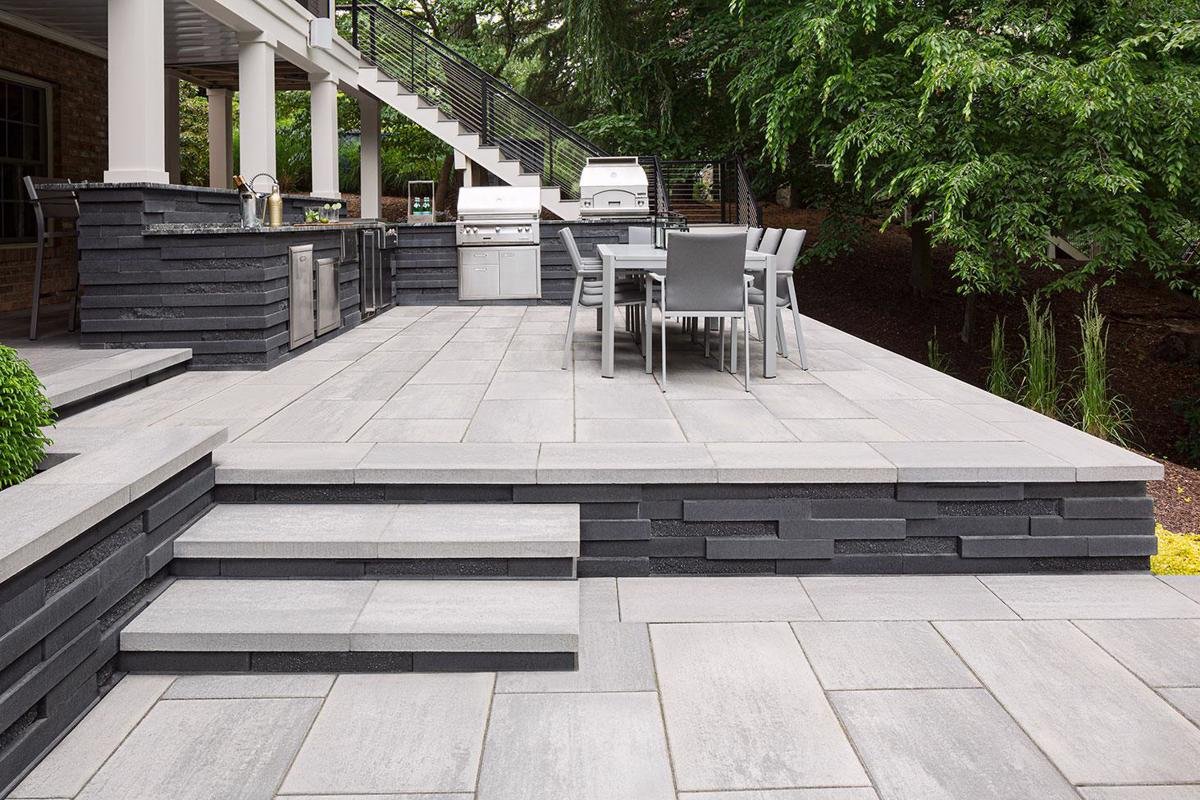
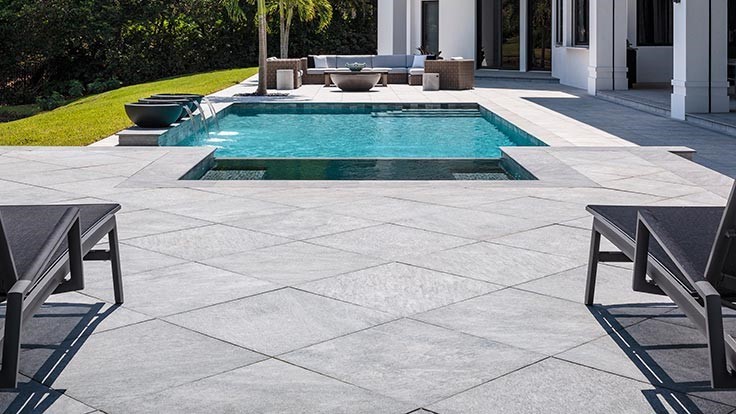
Porcelain pavers are a durable and stylish choice for outdoor spaces, offering a versatile solution for patios, driveways, garden paths, and more. Their weather-resistant properties and low-maintenance nature make them a favorite among homeowners and professionals alike. This guide outlines the steps to successfully install outdoor porcelain pavers for long-lasting results.
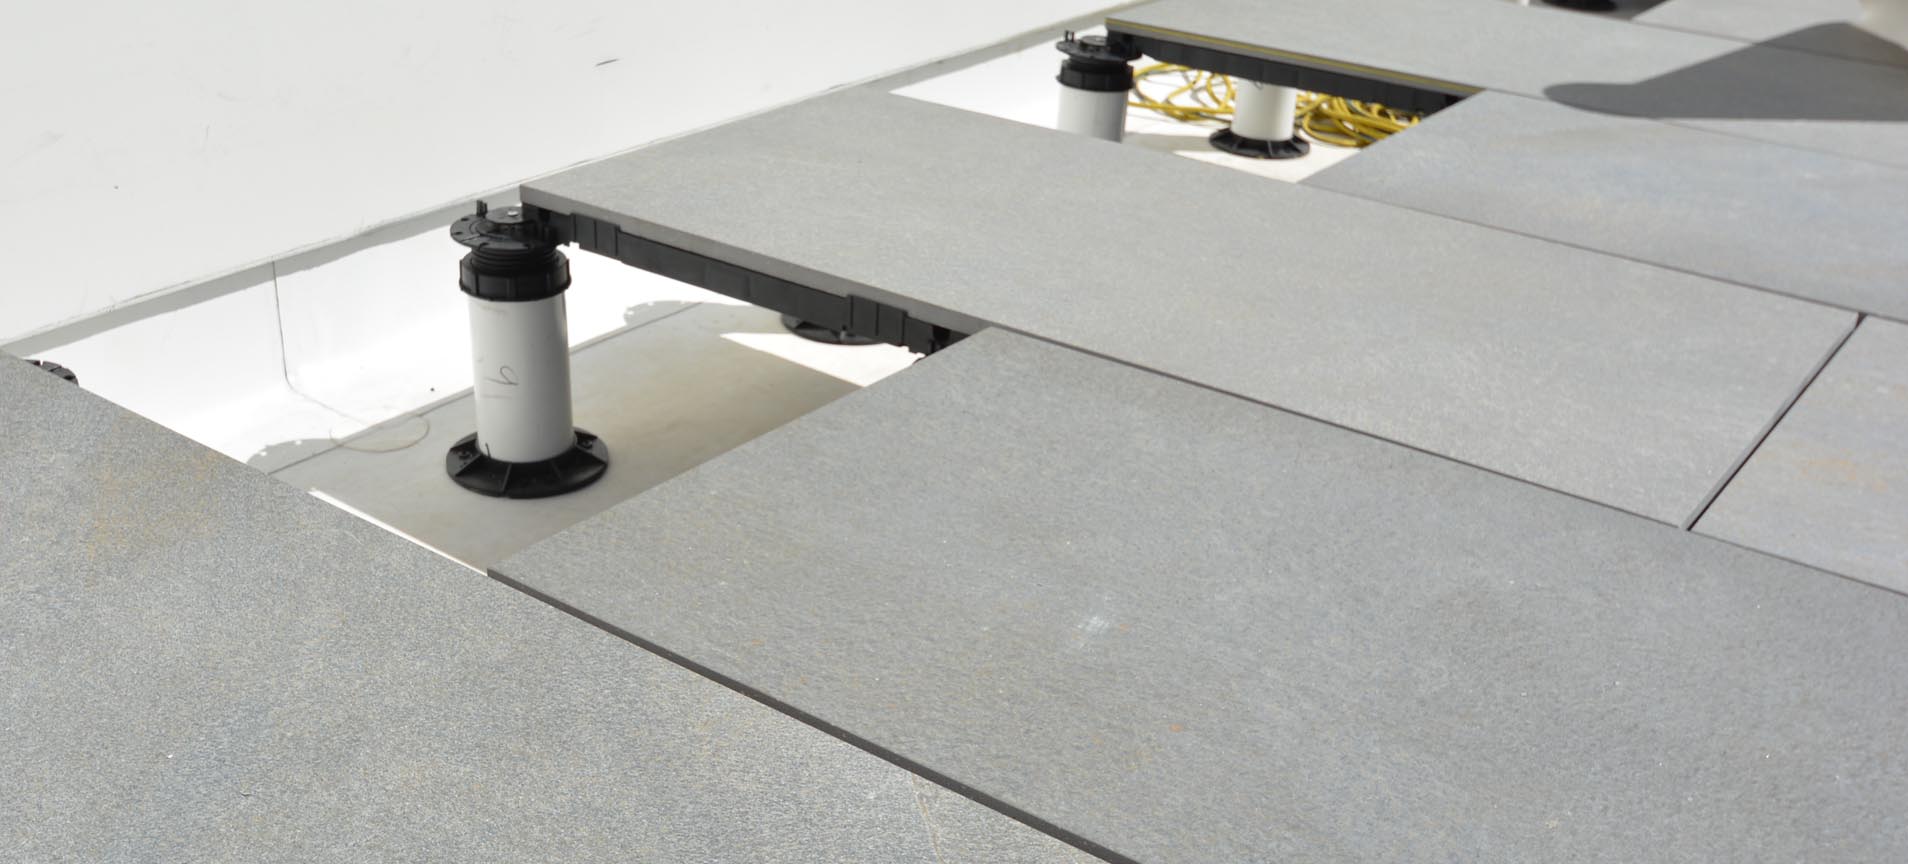
۱. Prepare the Installation Area
Before starting, ensure the site is properly prepared:
Clear the Area: Remove grass, rocks, and debris from the installation site.
Mark the Layout: Use stakes and string to mark the desired dimensions and shape.
Excavate: Dig the area to a depth that accommodates the pavers, base materials, and any required slope for drainage.
۲. Create a Stable Base
A strong foundation is crucial for the stability of porcelain pavers:
Layer the Base Material: Start with a compacted layer of crushed stone or gravel, followed by a layer of sand for leveling.
Ensure Proper Drainage: Maintain a slight slope (around 2%) to direct water away from the area.
Compact the Base: Use a plate compactor to ensure the base is firm and level.
۳. Dry Lay the Pavers
Before permanently setting the pavers:
Plan the Layout: Arrange the pavers in your desired pattern without adhesive or mortar.
Check Alignment: Ensure even spacing and symmetry using spacers. Adjust as needed for a balanced design.
۴. Install the Porcelain Pavers
Follow these steps for a secure installation:
Apply Adhesive (if required): For certain applications like driveways, a bonding adhesive may be necessary for added stability.
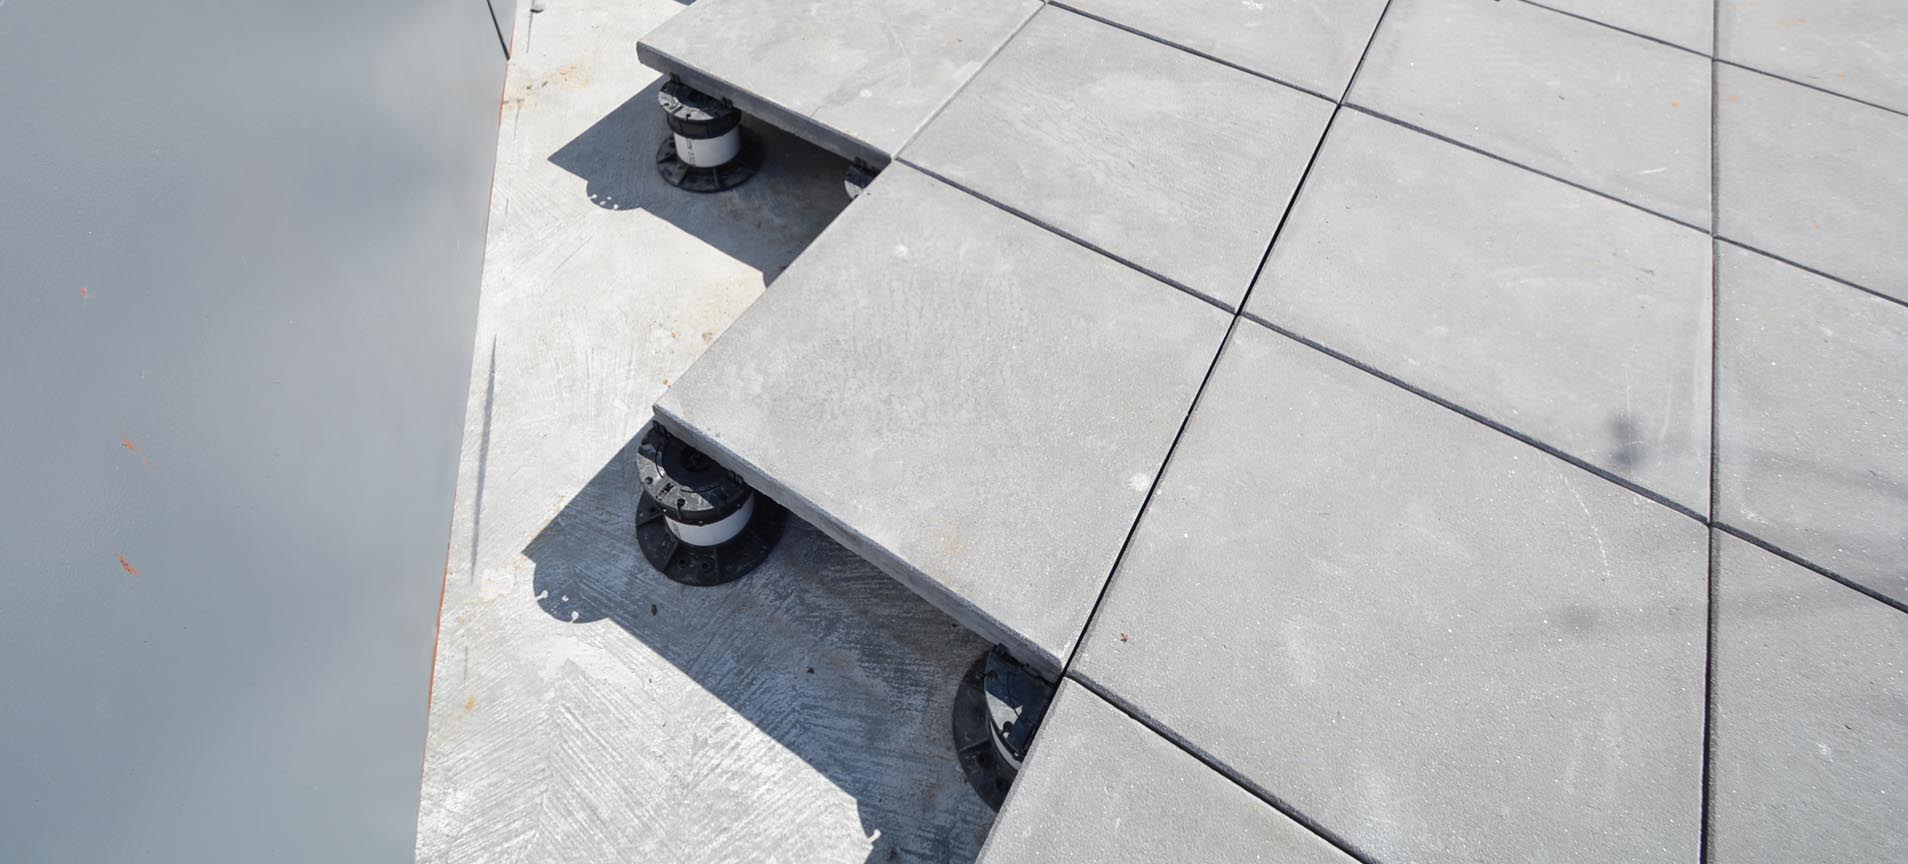
Set the Pavers: Place each paver carefully on the prepared base. Use a rubber mallet to gently tap them into place.
Maintain Even Gaps: Leave consistent gaps (usually 3-5mm) between tiles for grout lines or joint filling.
۵. Fill the Joints
Fill the gaps between the pavers to secure them:
Use Grout or Sand: Depending on your design, use polymeric sand or outdoor grout to fill the joints.
Compact the Fill Material: Sweep the filler into the gaps and use a vibrating plate compactor to settle it.
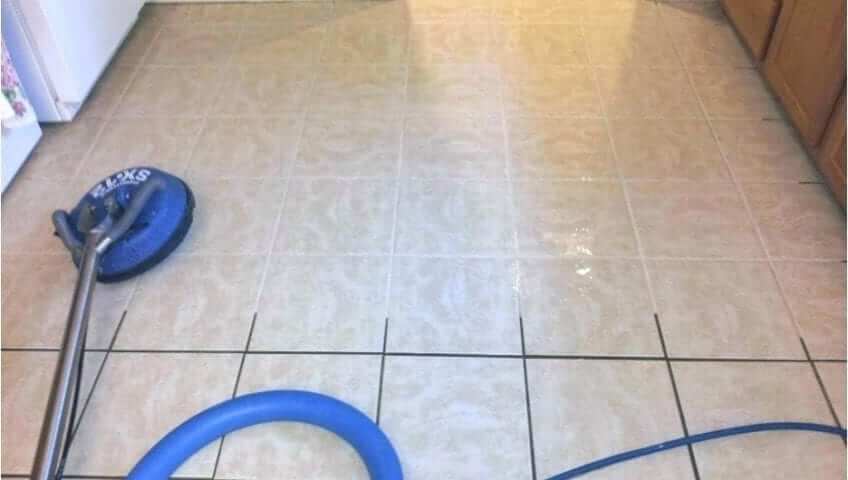
Clean the Surface: Remove any excess material with a broom or hose.
۶. Final Inspection and Maintenance
Once installation is complete:
Check the Surface: Ensure the pavers are level and aligned.
Seal the Tiles (optional): While porcelain pavers are non-porous, sealing can add extra protection and enhance their finish.
Maintain the Area: Regularly sweep and clean the surface to prevent dirt build-up.
Why Choose Porcelain Pavers for Outdoor Spaces?
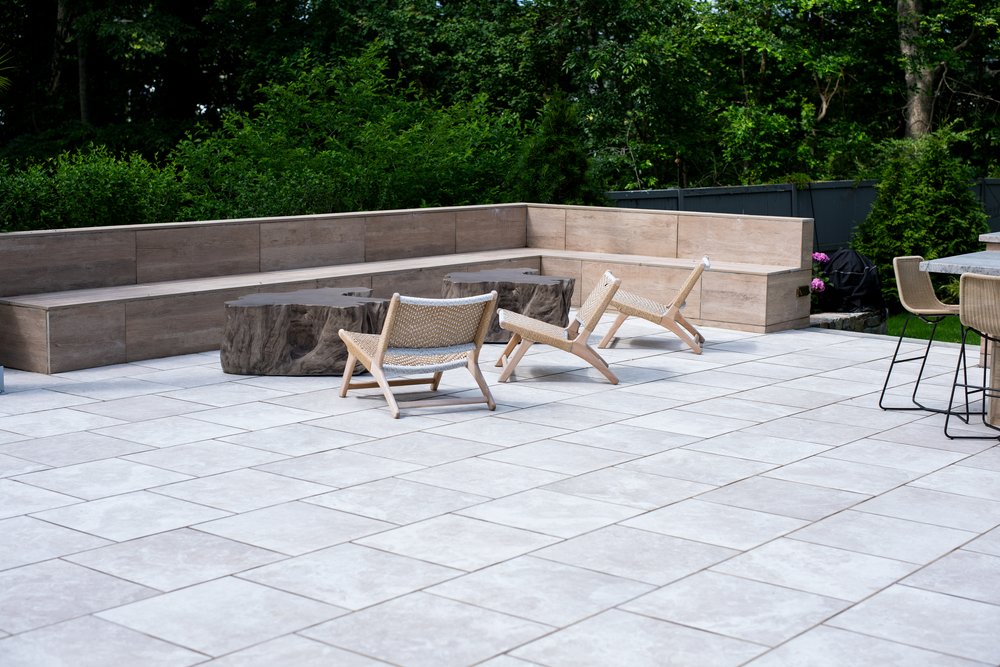
Durability: Resistant to cracking, chipping, and weather conditions.
Low Maintenance: Non-porous surface prevents stains, mold, and moss.
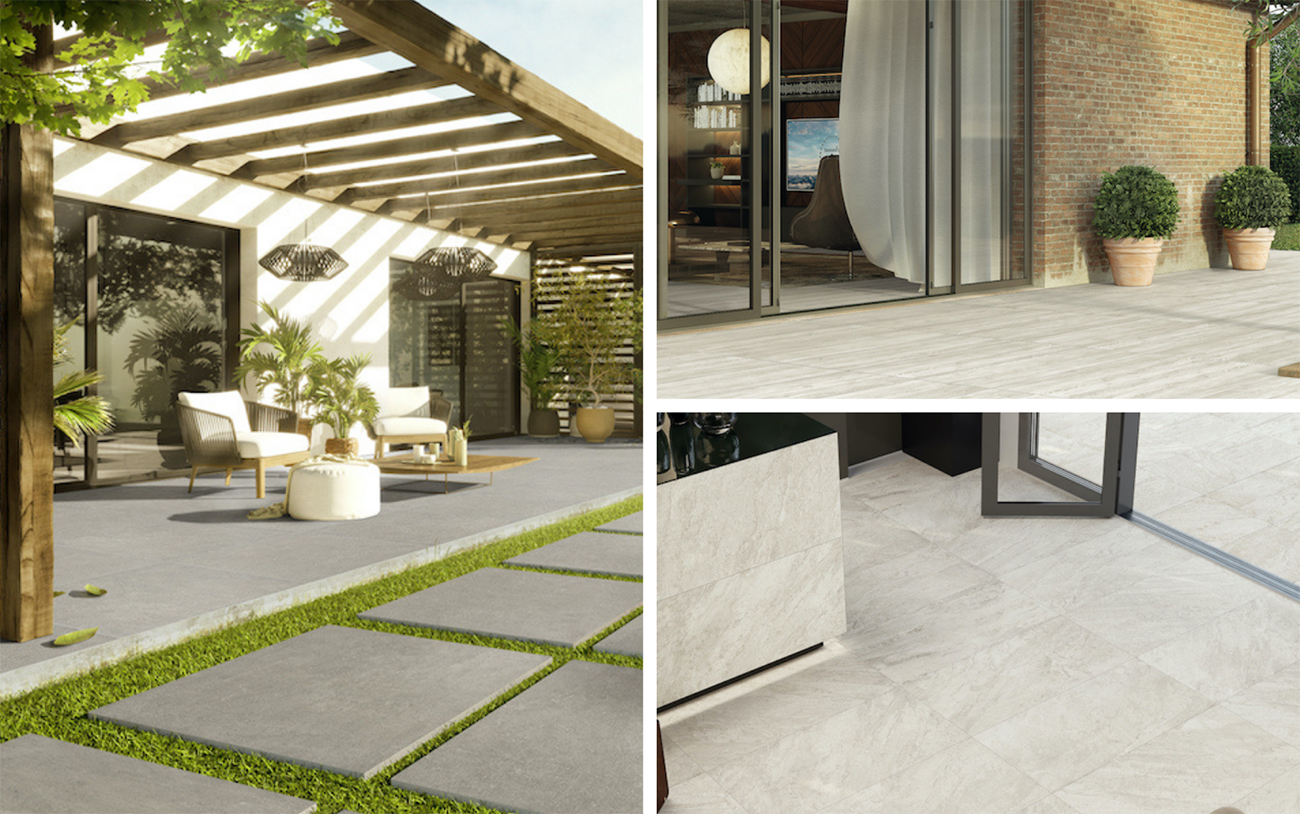
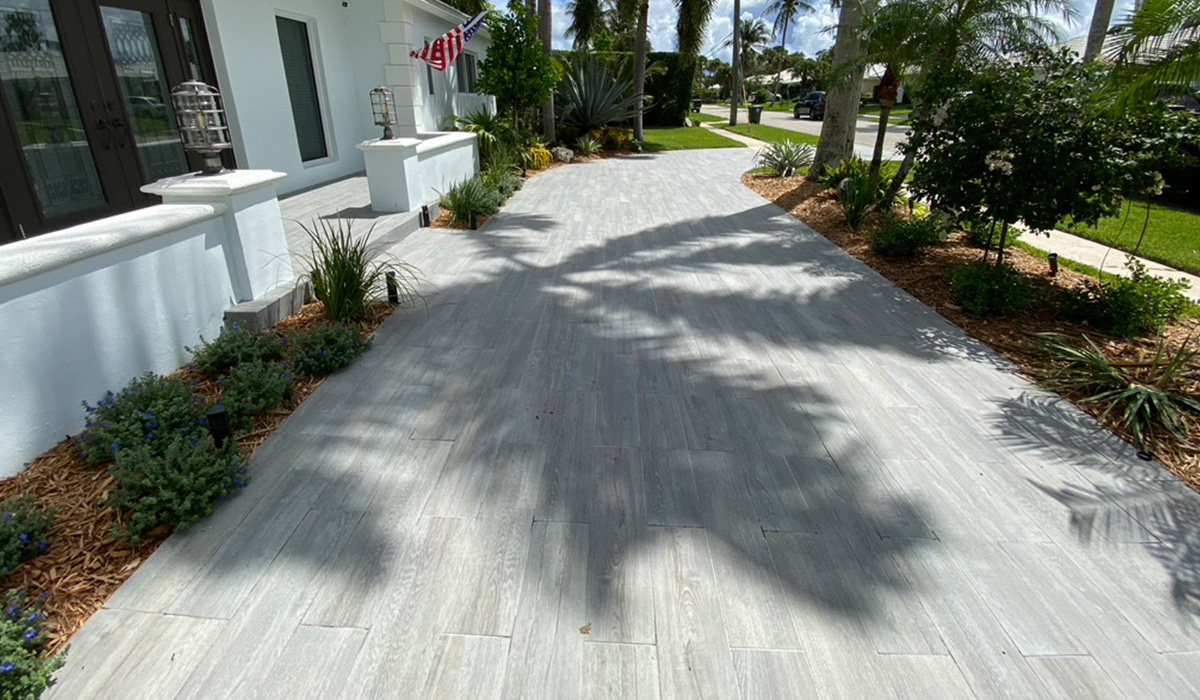
Aesthetic Versatility: Available in stone, wood, and marble looks to suit any design.
Eco-Friendly: Made from sustainable materials with long-lasting performance.
By following this guide, you can create stunning outdoor spaces with the durability and style of porcelain pavers. Whether you’re updating a patio or building a new driveway, CPG’s range of porcelain tiles provides the perfect solution for every project






نظرات ۰