۶۰×۱۲۰ Ceramic Tiles: Applications, Benefits, and Installation
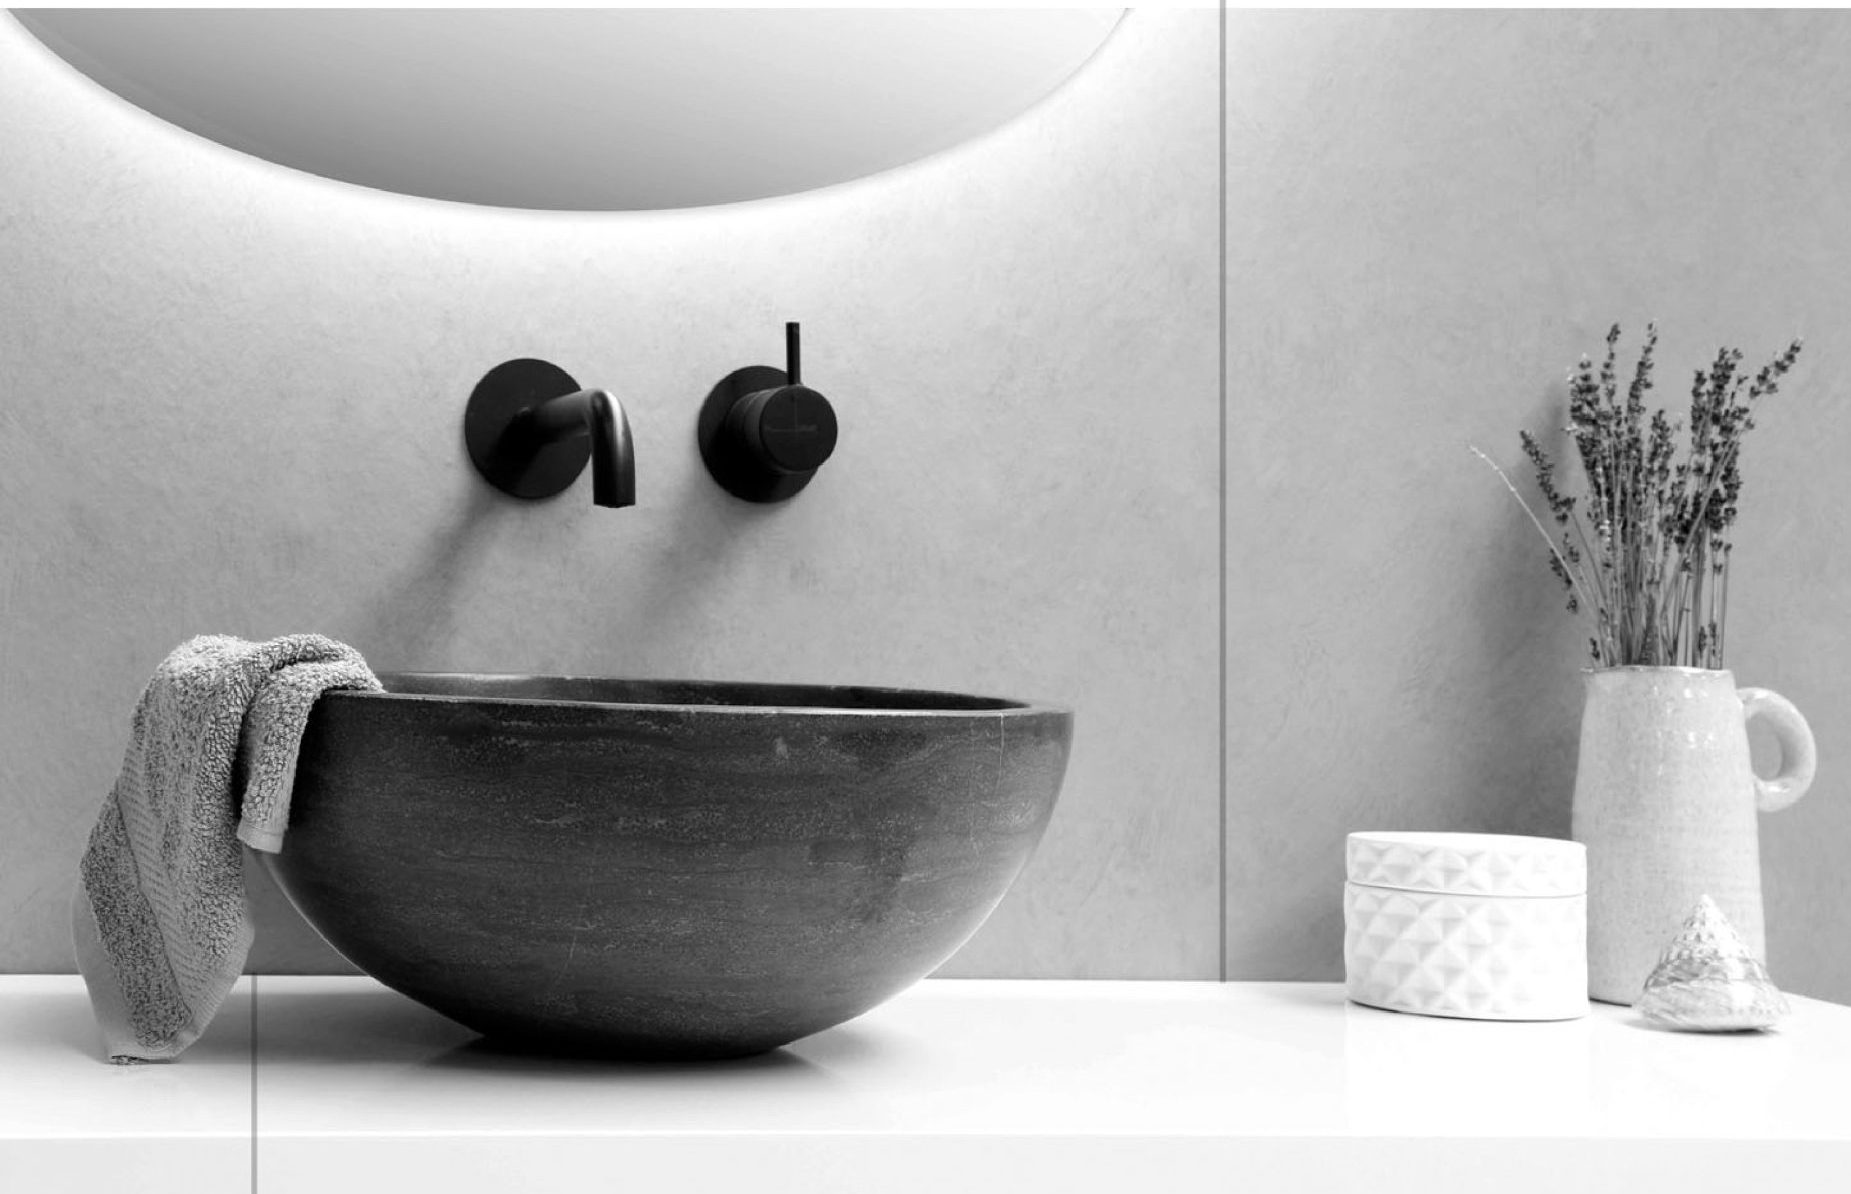
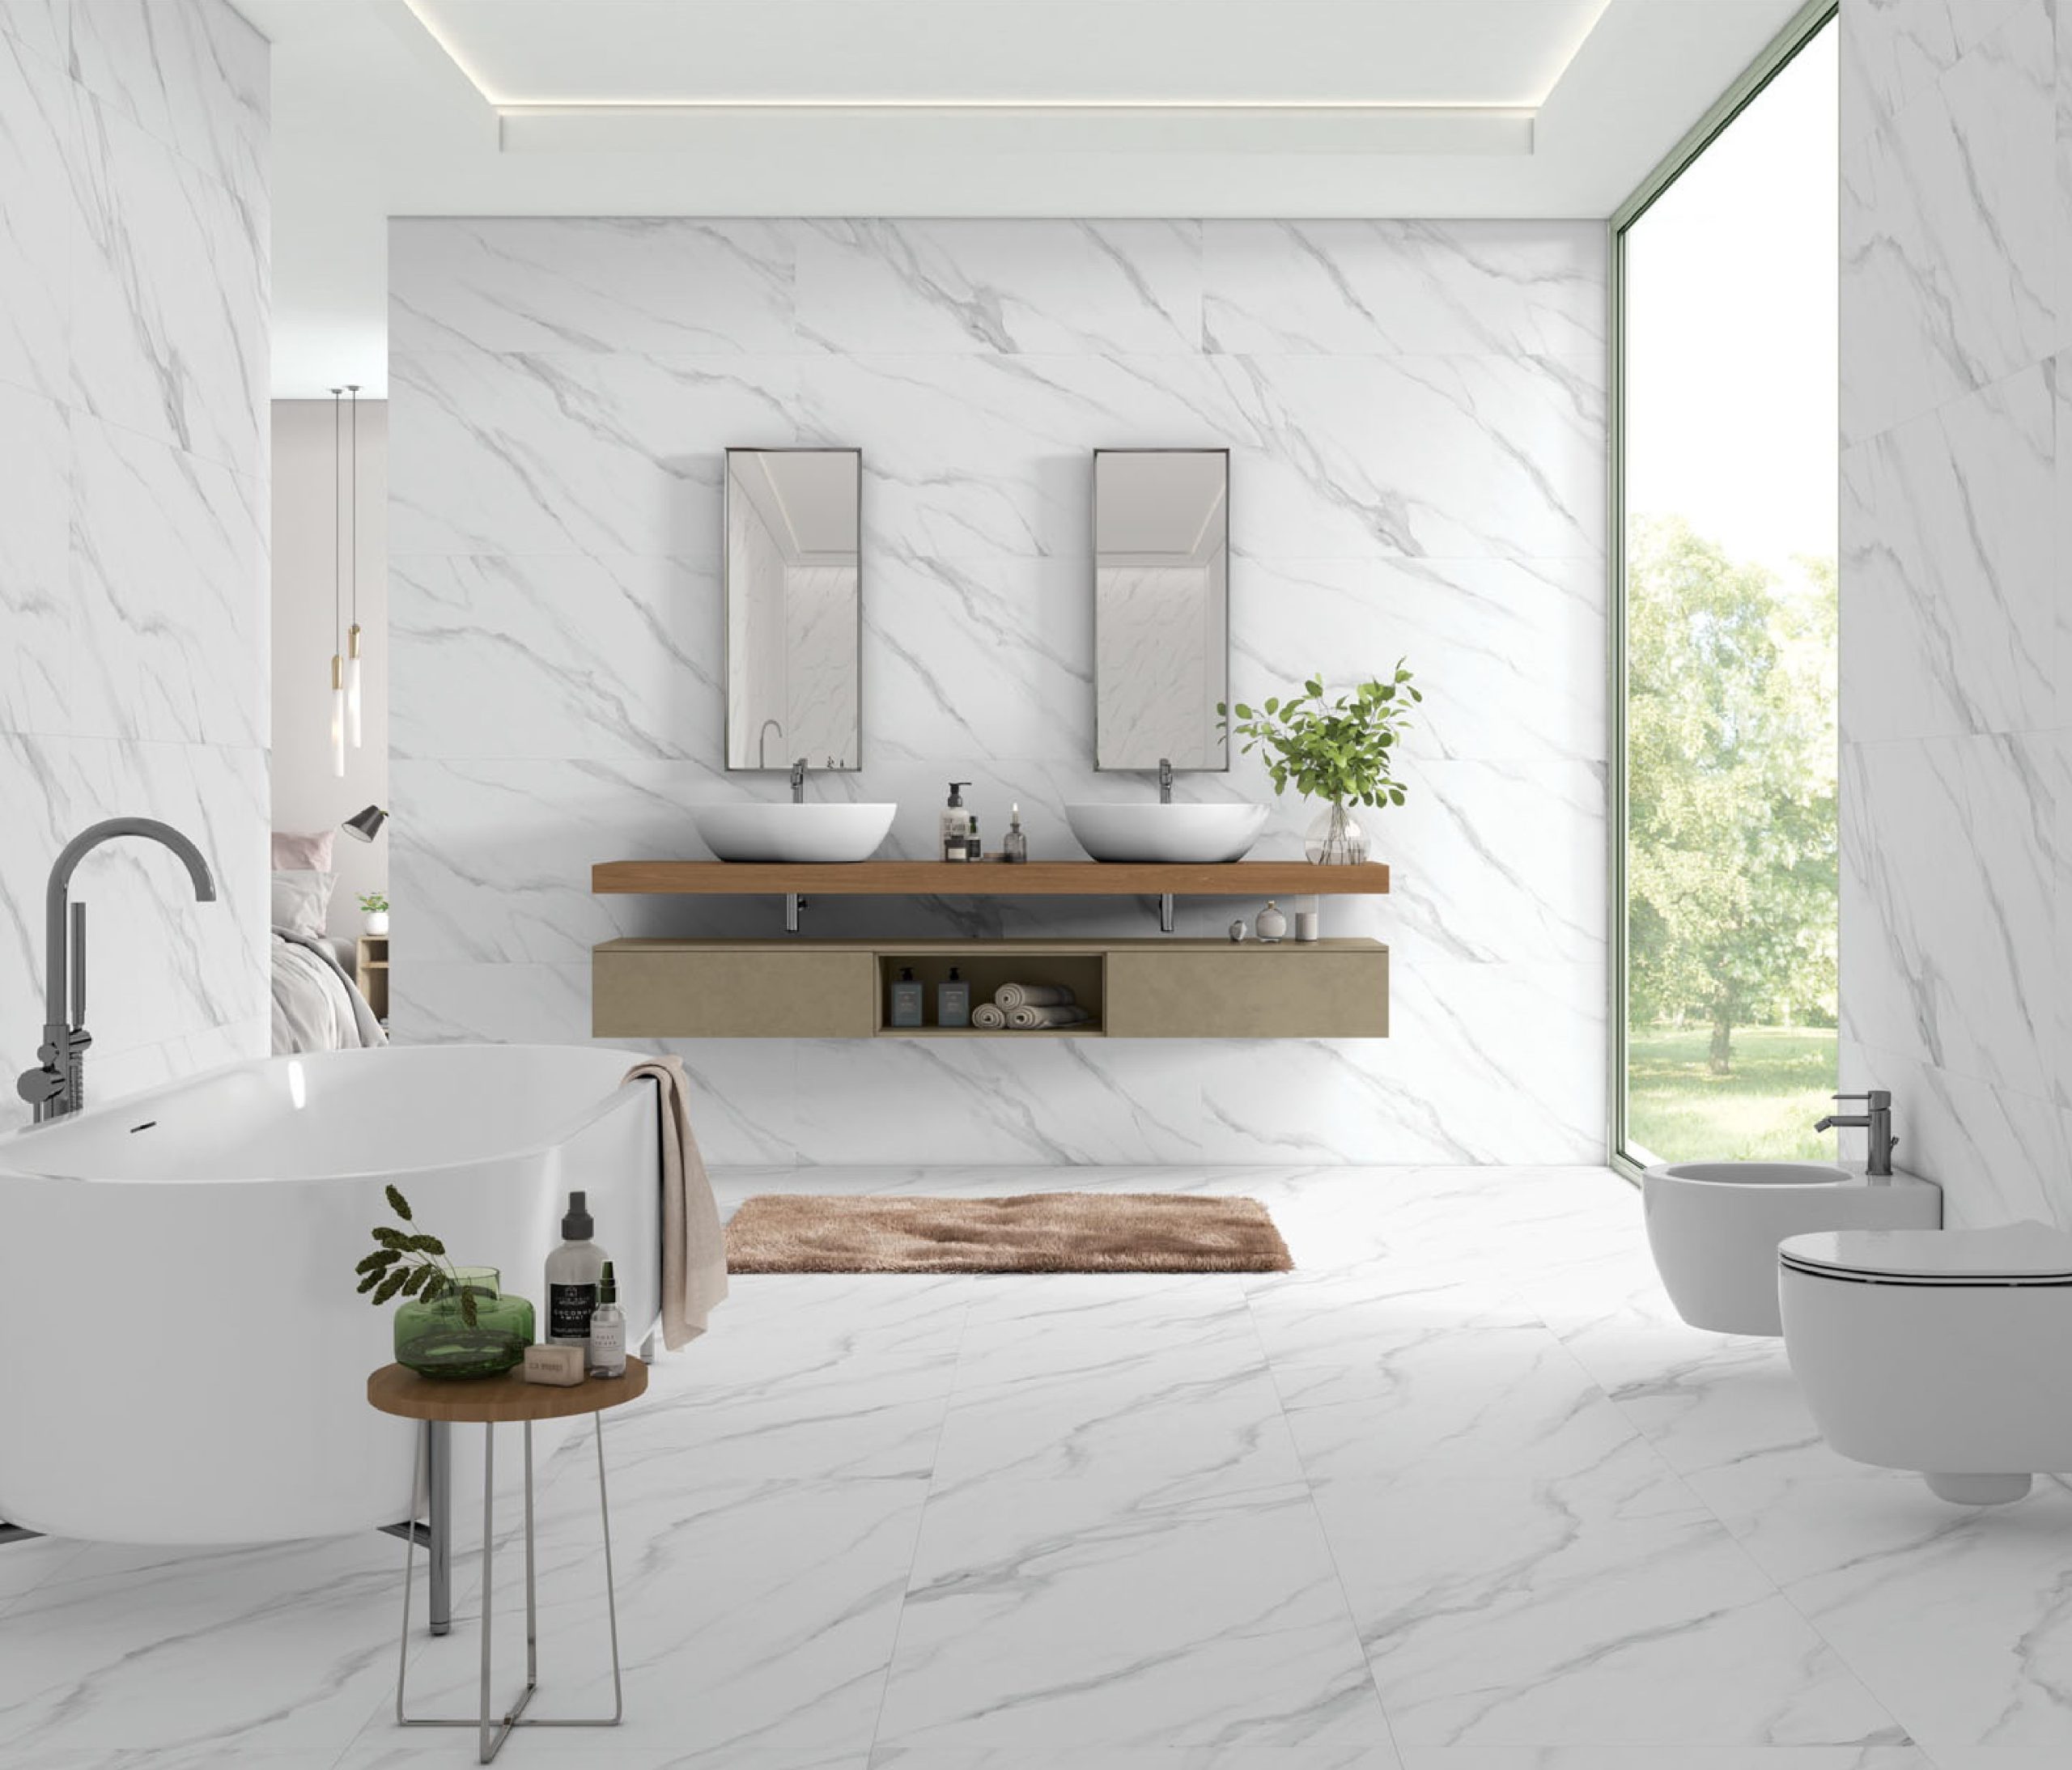
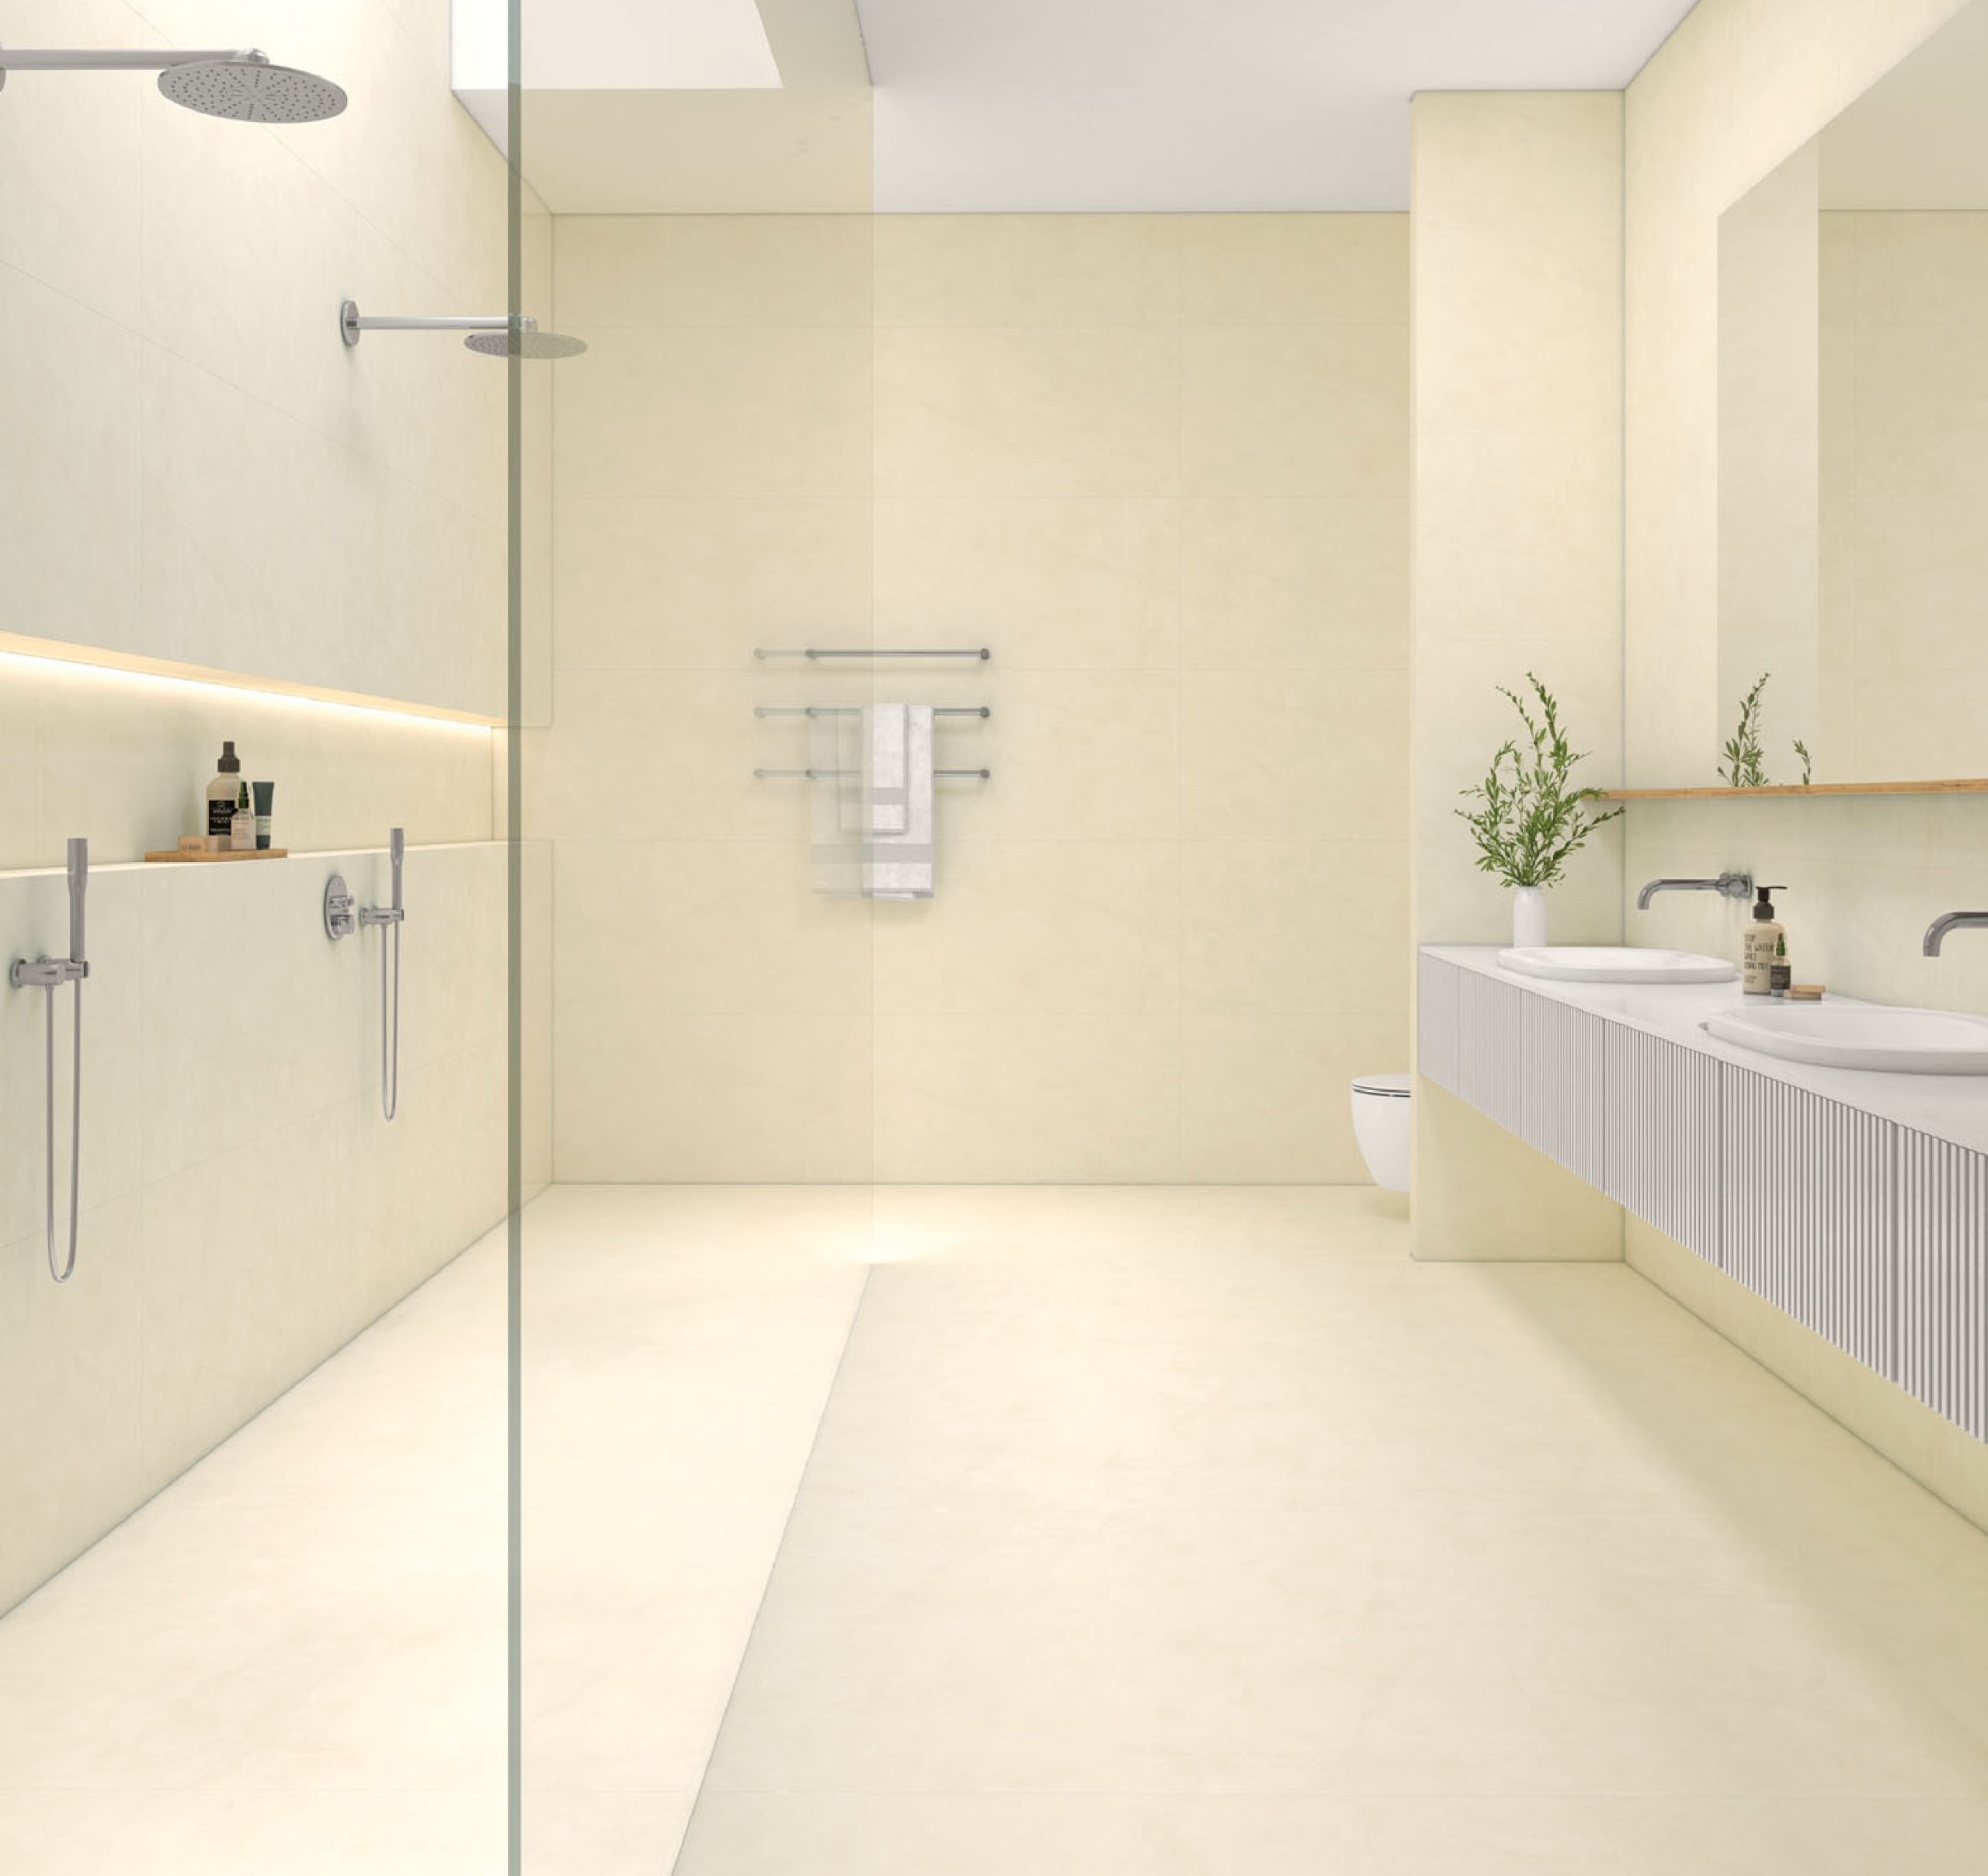
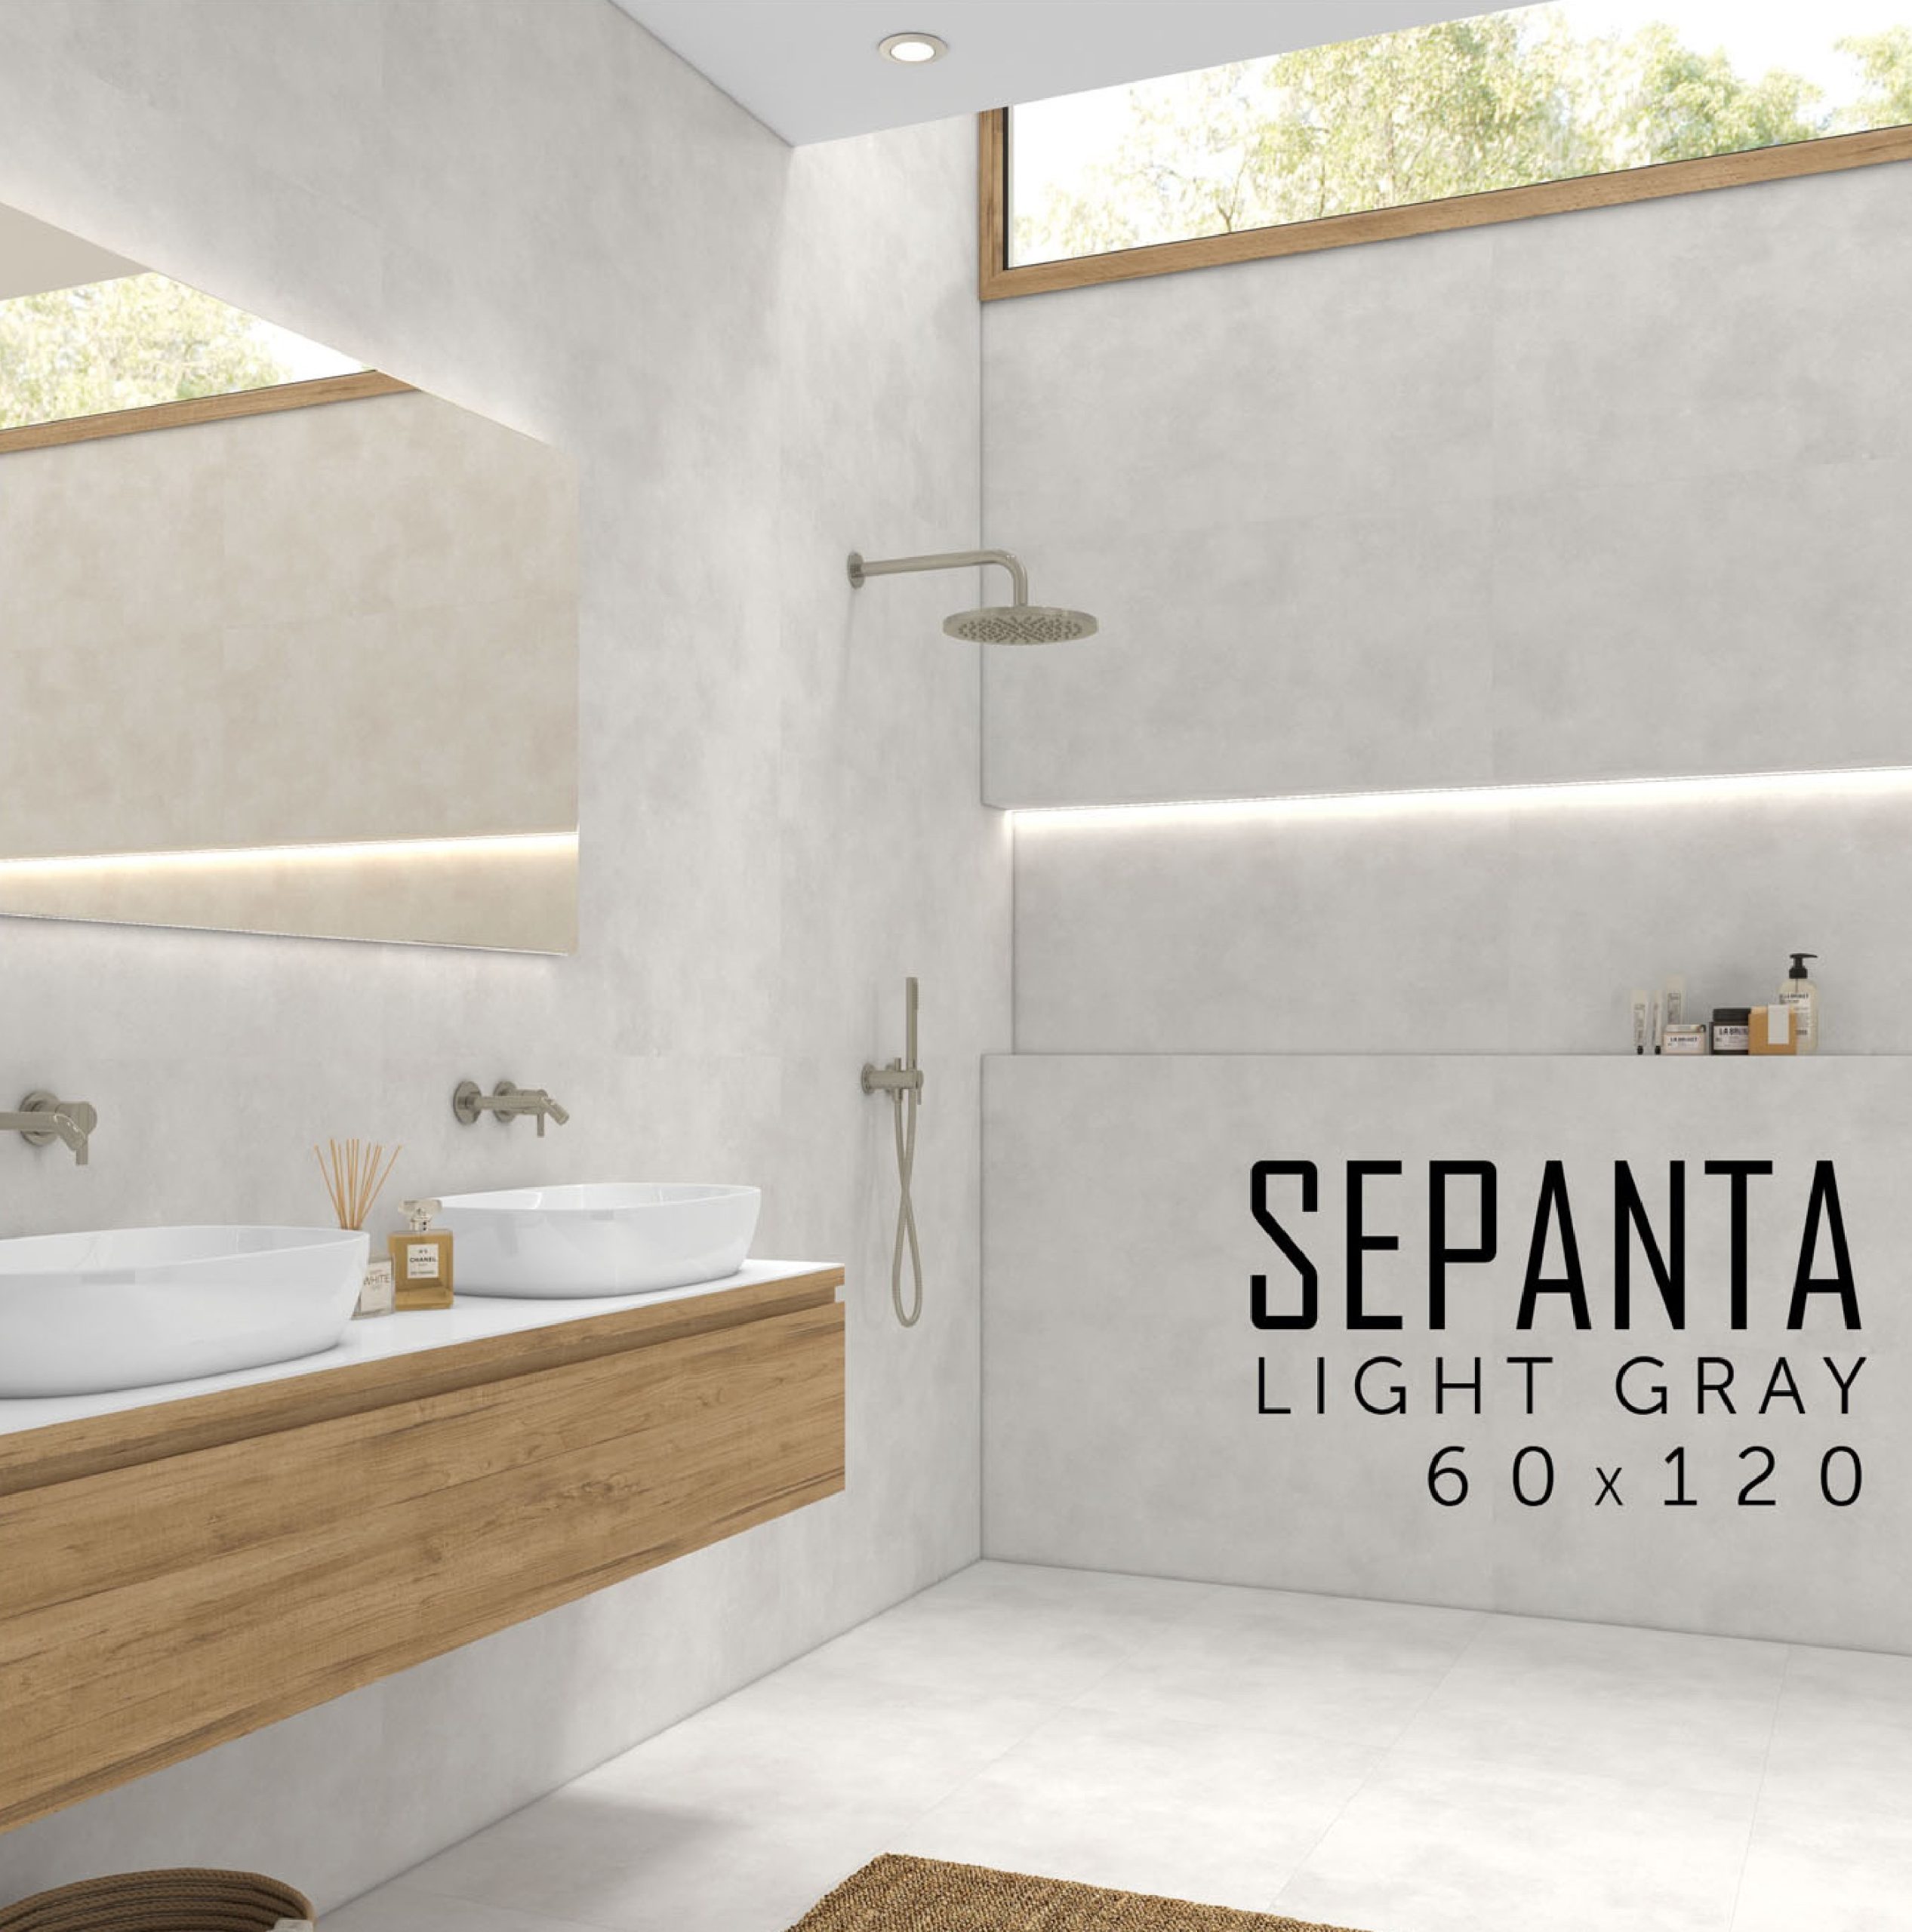
Due to their large size and modern appearance, 60×120 ceramic tiles have become one of the most popular choices for both interior and exterior design. Thanks to their unique properties, these tiles offer numerous advantages, which we will discuss below.

Applications of 60×120 Ceramic Tiles
- Flooring: With their high resistance to abrasion, moisture, and chemicals, 60×120 tiles are ideal for flooring in various spaces such as:
- Living rooms
- Kitchens
- Bathrooms
- Corridors
- Lobbies and commercial areas
- Wall coverings: Their aesthetic appeal and diverse range of designs and colors make 60×120 tiles a popular choice for both interior and exterior wall coverings.
- Facades: The high weather resistance of 60×120 tiles makes them suitable for covering building facades, especially in hot and dry climates.
Benefits of Using 60×120 Ceramic Tiles
- Modern and stylish appearance: The large size of these tiles creates a spacious and uniform look, giving the environment a modern and luxurious feel.
- High durability: 60×120 tiles are highly resistant to abrasion, impact, moisture, chemicals, and temperature changes.
- Easy to clean: The smooth and non-porous surface of these tiles makes cleaning them very easy.
- Long lifespan: Due to their high durability and longevity, 60×120 tiles have a very long lifespan.
- Variety of designs and colors: 60×120 tiles are available in a wide range of designs and colors, allowing for suitable choices for any type of decor.
Installation of 60×120 Ceramic Tiles Installing 60×120 tiles requires precision and expertise. The general steps of installation are as follows:
- Surface preparation: The underlying surface must be completely flat, clean, and dry. If necessary, level the surface using appropriate materials.
- Choosing the right adhesive: The type of adhesive used depends on the type of underlying surface and environmental conditions.
- Preparing the adhesive: Prepare the adhesive according to the manufacturer’s instructions.
- Installing the tiles: Accurately position the tiles on the surface using a ruler and level, and spread the adhesive underneath using a notched trowel.
- Grouting: After the adhesive has dried completely, fill the gaps between the tiles with suitable grout.
- Waterproofing: In places like bathrooms, waterproof the joints between the tiles and the junction of the tiles with the wall to prevent water penetration.

Important points to consider when installing 60×120 tiles:
- Use specialized tools to cut the tiles.
- Continuously level the work surface during installation.
- Avoid hitting the tiles to prevent cracking.
- If you lack the necessary skills, entrust the tile installation to a professional.
Due to their numerous advantages and diverse applications, 60×120 ceramic tiles are an excellent choice for covering floors and walls in buildings. By selecting the right design and color, you can create a beautiful and modern space.
Maintenance and Repair of 60×120 Ceramic Tiles
Due to their high durability, 60×120 ceramic tiles are an excellent choice for flooring and wall coverings. However, to maintain their beauty and longevity, they require proper care and maintenance. Here are some methods for maintaining and repairing these types of tiles:
Daily Cleaning
- Quick stain removal: Clean up stains as soon as possible with a soft cloth and warm water. Avoid strong and acidic detergents.
- Prevent scratches: Avoid dragging sharp or rough objects across the tiles.
- Use a vacuum cleaner: Use a vacuum cleaner to collect dust and small particles.
Deep Cleaning
- Use mild cleaning solutions: For deep cleaning, you can use mild ceramic cleaning solutions.
- Pay attention to grout: Clean the grout regularly to prevent mold and mildew growth.
- Rinse thoroughly: After cleaning, rinse the tiles thoroughly to remove any remaining cleaning solution.
Minor Repairs
- Grout repair: If the grout cracks or becomes dirty, you can repair it using a special grout sealant.
- Replacing broken tiles: If one or more tiles are broken, replace them with new ones.
Important Tips
- Avoid thermal shock: Avoid sudden temperature changes on the tiles.
- Use mats: Use mats at entrances and under furniture to prevent wear and tear on the tiles.
- Prevent slipping: Use non-slip materials in areas where there is a risk of slipping.
- Regular inspection: Inspect the tiles regularly to identify any potential problems.
Note: For major and complex repairs, it is best to seek help from a professional.

Choosing the Best Adhesive for 60×120 Ceramic Tiles
Choosing the right adhesive for 60×120 ceramic tiles depends on various factors such as the type of tile, the underlying surface, environmental conditions, and traffic. However, porcelain adhesives or epoxy adhesives are generally more suitable for these types of tiles.
Characteristics of a good adhesive for 60×120 ceramic tiles:
- High bonding strength: Especially for heavy and large tiles like 60×120, the adhesive must have very high bonding strength.
- Flexibility: To prevent the tiles from cracking due to temperature changes, the adhesive must be flexible.
- Moisture resistance: In humid environments like bathrooms and kitchens, the adhesive must have high resistance to moisture.
- Suitable drying time: The adhesive should dry quickly to speed up the installation process.
- Compatibility with the tile: The adhesive must be compatible with the type of tile being used.
Types of adhesives suitable for 60×120 ceramic tiles:
- Porcelain adhesive: This type of adhesive is ideal for bonding porcelain tiles with low water absorption.
- Epoxy adhesive: This adhesive has very high bonding strength and is suitable for surfaces that require strong adhesion, such as pools and saunas.
- Cement-based adhesive: This type of adhesive is suitable for tiles with high water absorption.
Important points when choosing an adhesive:
- Consult with the seller: Before buying an adhesive, consult with the seller to choose the right adhesive for your project.
- Read the product label: Carefully read the product label to ensure you know how to use the adhesive and its features.
- Surface preparation: Before adhering the tiles, clean and dry the underlying surface thoroughly.
Grouting 60×120 Ceramic Tiles
Grouting is the process of filling the gaps between ceramic tiles to create a smooth and aesthetically pleasing surface. There are various methods for grouting, and the appropriate method depends on the type of tile, grout, and environmental conditions.
General steps for grouting:
- Cleaning the surface: After the adhesive has completely dried, clean the surface of any dirt or dust.
- Preparing the grout: Prepare the grout according to the manufacturer’s instructions.
- Applying the grout: Apply the grout to the joints using a rubber float.
- Leveling the grout: Level the grout using a specialized tool.
- Cleaning the surface: After the grout has partially dried, clean the surface with a damp sponge.
Types of grout:
- Cement grout: This type of grout is inexpensive and suitable for indoor spaces.
- Epoxy grout: This type of grout has high resistance to moisture and chemicals and is suitable for wet areas such as bathrooms and kitchens.
- Colored epoxy grout: In addition to high resistance, this type of grout comes in a wide variety of colors and can be used to create beautiful designs.

Important points to consider when grouting:
- Choosing the right grout: Choose the grout based on the type of tile, environmental conditions, and your personal preference.
- Pay attention to drying time: Pay attention to the grout’s complete drying time and avoid walking on the tiles during this time.
- Cleaning tools: Clean the tools thoroughly after finishing the work.
Differences Between 60×120 Ceramic Tiles and Other Sizes
60×120 ceramic tiles have become very popular due to their large size and modern appearance. However, this type of tile has some differences compared to other sizes:
- Appearance: Due to their large size, 60×120 tiles create a larger and more uniform space.
- Installation: Installing 60×120 tiles requires more precision and expertise.
- Less consumption: Using 60×120 tiles reduces the number of joints, resulting in less grout consumption.
- Price: Typically, the price of 60×120 tiles is higher than other sizes.
Advantages of using 60×120 ceramic tiles:
- Modern and stylish appearance: Creates a larger and more uniform space.
- High durability: Resistant to abrasion, impact, moisture, and chemicals.
- Easy to clean: Has a smooth and non-porous surface.
- Long lifespan: High durability and longevity.
Disadvantages of using 60×120 ceramic tiles:
- Higher price: More expensive compared to other sizes.
- Difficult installation: Requires more precision and expertise.
Ultimately, the choice of tile size depends on personal preference, budget, and environmental conditions.
قیمت های موجود در سایت تاریخ بروزرسانی آن ها ذکر شده و قیمت نهایی محصولات نمی باشند. لطفا جهت ثبت سفارش و استعلام قیمت بروز با کارشناسان ما در ارتباط باشید.
(035-3357)