How to Install Patio Pavers?
If you know how to install patio pavers, it would be much more convenient to change the look of the outdoors effortlessly. While professional help is always available, the DIY approach is becoming a common trend among homeowners these days. It can be a little technical for some but it can be a rewarding experience. Patio pavers come in a wide range of materials and colors from brick, and concrete to marble, travertine, and porcelain pavers. However, before you opt to install the patios, make sure you have the information about how to get things done. This post will help you install patio pavers with the best possible results. Continue reading the following for a better idea.

Installing Patio Pavers
If you have decided to install patio pavers through DIY then you should start with the essentials. For this, you should start with:
-
Collect Essentials
Equipment
- Broom
- Wheelbarrow
- Hammer
- Tamper
- Shovel
- Carpenter’s square
- Rake
- Two-by-four
Materials
- Crushed rock base material
- Pavers
- Twine or thin rope
- Garden hose
- Coarse bedding sand
- Marking paint
- Wood stakes
- 2 metal pipes (3/4-inch)
- 1 bag of fine sand (10 pounds)
Step 1- Prepare the Patio Area
Once you gather all the supplies, work towards preparing the patio surface. Start with a clear plan. You will need to determine the shape, size, and layout of your patio. Online the perimeter of your patio ground by using stakes and twine. You can even use the carpenter’s square to make sure the layout is even, especially for square or rectangular designs. Once you are satisfied with the area design, mark it with the paint.
You should also consider the slope that is required for drainage. A slight incline (about 1/4 inch per foot) away from any structures will prevent water from pooling around your patio.
Step 2 – Dig the Patio Area
Now you should dig out the area within your marked outline by using a shovel. Make sure to remove all the soil around the depth of 6-8 inches. This will provide room for your base material and pavers. The depth of the base depends on the thickness of the pavers so make sure to understand this as you dig. The area should be as level as possible to make the following steps easier.
Step 3: Add and Compact the Base Material
Now you will need to create a solid foundation by using crushed rock-based material. Start by spreading a 4-6 inch layer of crushed stone evenly across the excavated area. After spreading, compact the base with a temper until it is stable and level. The compacted base will keep your patio stable and prevent shifting over time. If the working area is larger then you should rent a plate compactor as it will complete the process faster.
Tip: Add a thin layer of water with a garden hose before compacting to help the crushed rock settle more securely.

Step 4: Lay and Level the Bedding Sand
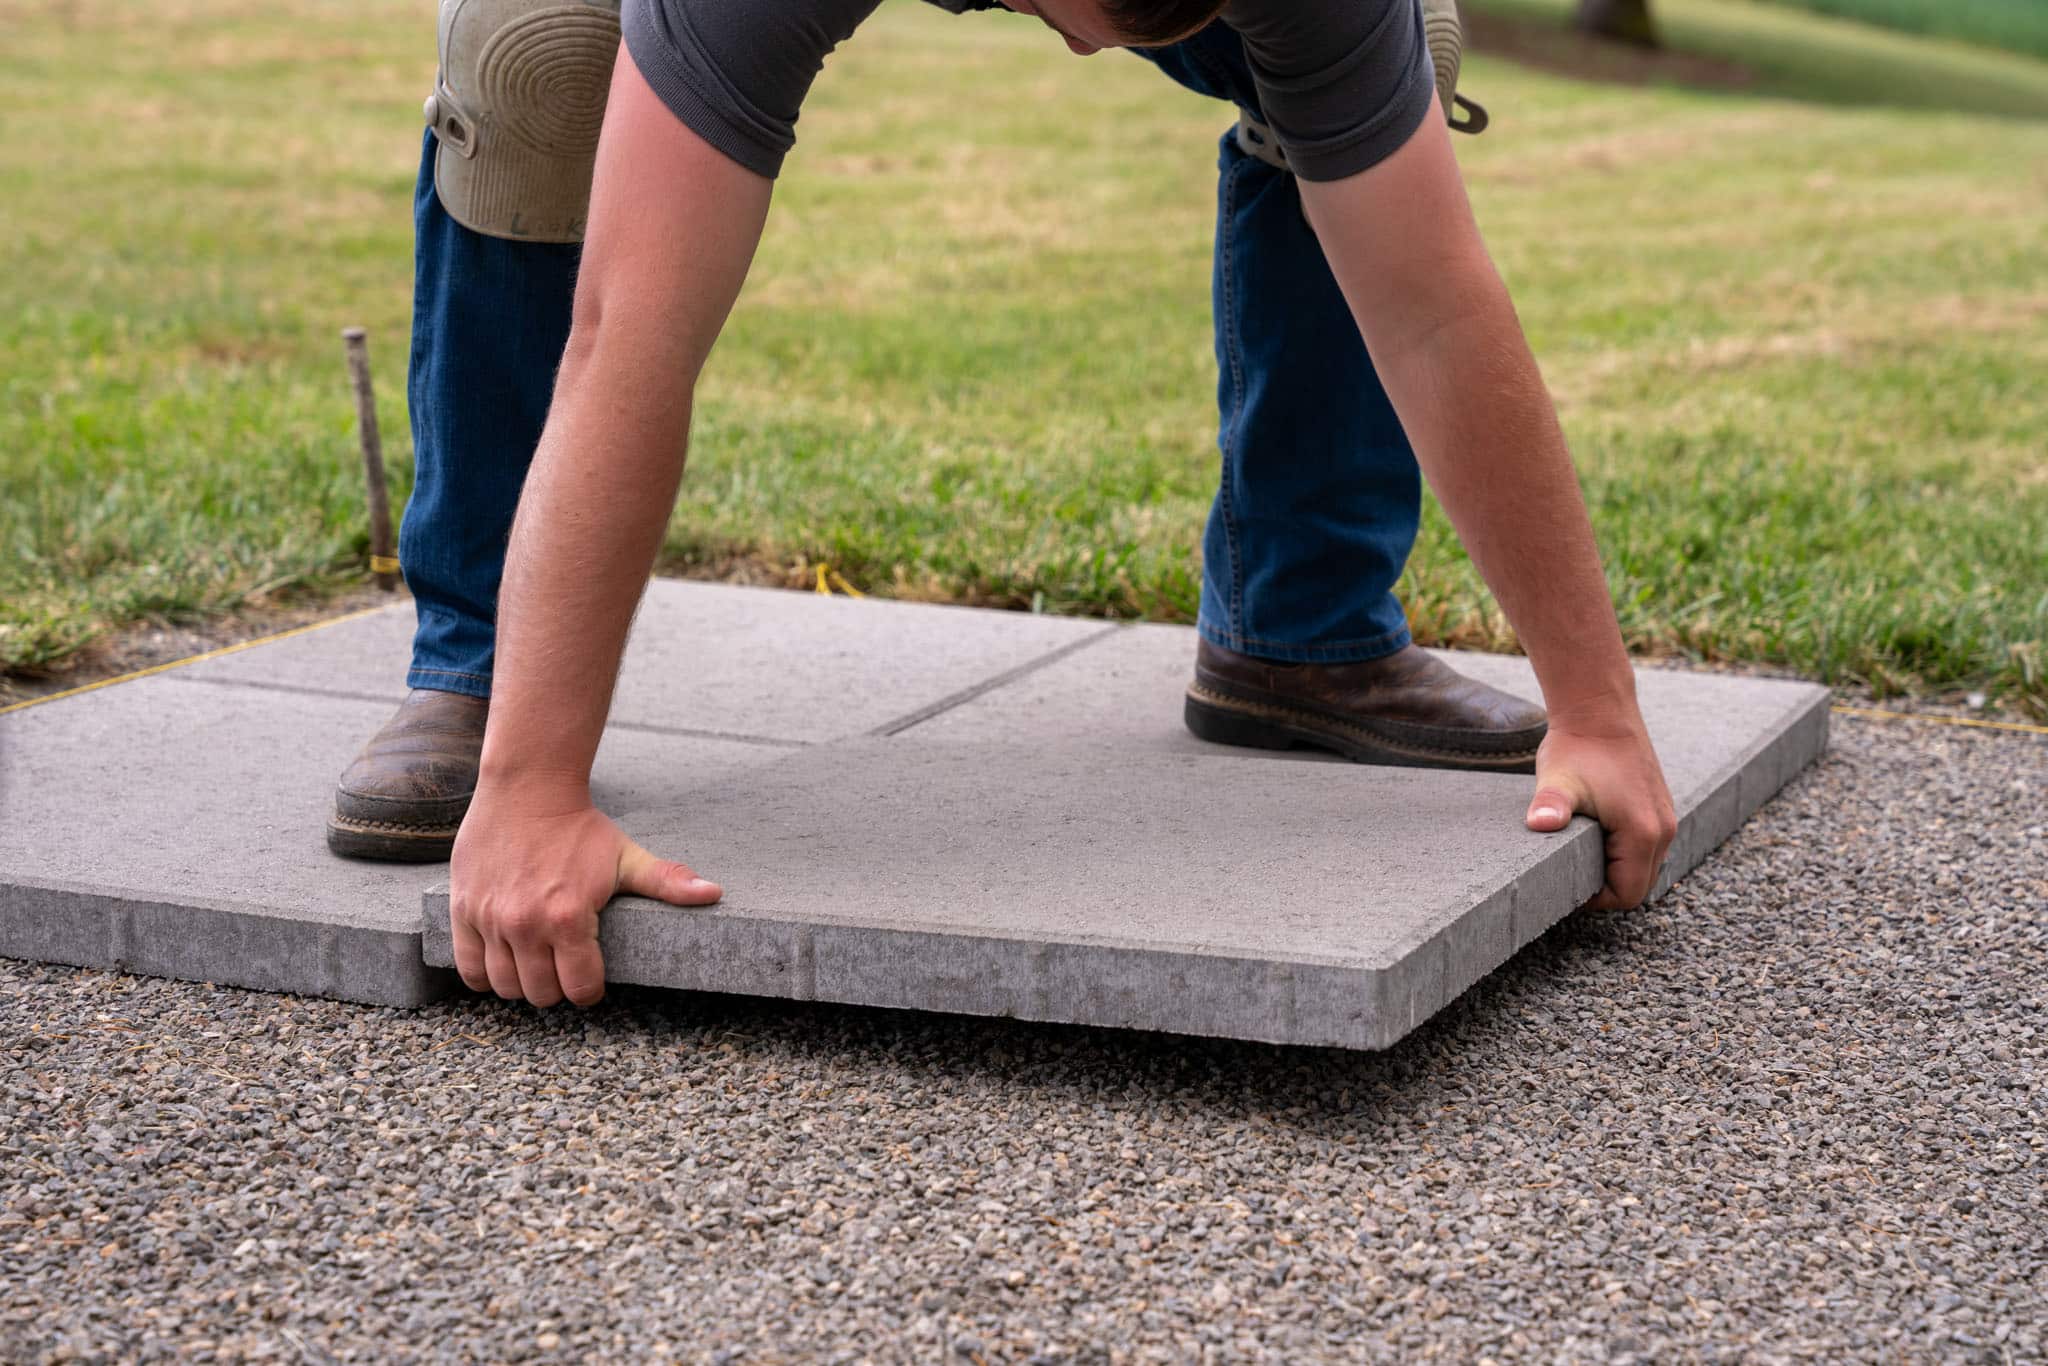
Once you completed the base, add a 1-inch layer of coarse bedding sand on top. This layer will act like a cushion for the pavers so they will stay even. You can make sure about the sand level by placing two ¾-inch metal pipes on the sand and then dragging a two-by-four across them to screed the sand. Move the pipe as you go to make sure the surface will remain level and smooth.
Note: Do not walk on the freshly evened service. It can easily become uneven. Only begin placing the pavers once the sand layer is perfectly level.
Step 5 – Place the Pavers
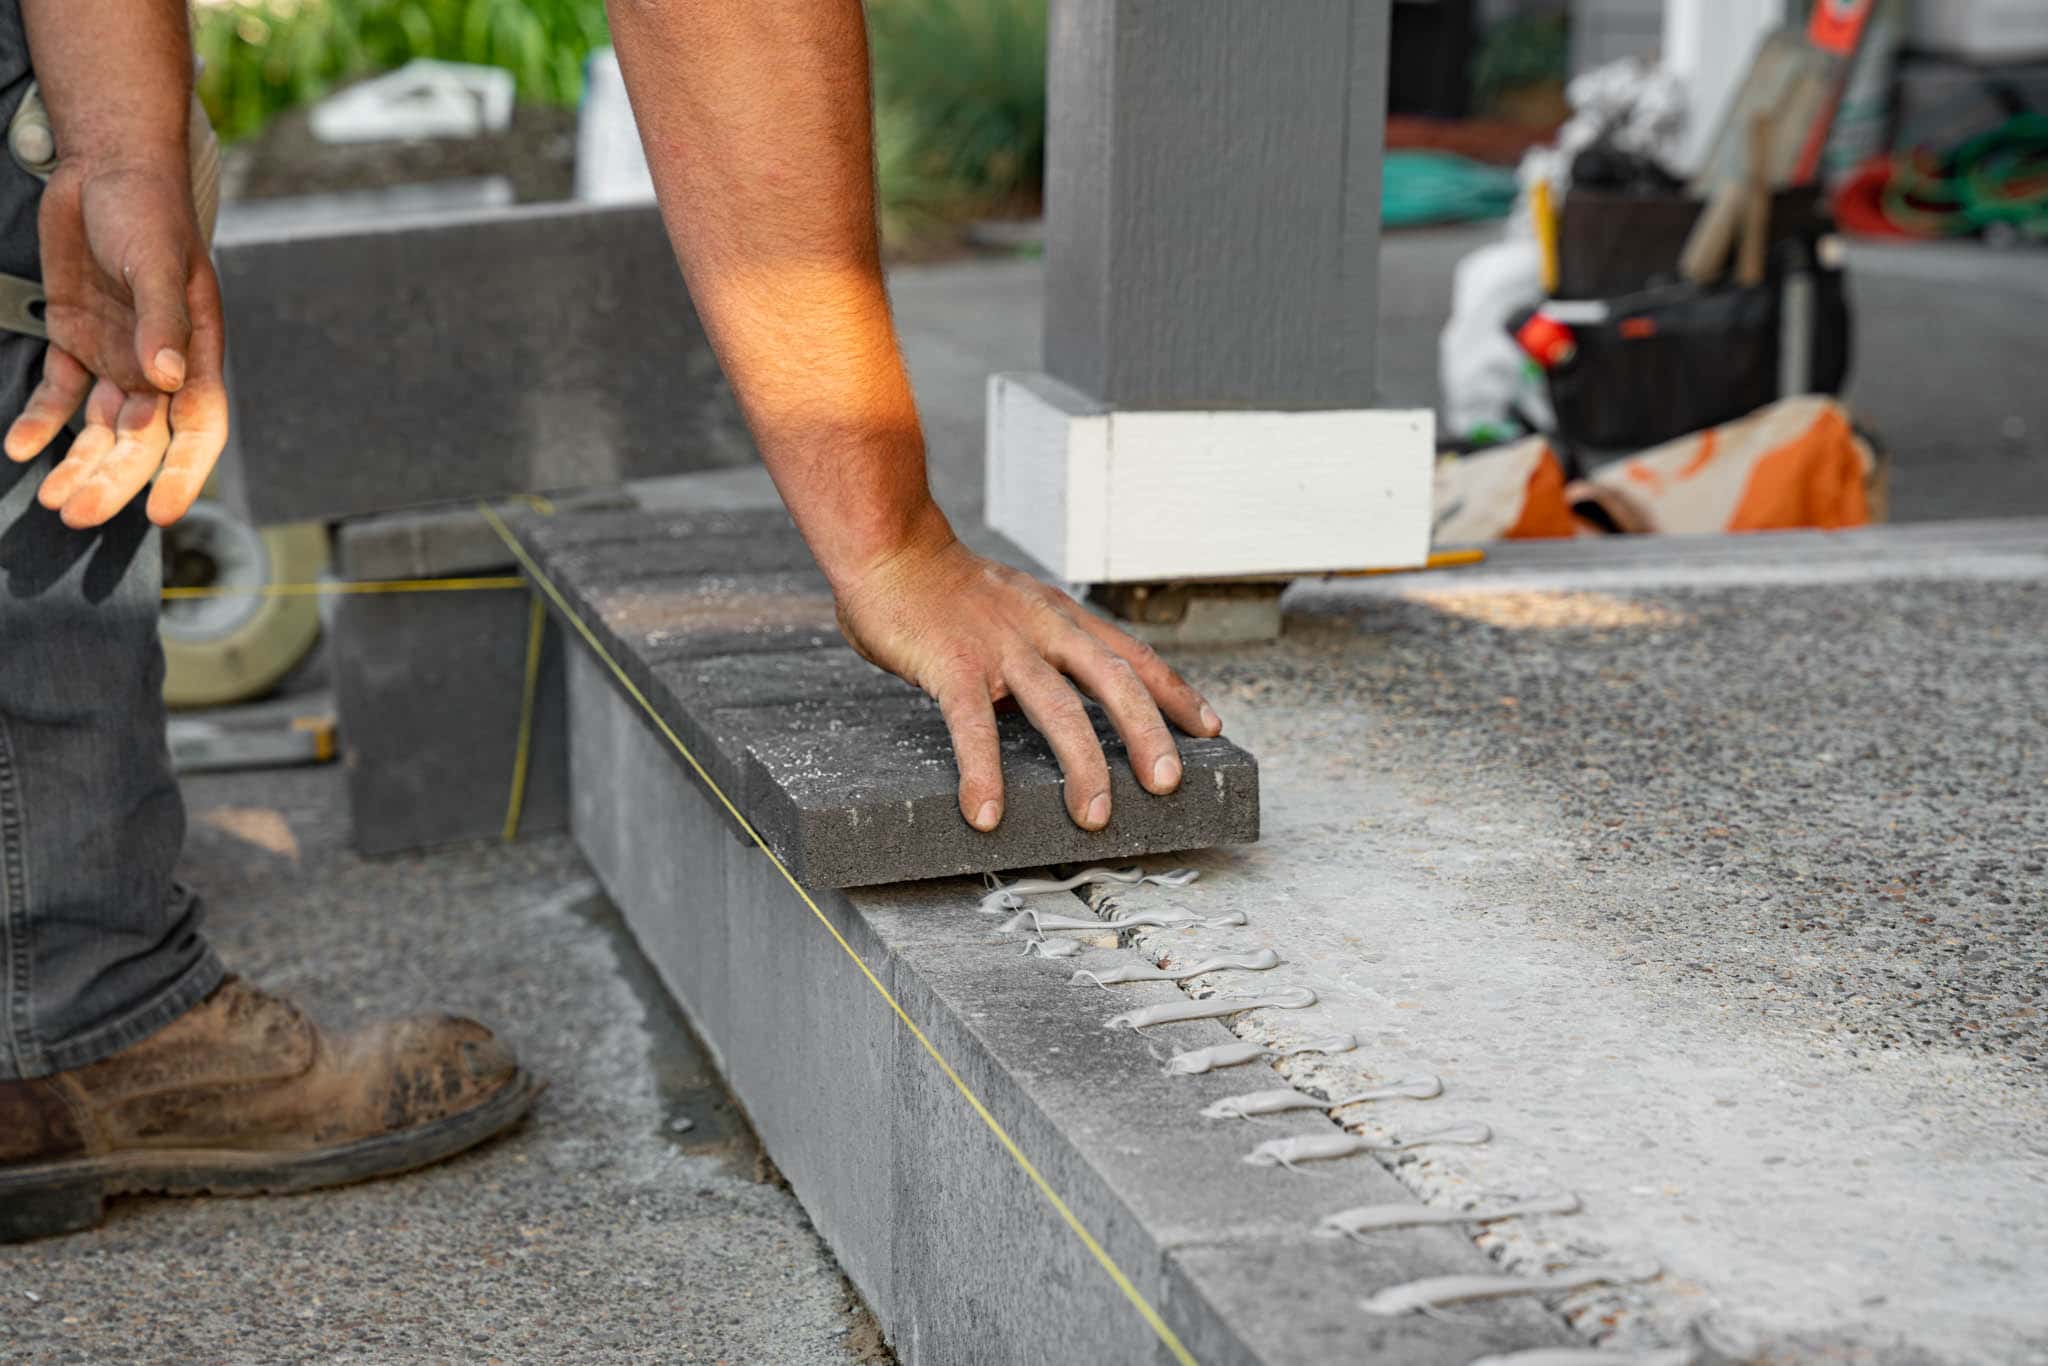
Now is the time to lay the pavers. Start by placing them from a corner and work your way across. Make sure to place each paver closely next to the other. Leave about 1/8 inch of gap between each paver for sand joints. As you place each paver, gently tap it down with a rubber mallet. This will assure you that they are seated firmly in the sand.
Tip: Use carpenter’s square sometimes to make sure your pavers stay straight, especially if you are making a rectangular or shaped design. For different patterns or curves, try putting a few pavers at one time and changing them as needed to keep alignment correct.
Step 5 – Add Joint Sand Between the Pavers
Once the pavers are placed, out the fine sand on the surface. Use a broom to sweep it into the gaps between the pavers. This joint sand helps lock the pavers together and prevents shifting. The patio surface will be more stabilized after that. Use a plate compactor to vibrate the pavers and settle the sand into the joints. You will need to apply more sand after compacting as the sand will go further under the joints after settlement.
Tip: We recommended using the polymer sand as it will be activated when gets wet. It will create a more solid joint. This can reduce weed growth and improve stability, especially in high-traffic areas.
Step 6- Finishing Touches and Sealing (Optional)
Once the pavers are placed, give it a final sweep to remove any loose sand from the surface. Depending on the type of pavers you can opt for sealing to give them extra longevity and protection. They have to face the weather and other exterior elements regularly. Sealing can protect the surface of pavers such as marble pavers, sandstone pavers, or limestone pavers.
It will preserve the color of the pavers and make them easier to clean. If you choose to seal, make sure the pavers are dry, and apply the sealant evenly. A roller or sprayer can be used for this, depending on the type of sealant.

Additional Tips for Maintaining Your Patio Pavers
1. Regular Cleaning:
Sweep the patio pavers regularly to remove any dirt, grime, and leaves. Rinse them with the garden hose to remove any stains but make sure to not put too much pressure that will disturb the joint sand.
2. Weed Control:
Weeds are a common problem with the patio pavers. Remove them by hand or use a weed killer that is formulated for hardscape areas. Applying a layer of polymeric sand is also helpful in eliminating weeds.
3. Address Settling:
Even after setting the patio pavers, pavers may feel displaced over time. This is possible due to changes in ground or weather conditions. You can easily lift the affected pavers, add or adjust the base sand, and re-lay them to keep the patio level.
4. Replenish Joint Sand:
If the sand between your patio pavers begins to deteriorate, add more joint sand to keep everything secure. This is especially important in areas with heavy rainfall or traffic.

Should You Call The Professionals?
The DIY approach is becoming a common trend among homeowners. Delicate patio pavers types such as natural stone pavers or porcelain pavers can be expensive and may get damaged if not handled carefully. If you have the skills and experience to deal with them then it’s fine to go with the DIY approach. If you aren’t sure then calling the professionals will be helpful in this regard. They can help you install the paver with precision and expertise.
Bottom Line:
Installing patio pavers through DIY or with the help of a professional can be a great way to make your patio stand out. They can provide a stable surface to your patio and make them more functional. Just make sure to follow this guide to install the patio pavers without any hassle through DIY. If you have any issues, don’t hesitate to call the professionals so they can guide you with their best opinion.
قیمت های موجود در سایت تاریخ بروزرسانی آن ها ذکر شده و قیمت نهایی محصولات نمی باشند. لطفا جهت ثبت سفارش و استعلام قیمت بروز با کارشناسان ما در ارتباط باشید.
(035-3357)