Installing Porcelain Tiles with Mortar
Porcelain tiles have gained significant popularity in recent years due to their durability and aesthetic appeal. However, their unique properties require specific installation techniques. This article will delve into the intricacies of porcelain tile installation, focusing on the traditional mortar method.

Preparation and Planning Before starting the installation process, several preparatory steps are essential:
- Create a detailed layout: Plan the tile arrangement and calculate the required quantities.
- Prepare the surface: Ensure the substrate is clean, level, and free from any contaminants.
- Choose the right mortar: Select a mortar specifically designed for porcelain tiles.
Installation Steps
- Mix the mortar: Follow the manufacturer’s instructions to mix the mortar with water to the correct consistency.
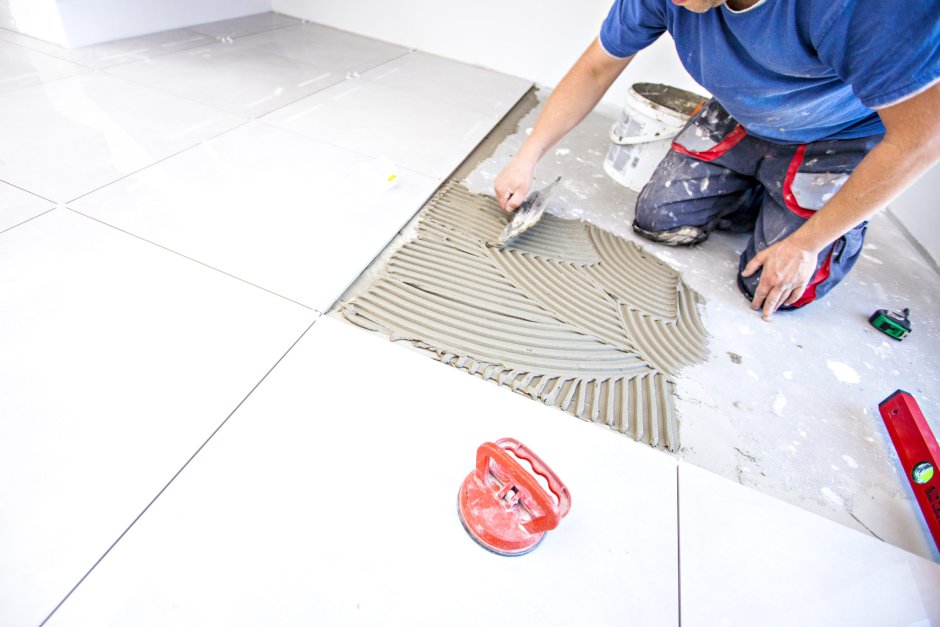
- Apply the mortar: Use a notched trowel to spread a layer of mortar onto the substrate. The notch size will depend on the tile size.
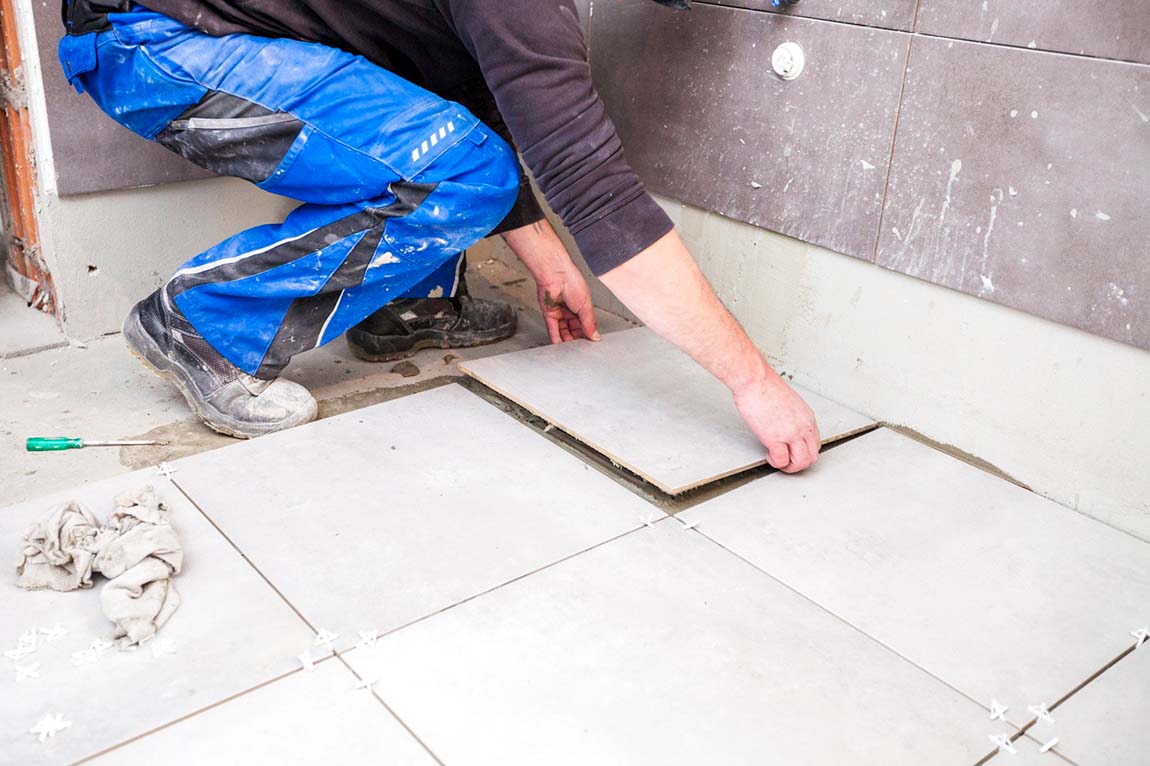
- Place the tiles: Firmly press the tiles into the mortar, ensuring they are level.
- Space the tiles: Use tile spacers to maintain consistent gaps between the tiles.
- Grout: After the mortar has cured, apply grout to fill the joints between the tiles.
- Clean: Remove excess grout with a damp sponge.
The Scoping Method For thicker porcelain tiles, the scoping method is often used. This involves creating small grooves on the back of the tile and using special clips (scopes) to secure them to the mortar bed.
Key Points to Remember:
- Substrates: Ensure the substrate is suitable for tile installation and can withstand the weight of the tiles.
- Adhesives: While mortar is a traditional method, there are also tile adhesives that can be used for porcelain tile installation.
- Tools: Invest in high-quality tools, such as a notched trowel, tile cutter, and grout float.
- Professional help: For large or complex installations, consider hiring a professional tile installer.

Additional Considerations:
- Ventilation: Ensure proper ventilation during and after the installation to prevent moisture-related issues.
- Curing time: Allow the mortar and grout to cure completely before applying any sealants or heavy loads.
- Maintenance: Regular cleaning and sealing will help maintain the appearance and longevity of your porcelain tile installation.
By following these guidelines, you can achieve a beautiful and durable porcelain tile installation.
Installing Porcelain Tiles: A Comprehensive Guide
Porcelain tiles have become a popular choice for both residential and commercial spaces. However, their installation requires specific techniques and materials. This guide will delve into the different methods of installing porcelain tiles, including the mortar method, dry method, and adhesive method.
Dry Method Installation The dry method is a highly engineered approach that requires specialized skills and experience. This method involves mechanically attaching porcelain tiles to a substrate without the use of adhesives or mortars. Key features of the dry method include:
- Precision: Tiles are installed with extreme precision using specialized clips or brackets.
- Durability: The mechanical bond provides exceptional strength and durability.
- No Grouting: Grout is not required, simplifying maintenance.
- Suitability: Primarily used for exterior applications, particularly on facades.
Adhesive Method Adhesive installation is a popular choice due to its simplicity and versatility. There are various types of tile adhesives, including powdered, paste, and resin-based. The process involves applying adhesive to the back of the tile, combing it with a notched trowel, and then pressing the tile firmly into place.
Mortar Method The mortar method is a traditional approach that involves applying a layer of mortar to the substrate and then pressing the tiles into it. While it offers a strong bond, it requires more time to cure and can be more labor-intensive.

Advantages and Disadvantages of the Mortar Method
- Advantages:
- Durable bond
- Cost-effective
- Suitable for various substrates
- Disadvantages:
- Curing time
- Potential for uneven surfaces
- Requires skill and experience
Important Considerations for Tile Installation
- Substrate preparation: Ensure the surface is clean, level, and free from contaminants.
- Tool selection: Use appropriate tools for cutting, spacing, and grouting tiles.
- Adhesives and mortars: Choose the right adhesive or mortar for the specific application.
- Grouting: Select a grout that complements the tile color and is suitable for the installation area.
- Curing time: Allow sufficient time for adhesives and mortars to cure before applying grout or subjecting the tiles to heavy loads.
Conclusion The choice of installation method for porcelain tiles depends on factors such as the substrate, desired outcome, and budget. Each method has its own advantages and disadvantages. Consulting with a professional tile installer can help you make the best decision for your project.
قیمت های موجود در سایت تاریخ بروزرسانی آن ها ذکر شده و قیمت نهایی محصولات نمی باشند. لطفا جهت ثبت سفارش و استعلام قیمت بروز با کارشناسان ما در ارتباط باشید.
(035-3357)