Removing Tile Yourself Can Save You So Much Money on Your Home — Here’s How to Do It Like a Pro


Renovating your home can be an exciting yet daunting task, especially when it involves updating or replacing outdated tile floors. Whether you’re dealing with cracked ceramic tiles in the kitchen, worn-out porcelain tiles in the bathroom, or mismatched tiles in your entryway, removing them is often the first step toward achieving your dream space.
While hiring professionals might seem like the easiest option, it can also come with a hefty price tag. The good news? With the right tools, preparation, and know-how, you can remove tile yourself and save hundreds—if not thousands—of dollars in labor costs. Not only does this DIY approach keep more money in your pocket, but it also gives you the satisfaction of completing a major home improvement project on your own.
In this comprehensive guide, we’ll walk you through everything you need to know about removing tile safely and efficiently. From understanding the tools you’ll need to mastering step-by-step techniques, this article will equip you with the knowledge and confidence to tackle this project like a pro. Let’s dive in!
Why Remove Tile Yourself?
Before we get into the nitty-gritty of tile removal, let’s talk about why doing it yourself is such a smart choice:
1. Cost Savings
Professional tile removal can cost anywhere from $2 to $6 per square foot, depending on the complexity of the job and your location. For a 200-square-foot room, that could mean spending up to $1,200 just for labor. By doing it yourself, you eliminate those costs entirely.
2. Flexibility
When you handle the demolition yourself, you have complete control over the timeline. You can work at your own pace without worrying about coordinating with contractors or paying rush fees.
3. Preparation for New Flooring
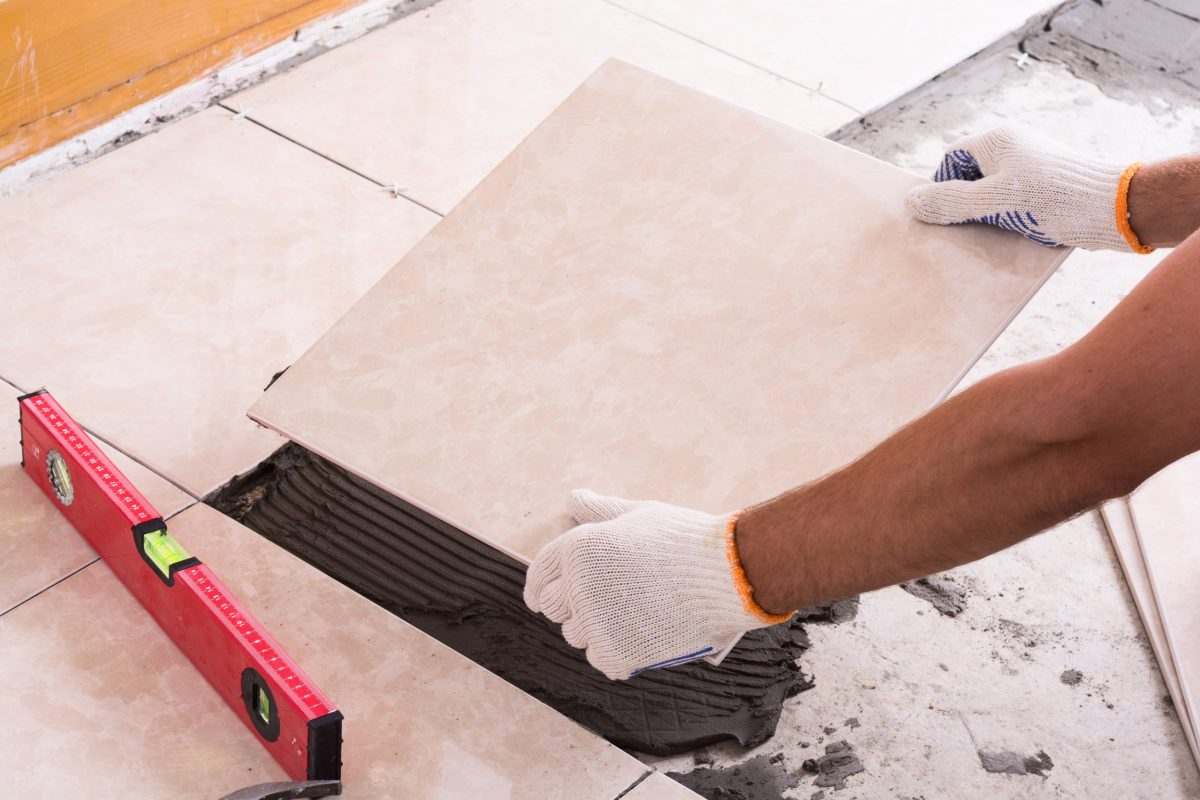
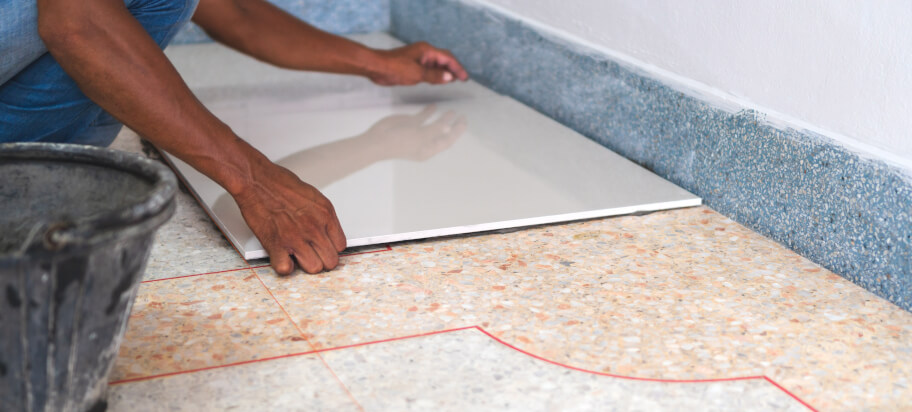
Removing old tile properly ensures a clean, smooth surface for installing new flooring. This step is crucial for achieving professional-looking results with your renovation.
4. Skill Development
Learning how to remove tile is a valuable skill that can come in handy for future projects. Plus, there’s nothing quite like the pride of knowing you completed a challenging task on your own.
Tools and Materials You’ll Need
Before starting, gather the necessary tools and materials. Having everything ready will make the process smoother and safer.
Essential Tools:
- Safety Gear: Safety goggles, dust mask or respirator, gloves, and sturdy shoes.
- Demolition Tools: A hammer, chisel, pry bar, or a flathead screwdriver.
- Power Tools (Optional): A rotary tool with a carbide blade or an electric chipping hammer for faster removal.
- Utility Knife: To cut through any caulk or adhesive around edges.
- Broom and Dustpan: For cleanup as you go.
- Trash Bags or Bins: For disposing of debris.
- Knee Pads: To protect your knees while working on the floor.
- Shop Vacuum: To clean up dust and small fragments.
Materials:
- Plastic sheeting or drop cloths to protect adjacent areas from dust.
- Painter’s tape to secure plastic sheeting.
- Trash bags or heavy-duty bins for debris disposal.
Step-by-Step Guide to Removing Tile
Step 1: Prepare the Area
Proper preparation is key to ensuring a safe and efficient tile removal process.
- Clear the Room: Remove all furniture, rugs, and other items from the area. If you’re working in a kitchen or bathroom, disconnect appliances and fixtures if necessary.
- Protect Surrounding Areas: Use plastic sheeting and painter’s tape to seal off doorways, vents, and nearby rooms. This prevents dust from spreading throughout your home.
- Turn Off Power and Water: If you’re working near electrical outlets or plumbing, turn off the power and water supply to avoid accidents.
- Wear Safety Gear: Put on your goggles, dust mask, gloves, and knee pads before starting any demolition work.
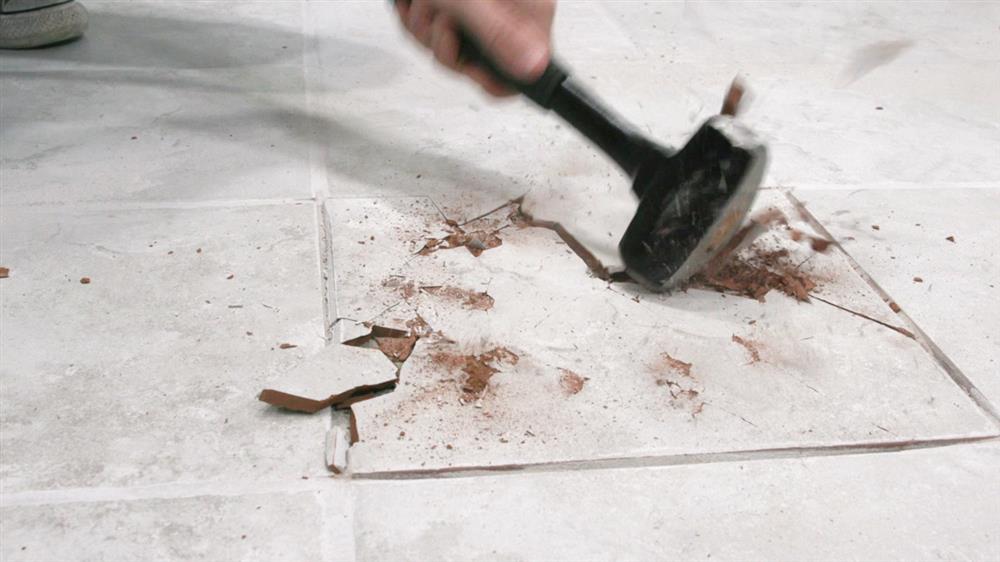
Step 2: Start Small—Break the First Tile
The first tile is often the hardest to remove because it’s fully intact. Follow these steps:
- Score the Grout Lines: Use a utility knife or grout saw to cut through the grout surrounding the tile. This weakens its bond to neighboring tiles and makes removal easier.
- Create a Starting Point: Use a hammer and chisel to break one corner of the tile. Be careful not to damage the subfloor underneath.
- Pry Up the Tile: Once you’ve broken part of the tile, use a pry bar or flathead screwdriver to lift it out. Work slowly to avoid cracking surrounding tiles unnecessarily.
Step 3: Remove Remaining Tiles
Once you’ve created a starting point, continue removing the rest of the tiles systematically.
- Work in Sections: Focus on one small section at a time to stay organized and prevent overwhelming yourself.
- Use a Hammer and Chisel: For stubborn tiles, tap lightly with a hammer and chisel to loosen them. Always aim for the center of the tile to minimize damage to the subfloor.
- Consider Power Tools: If you have a large area to cover, consider using a rotary tool with a carbide blade or an electric chipping hammer. These tools speed up the process significantly but require extra caution to avoid damaging the subfloor.
Step 4: Remove Adhesive and Mortar
After removing the tiles, you’ll likely find leftover adhesive or mortar on the subfloor. Cleaning this up is essential for laying new flooring.
- Scrape Away Residue: Use a wide putty knife or a floor scraper to remove as much adhesive as possible.
- Soften Stubborn Adhesive: If the adhesive is particularly tough, apply a chemical adhesive remover according to the manufacturer’s instructions. Allow it to sit for the recommended time before scraping again.
- Sand Rough Spots: Use a belt sander or orbital sander to smooth out any rough patches on the subfloor.
Step 5: Inspect and Repair the Subfloor
Before installing new flooring, inspect the subfloor for damage.
- Check for Cracks or Holes: Fill any cracks or holes with wood filler or patching compound.
- Ensure Levelness: Use a level to check for uneven spots. Sand high areas or add self-leveling compound to low spots as needed.
Step 6: Clean Up
Tile removal creates a lot of dust and debris. Proper cleanup is crucial for maintaining a safe and healthy environment.
- Sweep and Vacuum: Sweep the area thoroughly, then use a shop vacuum to pick up fine dust and particles.
- Dispose of Debris Safely: Place broken tiles and adhesive scraps in heavy-duty trash bags or bins. Check local regulations for proper disposal methods.
- Clean Adjacent Areas: Wipe down walls, baseboards, and furniture with a damp cloth to remove residual dust.
Tips for Success
Here are some additional tips to help you succeed in your tile removal project:
- Start Slow: Don’t rush the process. Taking your time reduces the risk of injury and minimizes damage to the subfloor.
- Work Smart, Not Hard: Leverage your body weight when prying tiles instead of relying solely on brute force.
- Stay Safe: Always wear protective gear, especially when using power tools or working in dusty environments.
- Plan for Waste Management: Rent a dumpster or arrange for bulk trash pickup if you’re tackling a large area.
- Take Breaks: Demolition work can be physically demanding. Pace yourself and take regular breaks to avoid fatigue.
Common Challenges and How to Overcome Them
Challenge 1: Tiles Are Glued Down Too Tightly
Some tiles are adhered with strong adhesive, making them difficult to remove.
Solution: Use a heat gun to soften the adhesive before prying the tiles loose. Be cautious not to overheat and damage the subfloor.
Challenge 2: Damaged Subfloor
If the subfloor becomes damaged during removal, repairs may be necessary.
Solution: Patch damaged areas with plywood or self-leveling compound before proceeding with new flooring installation.
Challenge 3: Excessive Dust
Tile removal generates a significant amount of dust, which can spread throughout your home.
Solution: Seal off the workspace with plastic sheeting and use a shop vacuum frequently to minimize airborne particles.
Conclusion
Removing tile yourself is a rewarding and cost-effective way to kickstart your home renovation project. While it requires effort, patience, and the right tools, the savings and sense of accomplishment make it well worth the investment. By following the step-by-step guide outlined in this article, you can confidently tackle tile removal and create a clean slate for your new flooring.
Remember, preparation is key. Take the time to gather your tools, protect your workspace, and plan for waste management. Work methodically, prioritize safety, and don’t hesitate to seek advice or assistance if you encounter challenges along the way.
With determination and the knowledge gained from this guide, you’ll transform your space—and your wallet—by taking on this DIY project. So roll up your sleeves, grab your hammer, and get ready to reclaim your floors!


قیمت های موجود در سایت تاریخ بروزرسانی آن ها ذکر شده و قیمت نهایی محصولات نمی باشند. لطفا جهت ثبت سفارش و استعلام قیمت بروز با کارشناسان ما در ارتباط باشید.
(035-3357)