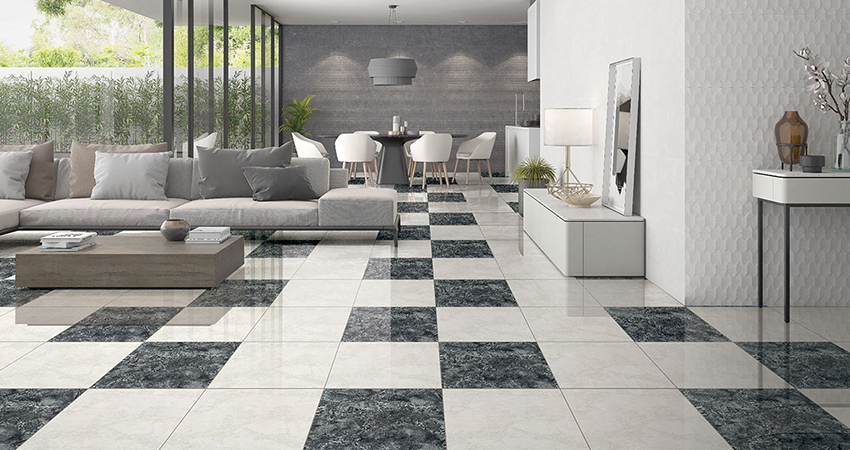
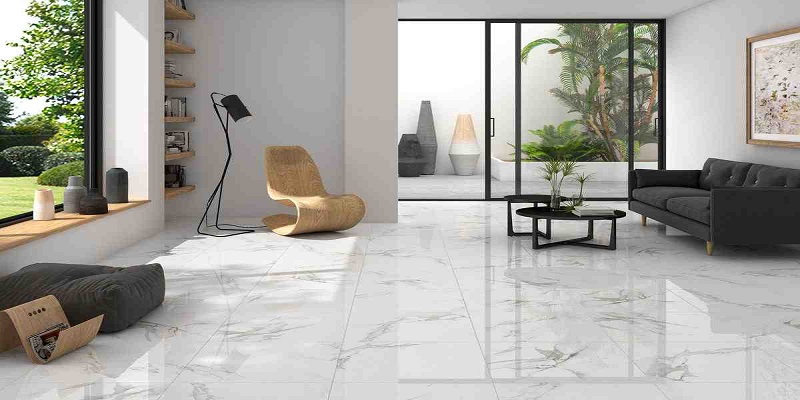
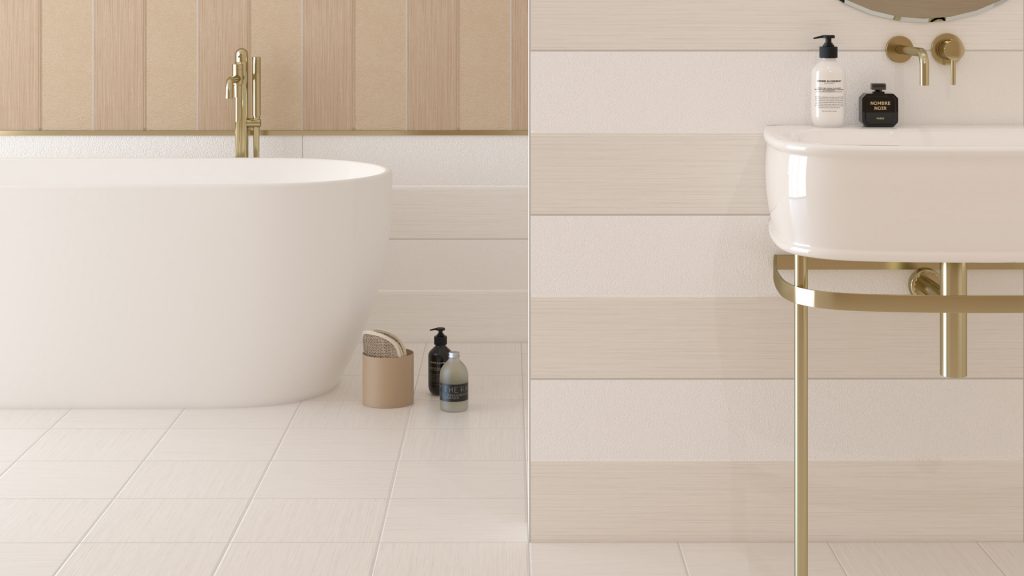
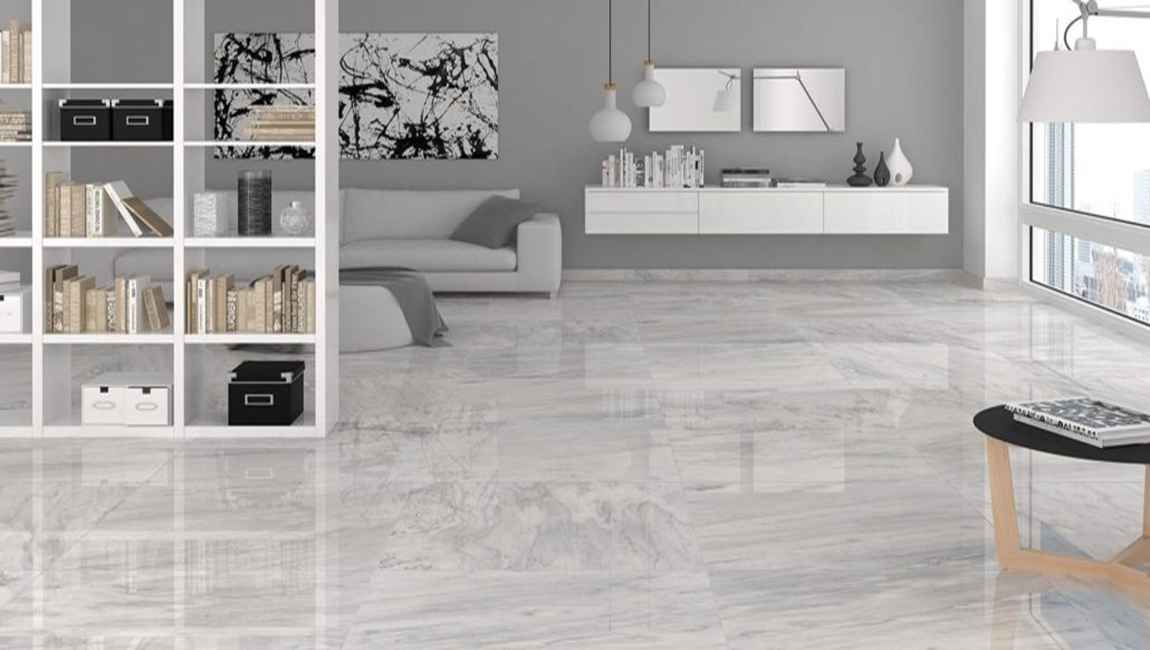
The most important points in choosing ceramic tiles
Tile Selecting Tips
Ceramic and porcelain tiles are a fantastic product that, if correctly selected and installed, should last indefinitely. As a consequence, selecting such a permanent product is a little daunting for a lot of people. Getting it wrong is not easy or cheap to correct. Similarly fear of becoming outdated and unfashionable can also lead to over cautious colour and design selections at the expense of a design you truly loved.
In order to provide a smoother tile selection process and reassurance for your ultimate decision-making, we have put together a simple sequence of tips to consider when selecting tiles.

Step 1. Be Prepared.
Come into store prepared. Have an idea of the approximate area to be tiled and your budget. Remember tiles are only a part of the cost, installation costs including waterproofing and any site preparation must also be considered. Total budget will affect what tiles you can consider for your project.
Bring any colour samples you may have already selected or be considering, such as carpet, paint and bench top samples. If you have any building or renovation plans bring them in too.
If you can’t work out the area, draw a rough plan and measure and mark the width, length and height of the areas to be tiled. We can take it from there.
Step 2. Talk to Staff.
Talk to one of our friendly staff members right from the outset and tell them what your project is. Not all tiles are the same and they have different finishes depending on the area they are to be used. Informing staff of whether the project is indoors or out, commercial or domestic, pool interiors or external hardscapes, or what interior room(s), and whether or not you intend to tile floors or walls or both; will enable staff to immediately point you in the right direction. Saving you a lot of time and making sure you consider the right products for the job.
Talking to staff is essential when buying tiles, they will no doubt ask you questions you haven’t considered and they can help you both select appropriate tiles, as well as layout, installation and finishing products. Every store has staff with great design and colour skills as well as detailed product knowledge.

Step 3. Start with Flooring.
When selecting your colour schemes it’s best to work from the floor up. Floors are often the dominant area, the element that flows between spaces and abuts colours and materials in different rooms. Finalizing the floor tile can make selecting wall tiles easier. Not to say you can’t work in reverse order or select both simultaneously!
Extending floor tiles up the walls is also a really classic and popular option. We find more customers take this approach than not. It’s a fantastic way to generate flow and make spaces seem larger, particularly if you are using a stone or marble inspired tile. There are many design advantages of this very European approach to tiling, particularly as it allows for perfect alignment of tiles and colour matching as well as reduced presence of grout lines if you have used larger sized tiles. Floor to ceiling tiling is the only way to go with this look, with the added benefit of only one decision needing to be made!
Which brings us to larger sized tiles. DON’T be afraid of the big tiles. The average tile size these days is in the order of 600x600mm and getting bigger. They can pretty much work in any sized space, the general rule being the larger the tile the larger the space will feel.
Remember most floor tiles can go on walls, wall tiles are for the walls only.

Step 4. Borrow Tiles.
Whatever order you do it and whatever space you are tiling…borrow samples.
Try them in the rooms they are intended and check them in both day and night light conditions. Even if the project is still a building site and not yet ready to be tiled, viewing it in a real building with similar conditions can prove really valuable. Tiles are like paint in that the appearance of colours can vary considerably depending upon what the surrounding colours and light conditions are.
We encourage every customer to borrow tiles first before purchase; even online customers should check physical samples first. If you can’t get in-store to borrow whole tiles, cut tile samples can be purchased for a small fee.
Don’t forget to bring the loan tiles back.
Step 5. Tile Selection.
Choose what you love not what fashion dictates. If you love a particular design or colour and you are building or renovating for yourself, go with what you like and not what trends dictate. All fashions are cyclic, eventually a particular trend will be back in fashion so you can be reassured at some point your tiles will be totally on-trend again.
That said, if you are renovating to sell then that’s generally the time to err on the side of caution and either stick with current trends or play it safe with neutral colours. For the risk adverse your best options are always white wall tiles. They come in a range of sizes and finish and remain universal in their appeal, are timeless and affordable.

Step 6. DIY or Tradesman.
Lots of customers like to undertake the tiling job themselves. We can help with all your installation requirements and provide step-by-step assistance, layout advice and hireage of cutters. Each store can provide all the tools and substrates you need to adhere those tiles correctly. Identifying the surface to be tiled on is critical for selecting appropriate site preparation and adhesives. The key to a high quality job is correct site preparation and materials, careful planning and attention to detail.
If getting a tiler to do the installation, all our stores have a selection of independent tilers they can recommend. Make sure you ask for references, as they are independent tradesmen so whilst we know of them we don’t often see their workmanship. The cheapest quote might not be the best, some tilers cut costs by using inferior installation materials that can create major headaches down the line.
Once you have selected your tiler, it is critical to make sure you have great communication, clearly identifying the desired layout and grout colour before laying is commenced. Similarly check yourself that the correct tile has been delivered (stranger things have happened), all the batches are the same and that the tiler has confirmed the quantities – again before a single tile is adhered.
Step 7. Confirm Measurements.
Confirm onsite measurements and allow for spares and wastage. The general rule of thumb is to take the exact area measurement and add 10%. This ensures there are enough tiles for the inevitable wastage derived from cutting and breakage and should provide a couple of spare tiles at the end of the job. More complicated areas or layout designs may require a greater wastage allowance.

It is really important to ensure you have adequate quantities of tiles. Tiles vary from batch to batch, sometimes the variance is minor but sometimes more noticeable. Tiles are also a fashion item, so products are not available indefinitely as factories do not continuously manufacture each range. There is a regular change in the design and availability of tiles and we can never guarantee that tiles will be available post your original purchase. Making sure you have enough tiles BEFORE laying commences is thus critical.
All tilers should double check measurements onsite before commencing. This is important in all situations but especially when initial area estimates were done off building plans.
Step 8. Returns
We do have a returns policy, ONLY accepting full unopened boxes and within 14 days of purchase. If the batch is no longer in stock we are unable to accept returns as we are unable to on sell these.
There is a handling fee involved due to the expense of freighting product to and from our distribution centre.
Any loose tiles will not be accepted and are a great insurance policy for the unlikely but not impossible need to replace a tile in the future anyway, so worth holding onto.
For tiles purchased well in advance of the tiling project and indent orders, there can be no returns. Clearance lines and specially priced items also cannot be returned.

Step 9. Maintenance
When the tiles are laid it is usually up to the owner to seal the grout. This ensures the tiled area remains watertight and makes the grout easier to maintain.
Tiles can be cleaned with standard domestic cleaning products,maximum results and keep those floors looking as good as new. Periodically (over a period of years) the grout may require a deep clean and reseal.
Step 10. Share the Joy
Nothing gives the staff more thrills than seeing the end result of a project they have worked with you to achieve.
قیمت های موجود در سایت تاریخ بروزرسانی آن ها ذکر شده و قیمت نهایی محصولات نمی باشند. لطفا جهت ثبت سفارش و استعلام قیمت بروز با کارشناسان ما در ارتباط باشید.
(035-3357)