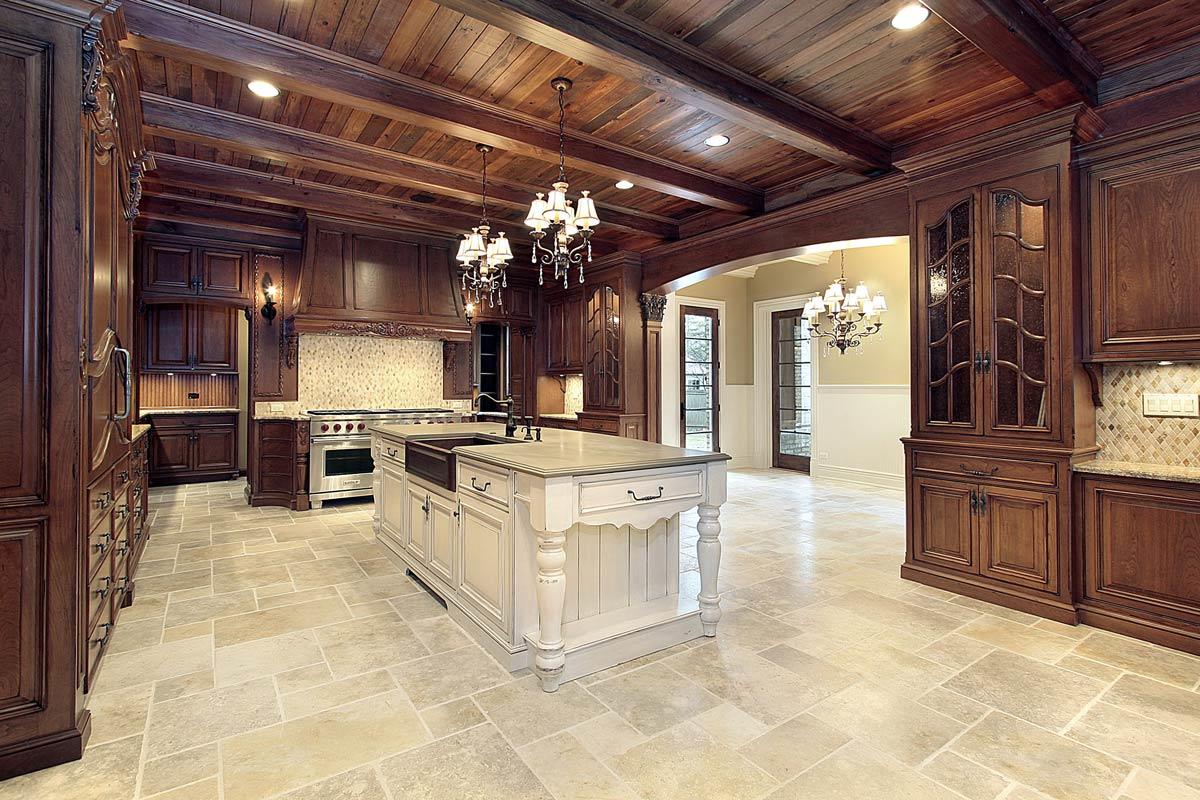
If you’ve just finished installing beautiful new tiles in your home, the last thing you want to do is tarnish them with poor maintenance. Cleaning and polishing your tiles might seem tedious, but it doesn’t have to be! With the right approach, you’ll easily maintain their original look and condition for years to come. This blog post will provide cleaning tips, polishing and finishing your newly installed tiles so they look as good as new.
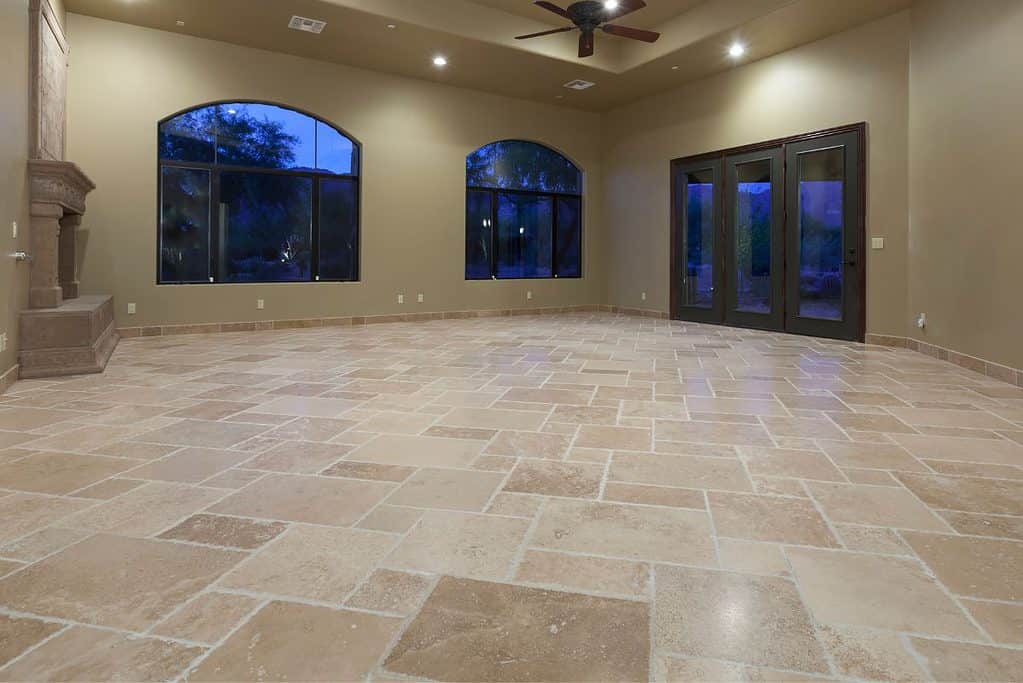
UNDERSTANDING DIFFERENT TYPES OF TILE AND FINISHES
Ceramic Tile
Ceramic tiles are made from clay fired in a kiln, glazed, and decorated with various colours and patterns. This type of tile is incredibly durable, easy to clean, non-porous, and inexpensive. The only downside is that ceramic tiles can be pretty slippery when wet, so use textured tiles in bathrooms or other areas where water may be present.
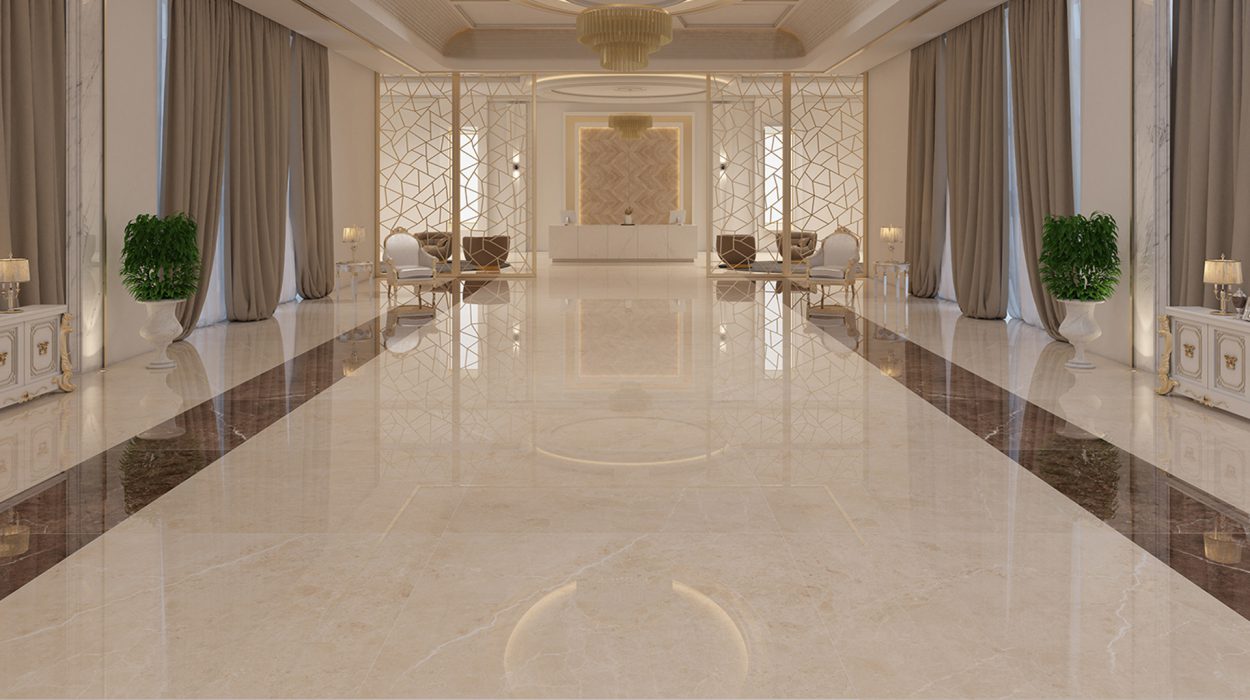
Porcelain Tile
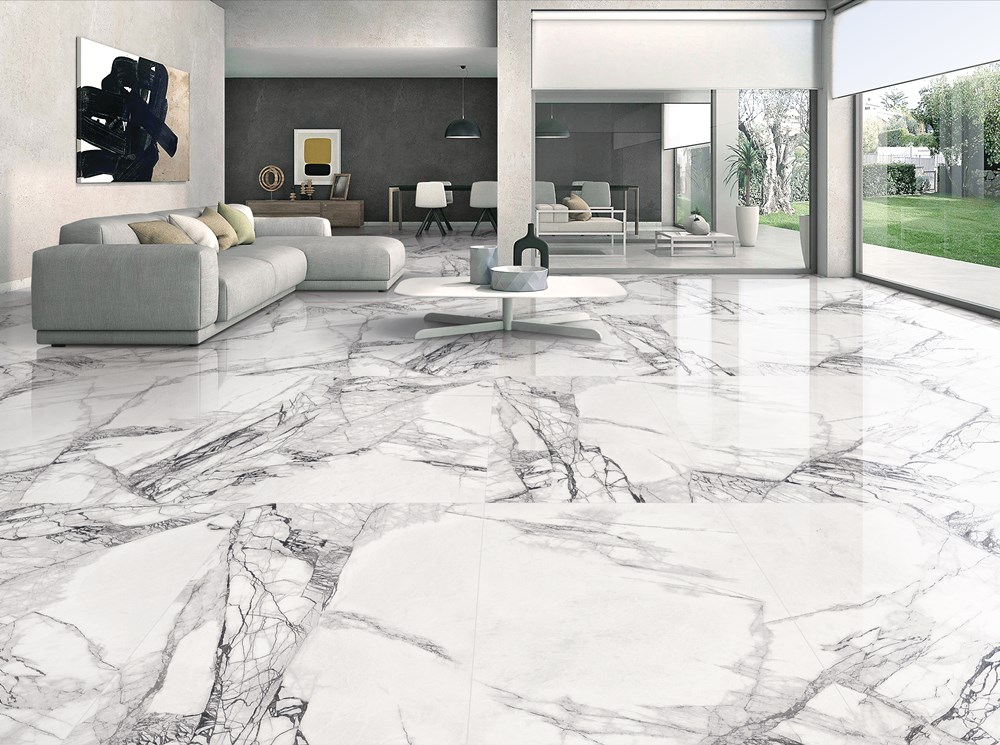
Porcelain tiles are made from a mixture of clay and other minerals fired at a higher temperature than ceramic tiles. As a result, porcelain tiles are even more durable than ceramic ones—they don’t crack or chip easily—and tend to be more expensive. Porcelain tiles come in many different colours and styles, making them ideal for indoor and outdoor applications. They also offer good slip resistance when wet, making them excellent options for bathrooms and kitchens.
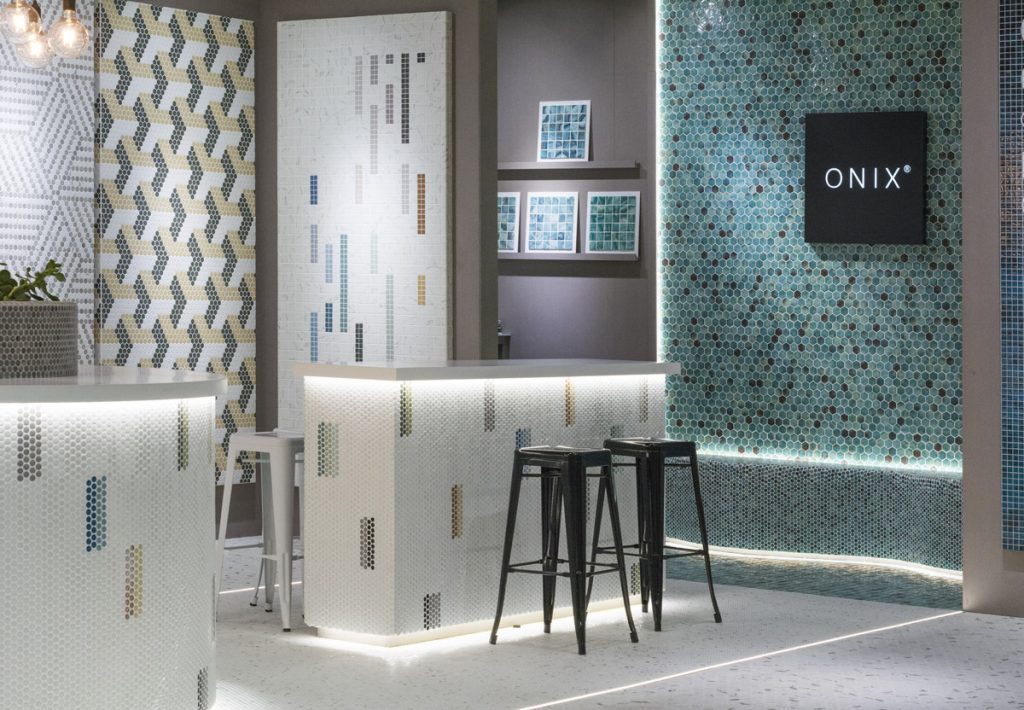
Glass Tile
Glass tiles are made from glass sheets that have been cut into small pieces before being mounted onto mesh backing sheets for easier installation. Glass tiles come in a wide variety of colours and styles, making them perfect for creating unique designs on walls or floors. However, these tiles tend to be more expensive than ceramic or porcelain ones and require special cleaning products due to their delicate nature. Additionally, since glass tiles are not very slip-resistant when wet, they should not be used in areas with a lot of moisture.
SELECTING THE RIGHT CLEANER AND POLISH
After completing tile installation, selecting an appropriate cleaner and polish ensures years of easy maintenance and lasting beauty. Generally, it is advisable to select tile-specific products with neutral pH levels to protect tile surfaces from becoming dull or scratched over time.
Additionally, because some tile cleaners may be harsher than others, it’s essential to use a gentle product on ceramic and stone tiles to reduce potential damage. When the right cleaner and polish are used after a tile installation, they will help maintain the tile’s attractive patina while protecting its style and shine.
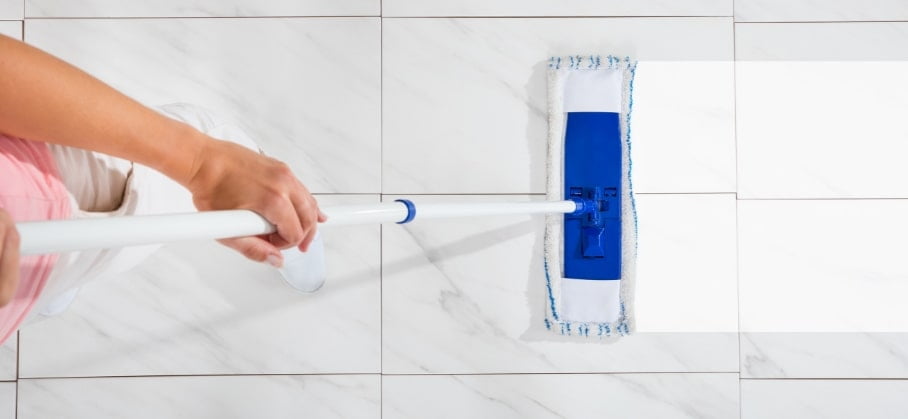
CLEANING NEWLY INSTALLED TILES
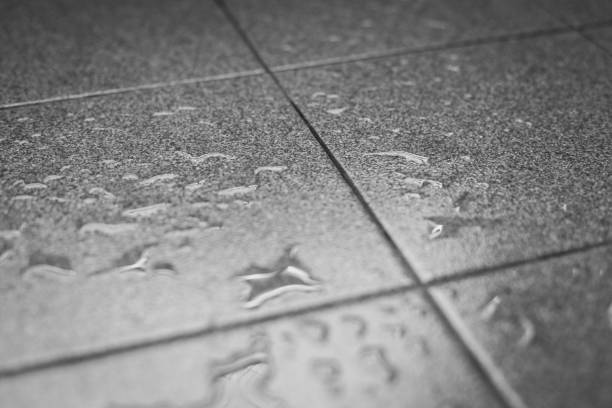
It is important to remember that unsealed tiles are porous and can easily absorb liquids, dirt, and dust. So it is essential to be careful when cleaning tiles to prevent staining or discolouration. One of the most effective ways to clean newly installed tiles is with a damp cloth or sponge. This method works best on tiles with a glossy finish since it won’t leave any smudges or marks after wiping down the surface. You can use warm water with a few drops of mild detergent or dish soap for tougher stains and dirt.
Another important tip for keeping your newly installed tile looking its best is to avoid using abrasive cleaners such as steel wool pads or scouring powders on them, as these could cause scratches and damage the surface of the tile. Additionally, when cleaning grout lines between your tiles, use an old toothbrush with warm water and mild detergent instead of an abrasive cleaner, as this could also cause scratching on your tile surface.
APPLYING POLISH TO NEW TILES
Tile installation can be complex, but the right polish can make all the difference to the appearance of your floor and wall tiles. The first step is to select the tile finish that suits your home, whether you prefer matte or glossy. Once you have installed your tile and completed any grouting work, it is time to apply the tile polish.
After ensuring the tile surface is adequately dry and free from dust, add a few drops onto a clean cloth and wipe in small circles over each tile. Be careful not to use too much polish – an even distribution is essential for the best results. It may take practice to perfect your tile polishing technique, but with a little commitment, you’ll soon have beautiful tiles that will last for years after application.
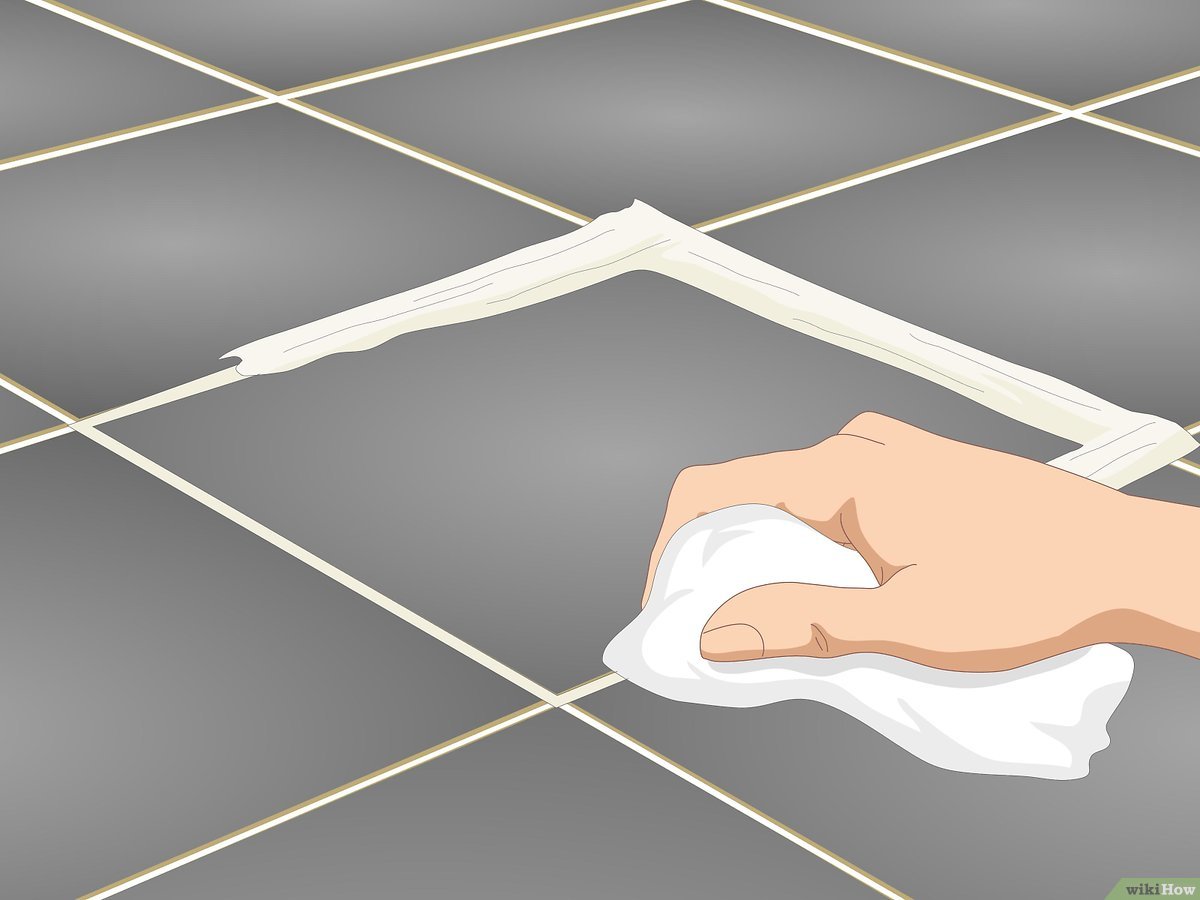
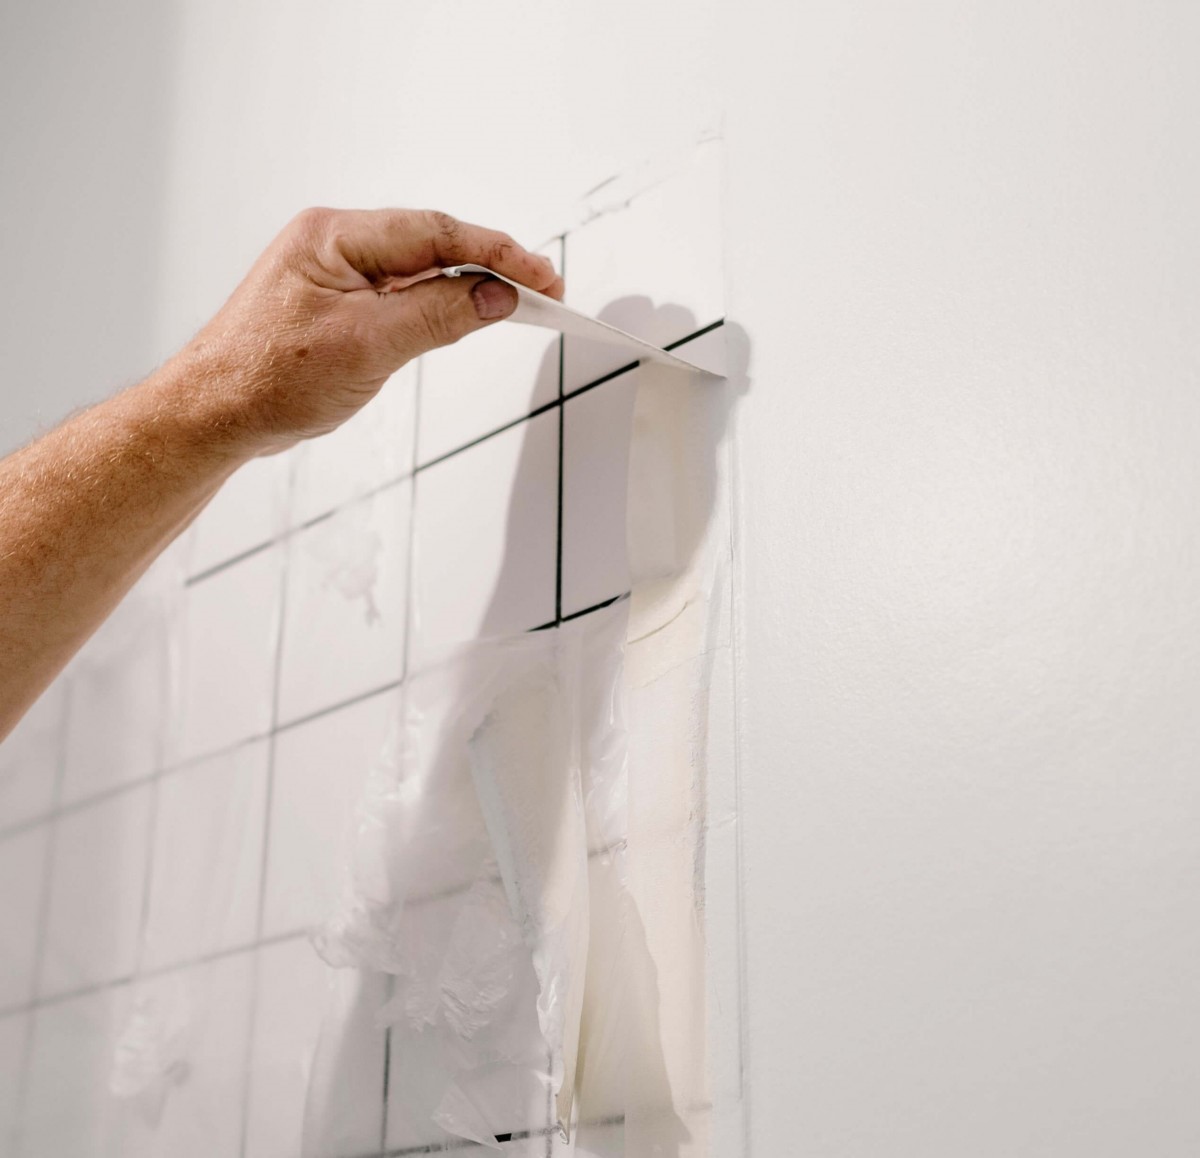
CLEANING YOUR GROUT AFTER INSTALLATION
After tile installation, whether it is on your floor or wall, it is essential to keep your grout clean. Depending on the tile material, you can use a damp cloth to gently scrub your tile surfaces and remove any dirt or dust buildup. Afterwards, make sure to dry off with a soft cloth to prevent mildew or mould growth. You may need to purchase an alkaline-based tile cleaner to maintain a spotless tile surface.
Using this tile cleaner as directed will help keep your tile looking great while keeping unwanted debris out of tiny cracks and crevices. Additionally, use caution when around your tile surfaces; avoid scrubbing too hard, using complex tools that can scratch the tile surface, or using abrasive cleaners that can damage grout material and tile sealants.
FIXING ANY ISSUES WITH YOUR NEW TILES
The most important part of tile installation is ensuring you’re using the right tile for your project. Whether it be tile for a bathroom wall or tile for a kitchen floor, it’s essential to pick out the tile that suits the purpose and fits your style. Planning this step correctly will help prevent any issues when fixing the tile down.
Paying close attention to tile measurements, spacing and layout is vital to ensuring your design looks uniform and pleasing to the eye. If any mistakes are made during tile installation, many can be remedied with careful grouting and filling of joints. Furthermore, if you find a tile pops loose over time, small amounts of adhesive can be used to fix it back into place securely. In most cases, minor repairs can be conducted relatively easily and quickly.
HOW TO MAINTAIN YOUR TILES IN THE YEARS TO COME
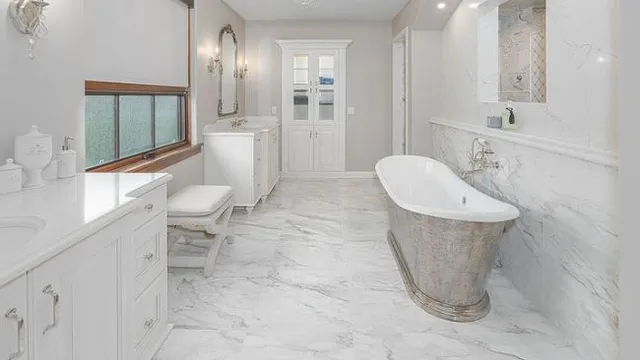
Learning how to maintain your tiles is essential for maintaining the freshness, longevity and vibrancy of your walls and floors. Depending on where you have tiled, there are a few methods for maintaining the tiles in the years to come. For floor tiles, you should sweep or vacuum regularly to remove loose dirt and debris, clean spills immediately and avoid using abrasive tools or materials when cleaning or sweeping.
For wall tiles, dust them weekly with a clean, dry cloth and use warm water with gentle dishwashing soap to clean away grime or stuck-on particles. Additionally, do not forget to seal your natural stone tiles yearly to guard against moisture penetration that could lead to damage over time. With these simple tips in mind, maintaining tiles will help keep them looking beautiful for many years.
How can you make exposed tile edges look finished?
Finishing tile installation isn’t always above the surface – tile edges are an essential component to keeping tile floors and walls looking polished. Exposed tile edges tend to be sharp and unappealing, but with a few steps, it’s simple to make them look finished. Most tile installations will require putting down cement board and then binding tile edges with thin-set mortar to provide extra stability. After the mortar has dried, caulking around tile edges is a great way to round the corners off and give them a smooth look.
Depending on the kind of tile you’re working with and the effect you want to achieve, you can use caulk that matches the tile colour or one in a contrasting hue. Taking the time to finish tile edges gives any tile installation a professional touch.
How to make your tiles shine
If you’re looking for a way to make your tile installation glow, both floor and wall tiles can benefit from some simple and easy tips. First, regular dusting and sweeping will help keep the tile surfaces clean by avoiding the buildup of contaminants. Next, grime and dirt should be removed with a tile-safe cleanser and a damp mop or cloth. You can also invest in an additional tile-safe protective finish that will shield the tile’s lustre over time – there are lots of products available to help you find one that is best for your tile needs.
Lastly, proper sealing of tile floors will protect them from staining; be sure to choose a sealant that matches the tile material for optimal protection and long-term sheen. With these tips, your tile installation will shine like new.
How can I regrout tiles in the future?

Regrouting tile is an integral part of tile installation on the floor or wall. It helps to keep the tile looking tremendous and fills in any spaces that may form as the tile shifts over time due to heavy foot traffic or warm and cold temperatures. It’s essential to know how to regrout tile correctly so you don’t end up with stuck-on deposits and potential mould problems.
To ensure the job is done right in the future, ensure all debris is removed from around the tile before applying the grout mix. Additionally, a good quality sealer should be applied after proper curing time to protect against water penetration and staining. Doing this will also help protect your tile for years to come, allowing it to look as good as new for longer periods of time.
Tile installation is a great way to add style and sophistication to your home, but it’s essential to maintain them properly. Whether you’re looking for how to make exposed tile edges look finished or make your tiles shine, several tips and tricks will help keep them looking their best for years. Lastly, regrout tiles in the future to keep them secure and sealed against damaging elements. With these tips, you can be sure your tile installation will stay beautiful and polished no matter how much time passes.


نظرات ۰